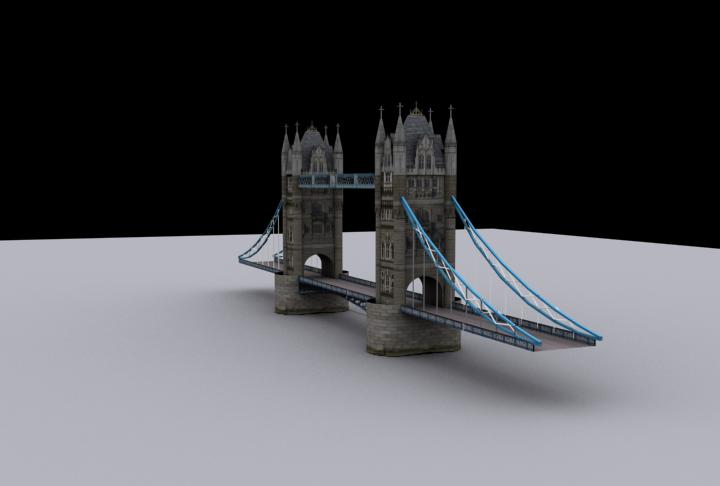
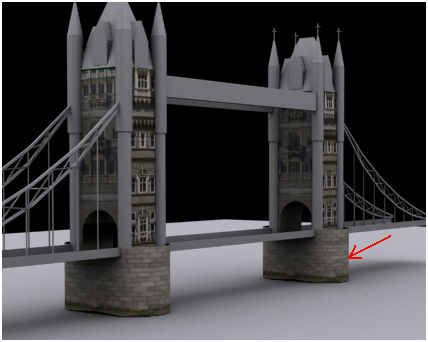
In this tutorial, you will learn how to apply textures to the London Bridge. The main purpose of this part-2 is to give you an idea, how to create textures in photoshop for any given 3d object to fit it precisely. So, lets get started!
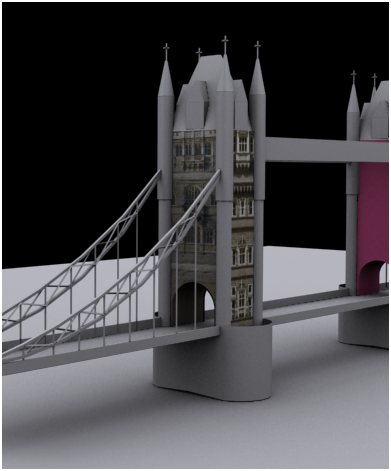
Final Result:
Texture Resources:
Road texture, bricks texture are from cgtextures
Step-1
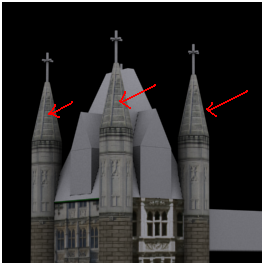
Select the following part of the tower, and add “Unwrap UVW”.

Step-2
Select “Face” from “Unwrap UVW” and click on “Edit” from parameters to get “Edit UVWs”panel like this….

Step-3
Select front side of the object, that side will be highlighted in “Edit UVWs” panel.

Step-4
In “Edit UVWs” panel, go to Mapping >> Unfold Mapping.

Click ok in “Unfolding mapping” pop up.

Now, the face which we selected will turn into rational size.

Step-5
Similarly, repeat the same process for all other sides of the same object.
It is important that all sides placed side by side within the black box.
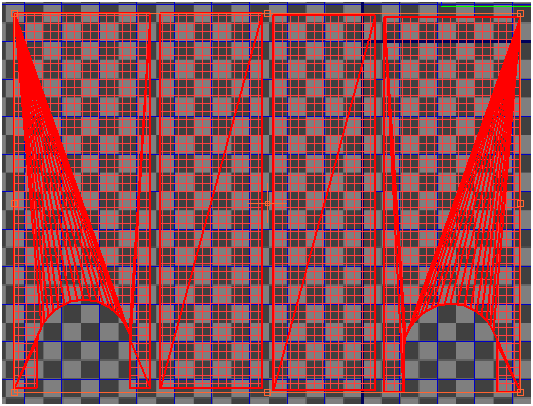
Resize them to fit within the black box.

Step-6
Right click on the panel and select “Render UVW Template”
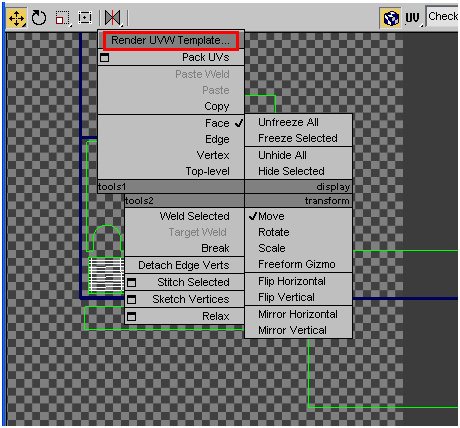
In “Render UVs”, click “Render UV Template” with 1024×1024 file size (size is optional) and save it.

In “edit UVWs” panel go to file>> save UVs. This is to save UVW map with “uvw” extension.

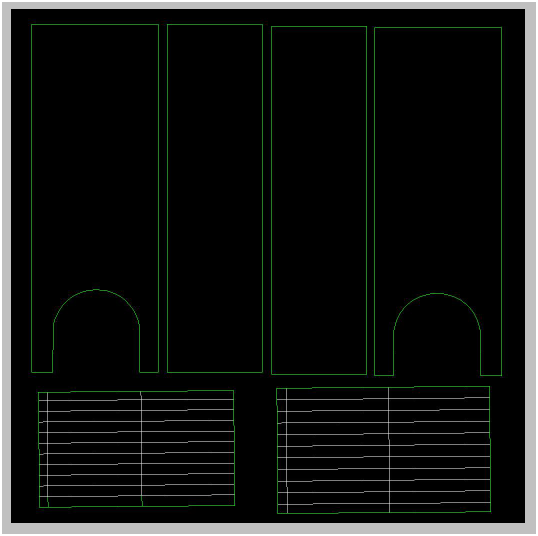
Step-7
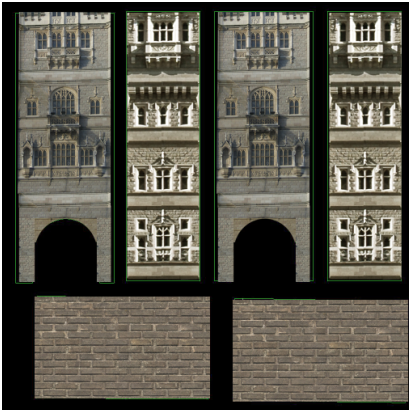
Open the file (not uvw map) which we rendered with 1024×1024 file size and all other reference images of London bridge in photoshop, manipulate London bridge images to fit the “rendered uv template”

Step-8
Save the above file without changing the file size or canvas size to jpeg or png or tiff.
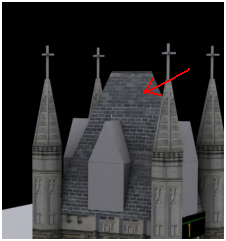
Apply this texture to that object in 3d and see how it fit.
Step-9
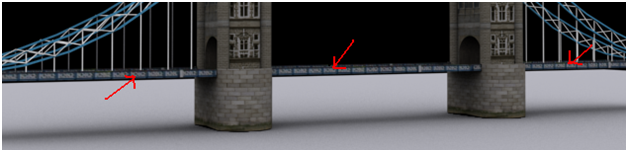
Repeat the same process to the other objects in the scene with respective textures.


Step-10
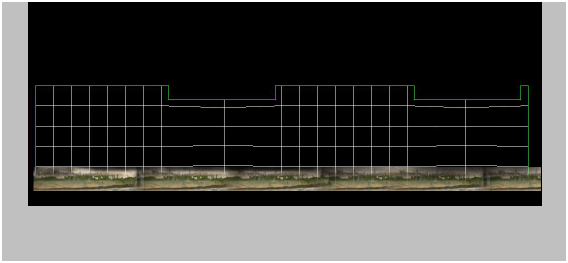
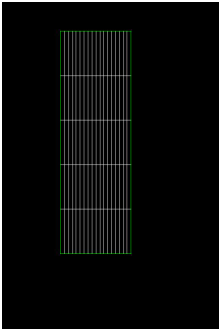
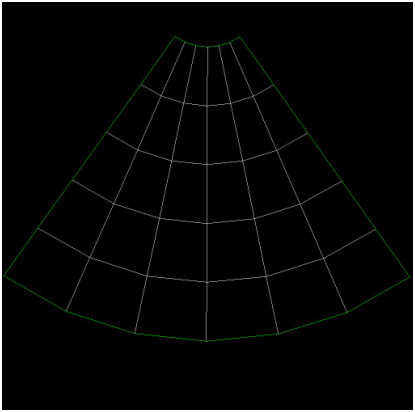
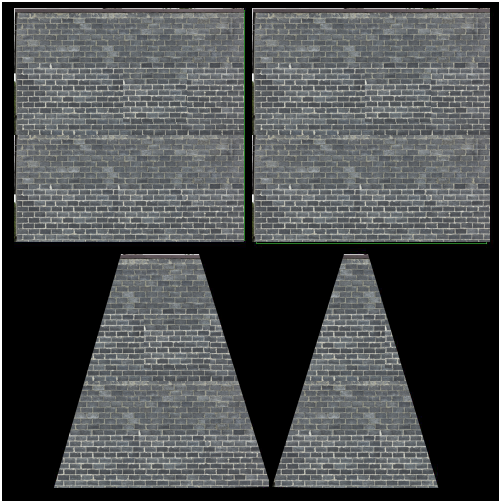
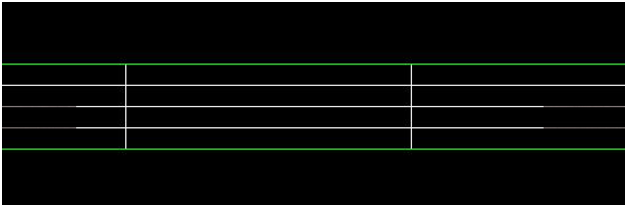
Rendered uvw map
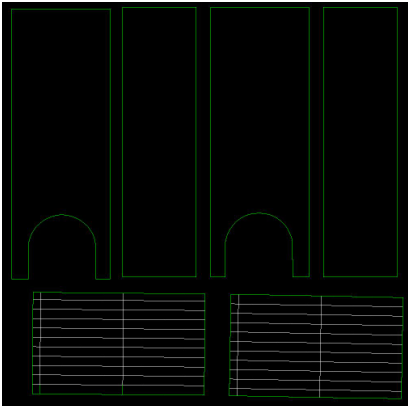
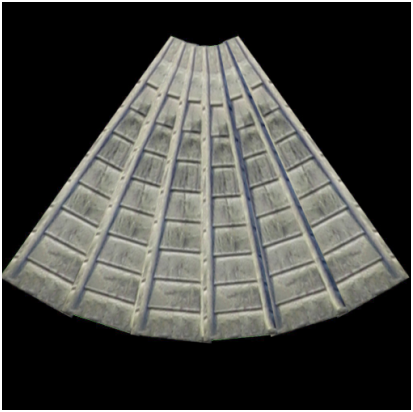
Material created according to map in photoshop

Step-12


Step-13


Step-14


Step-15
Step-16

Step-17
Apply this in opacity

Apply this in diffuse


Result will be like this….

Step-18


Step-19


Step-20


Step-21
Finally apply this mask and texture to the plane.

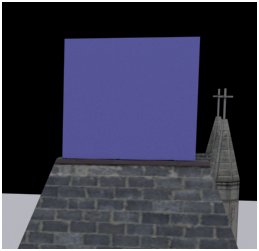
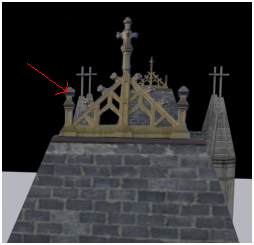
Final result will look like this……
I hope you find this tutorial useful.
Enjoy!!

