After a long time, we are going to learn this simple and realistic (only from a particular distance) looking London bridge modeling in 3d. This serves same as Eiffel tower modeling from previous tutorial.
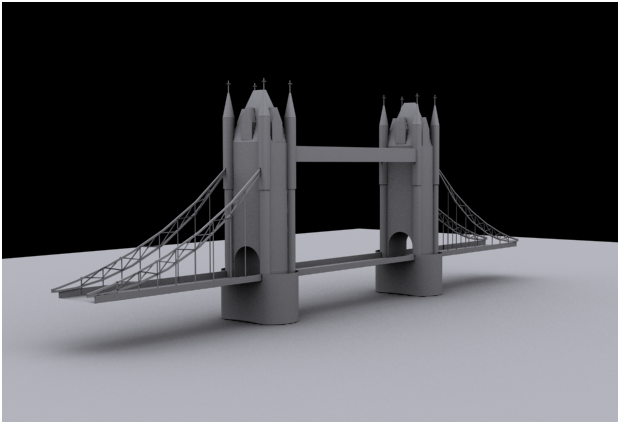
Final Image:
Making of London bridge:
Step-1
Before we start off, let’s change the units to centimeters for easy understanding of measurements.
For this, go to Customize >> Units setup and change metrics to centimeters.
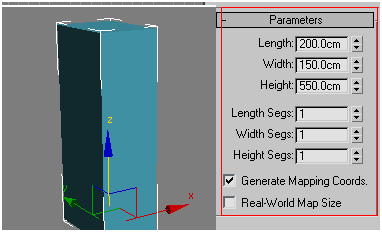
And Draw a box (standard primitive) with following properties.
Step-2
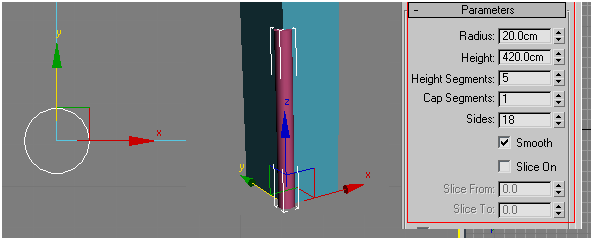
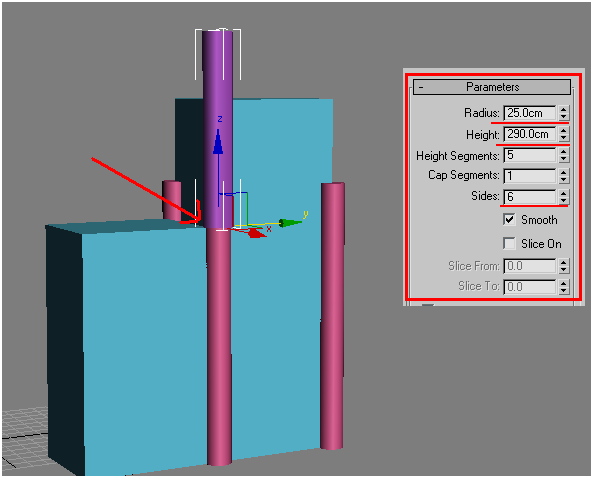
Draw a cylinder place it in the following position with following properties.
Duplicate the cylinder and place them rest of the 3 corners.
Step-3
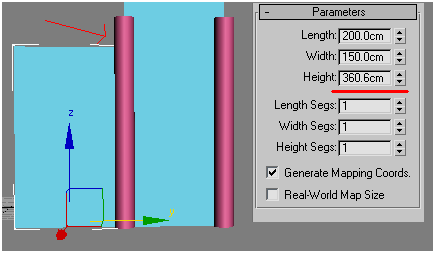
Duplicate the box and resize it to 360.6cm. we use this as a measurement for placing something at the height of 360.6cms.
Step-4
Duplicate the cylinder, set the following properties and place it at the height of duplicated box in the following way (at the height of 360.6 cm)
Duplicate it and place them at rest of the three corners and delete measurement box.

Step-5
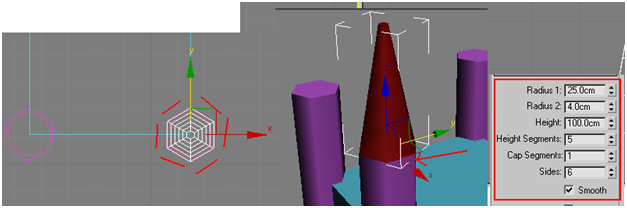
Draw cone(Standard primitive) with following properties and place them on top of the cylinder.
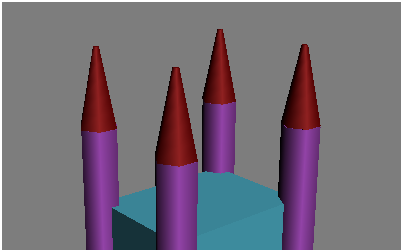
Duplicate the cone and place them on the rest three cylinders.
Step-6
Draw a box with following properties and place it in the following way.

Step-7
Duplicate the same box and decrease its height to 60cm and place it like this….

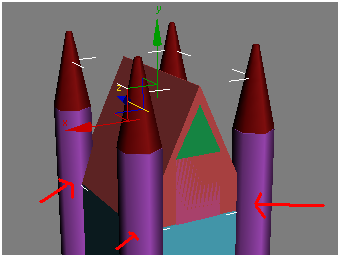
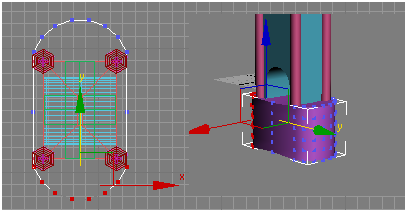
Right click the object and convert it into “Editable mesh”, select “vertices” option and select top right corner two vertices from front view and move them to center.
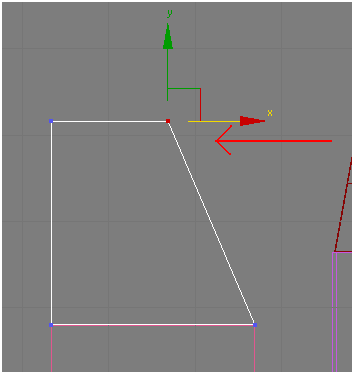
Similarly top left vertices.

Finally, it should look like this…

Step-8
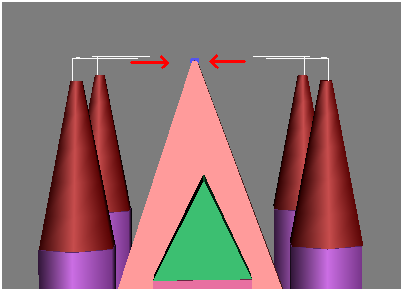
Duplicate the above modified object, using vertices match the base of the object to the following object.
Decrease the width of the top to 60cm (to measure centimeters, follow the process which I’ve shown you earlier)

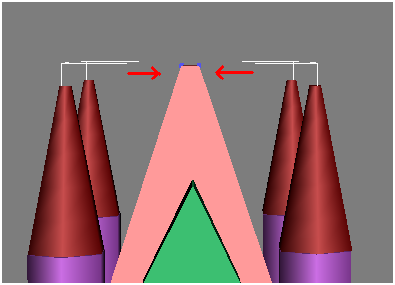
The top is sharp, lets un sharp it using vertices.
The result should be like this…
Step-9
Duplicate the following object and place it in the following way.
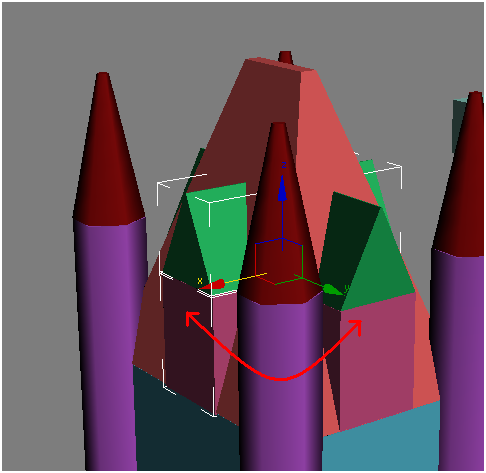
Step-10
Create cross, duplicate it and place them on top of the cones.
Step-11
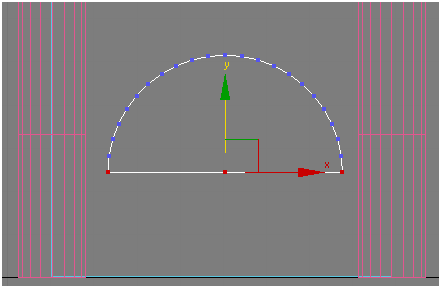
Draw a semi circle cylinder with following properties and place it at the height of 170cms.

Step-12
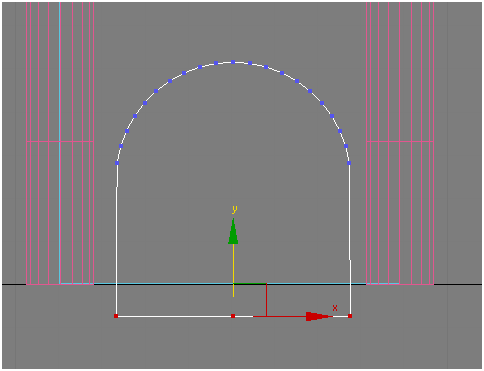
Convert the object into “editable mesh” and select bottom vertices.
Drag them down.

Step-13
Now select main tower, go to Compound objects >> Boolean >> Pick Operand B

Select “Pick Operand B” and click on the following object to make a way through the tower.
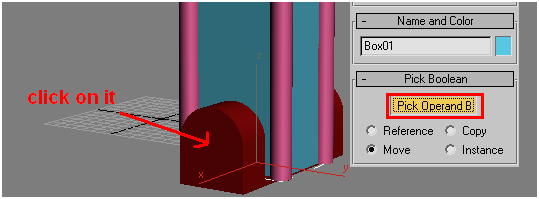
You get result like this….

Step-14
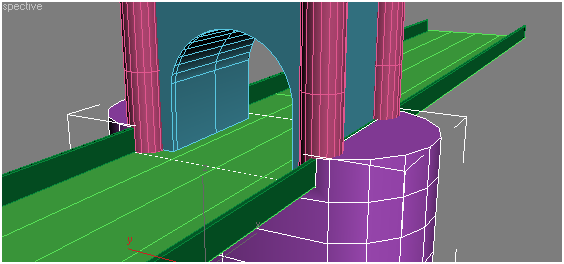
Create cylinder with following properties to place it as a base for the tower.

Convert the object into editable mesh and select semi circle vertices (top and bottm) and drag them to other side of the tower in the following way.
Step-15
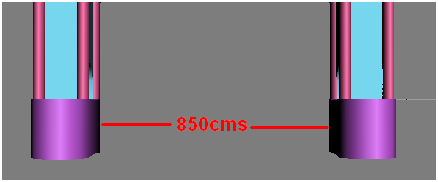
Duplicate the whole tower and place it at 850cm distance in the following way.
Step-16
Lets create road using plane (Standard primitive) with following properties.
Step-17
Create walls on both side of the road with following properties.

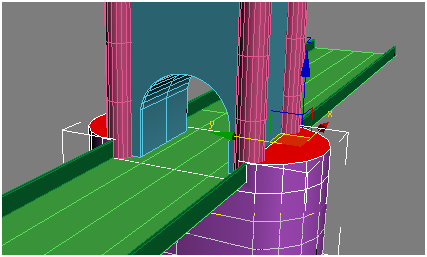
Step-18
Boolean out the base to level up with road.
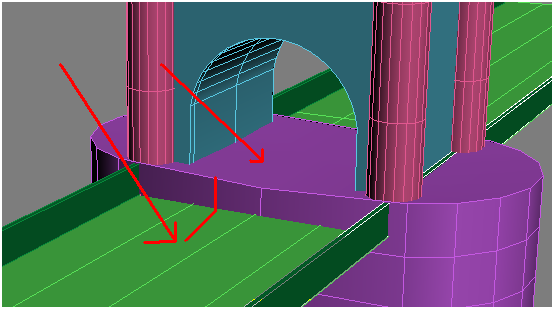
Create a box with width of the road and cut the road using Boolean method.

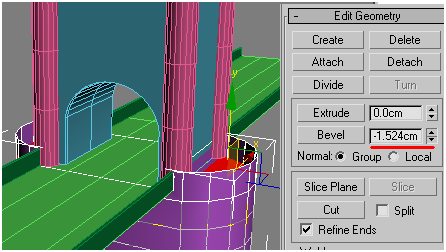
Convert it to editable mesh, using “polygon” option select surface.
Extrude the selected surface to -35.5cm

And bevel the selected surface to -1.5cm
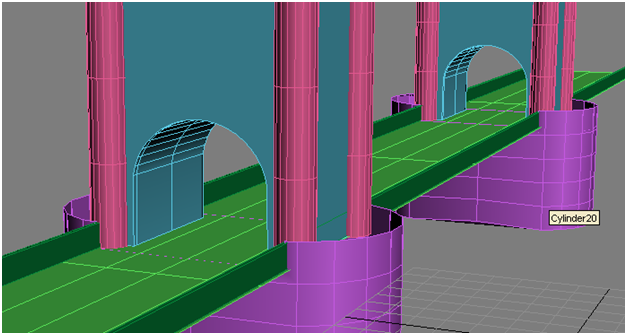
Duplicate the base and replace the other base.
Step-19
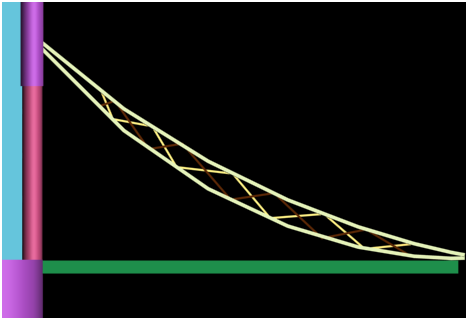
Draw two lines using lines from “splines” options in the following way.
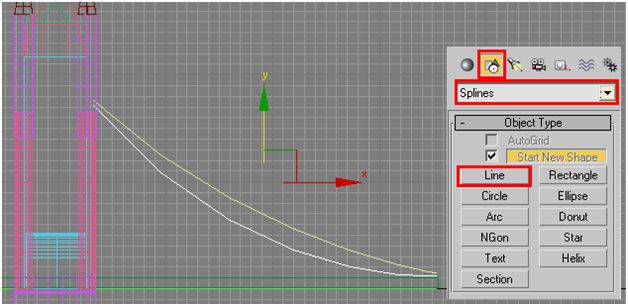
Go to line’s properties and set the following parameters.
The parameters will add mesh to the line.
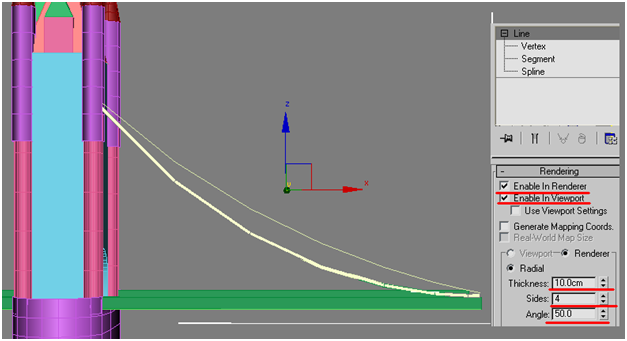
Do the same thing with the other line too.
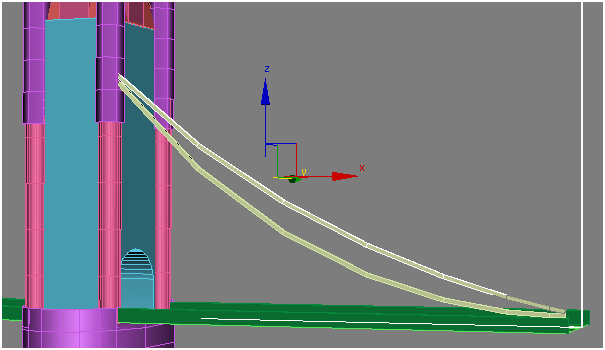
Step-20
Using the same line properties, draw lines in the following way.
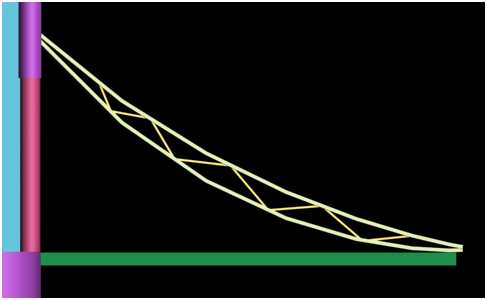
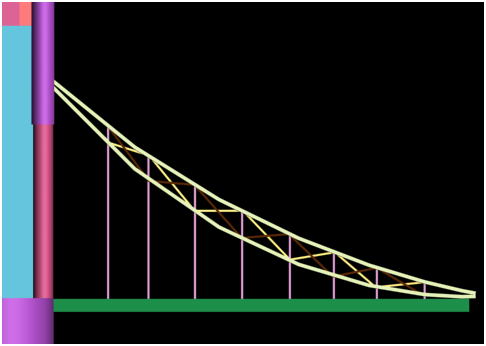
Make three copies of those lines and place them like this…..
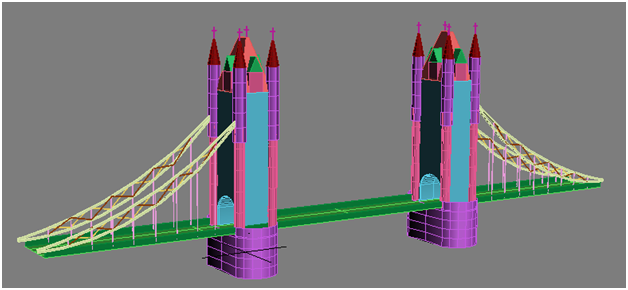
Step-21
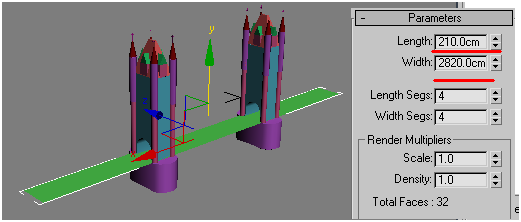
Connect the towers at the top using box primitive with following properties.

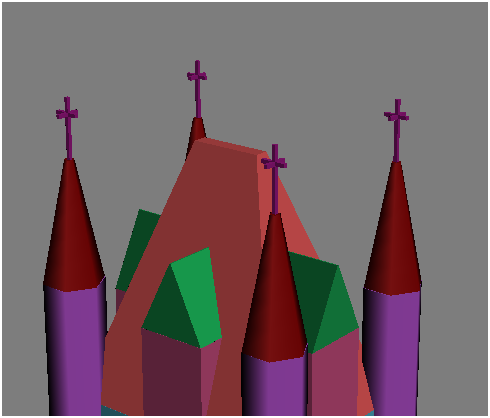
The final result supposed to look like this….
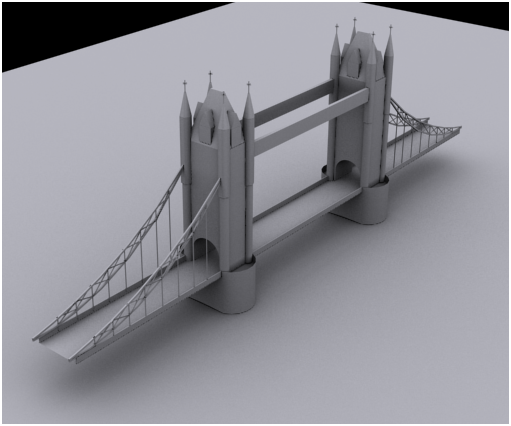
In Next part we will learn to add textures to the model.
I hope you find this tutorial useful.
Enjoy!

