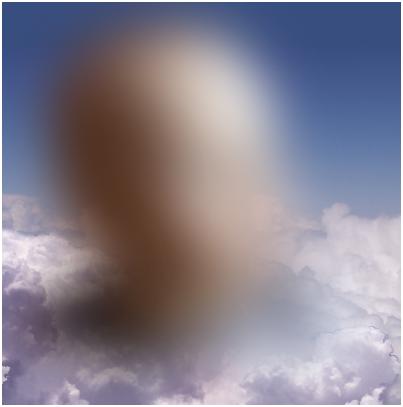
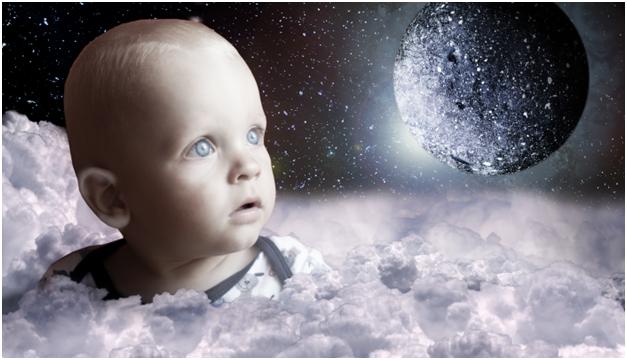
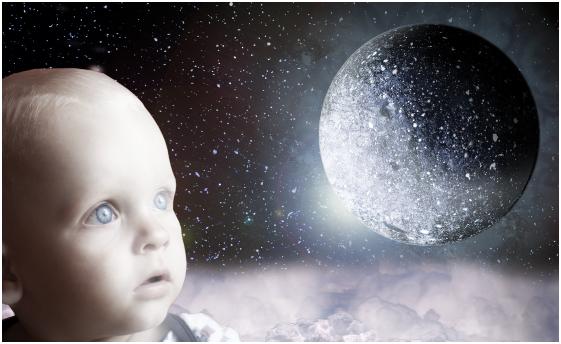
Photo Manipulation: Surreal Dream
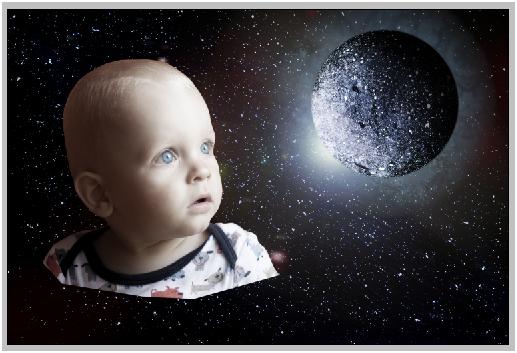
Final Image:

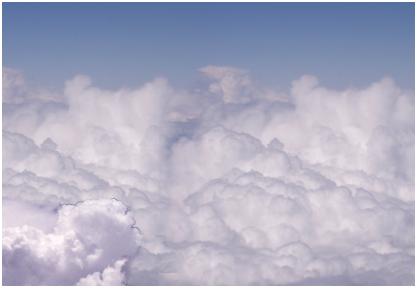
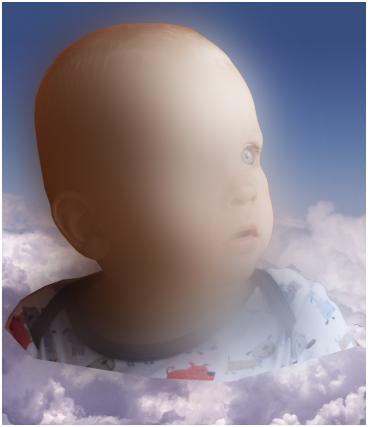
Image Resources:
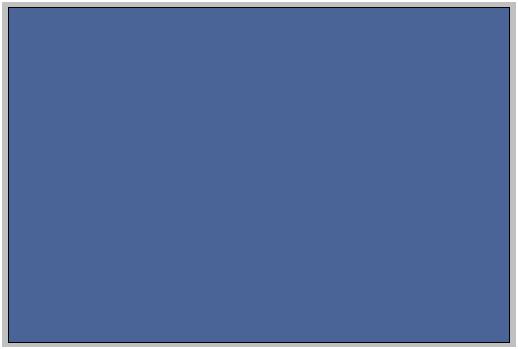
Step-1
Create a New Document with 3000×2000 file size with 300dpi
Fill it with blue color(#4A6497) in a new layer.
Step-2
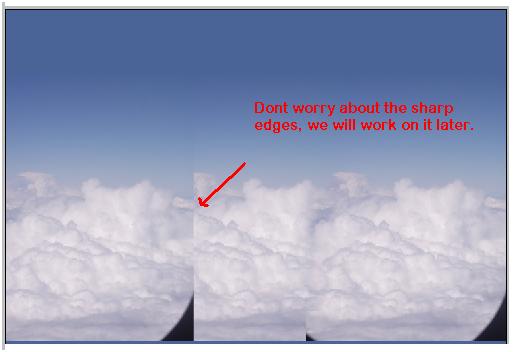
Here we set up the background of the scene with clouds as following
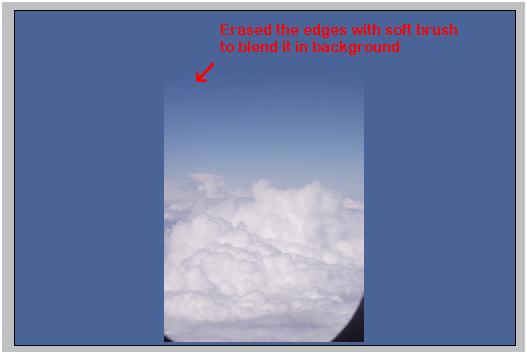
Copy the same image and fill the background with it.
Add one more different cloud image by removing the background sky.

Step-3
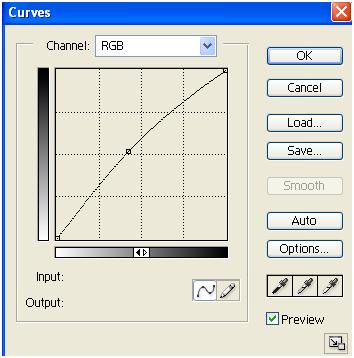
Create adjustment layer above the clouds layers for “Curves” and increase bit of contrast of the clouds.

Step-4
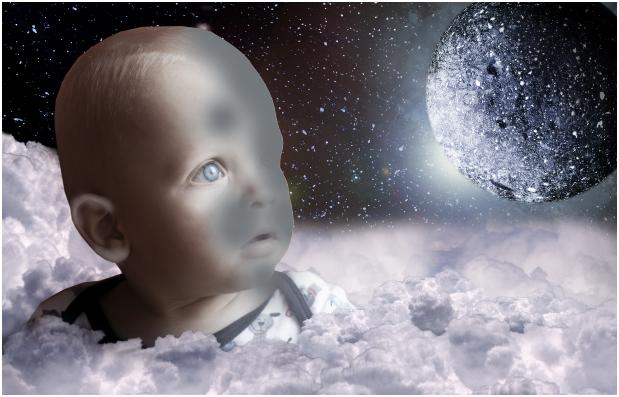
Mask the back ground of the kid. (For this, select the kid with polygonal lasso tool and click on “add layer mask” from the bottom of the layers palette )
Step-5
Lets add some softness and glow to the kid. For this, duplicate the image and apply Gaussian blur.
Set the blending mode of the blurred image to “Soft Light”

Step-6
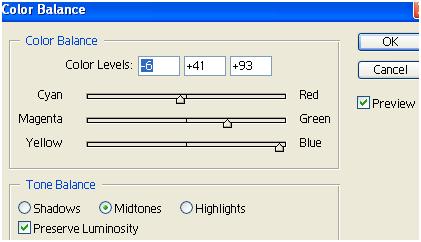
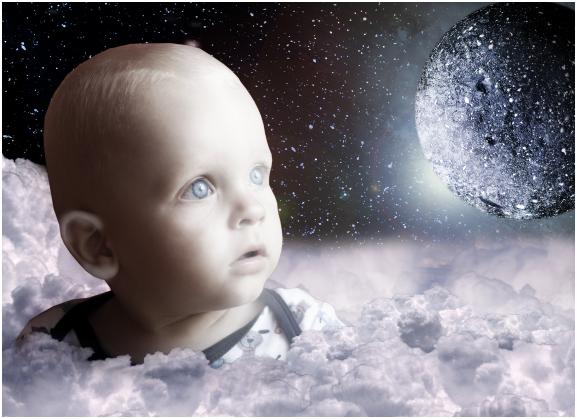
Select the eyes of the Kid, create a new adjustment layer with color balance and turn them into blue with following properties.

Step-7
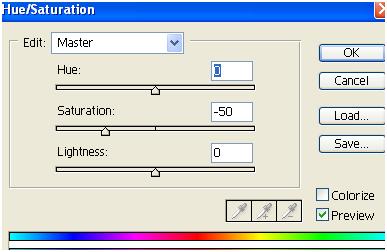
Similarly, lets desaturate the image a little bit: Select the kid using lasso polygonal tool.

Create a new adjustment layer with “Hue/Saturation” and apply the following color adjustments.

Step-8
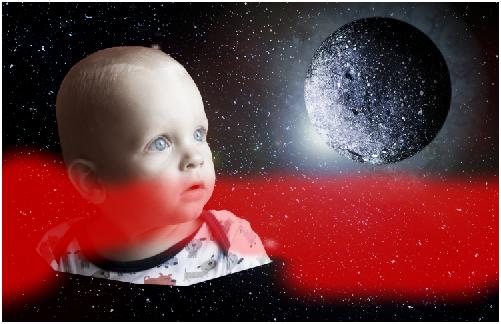
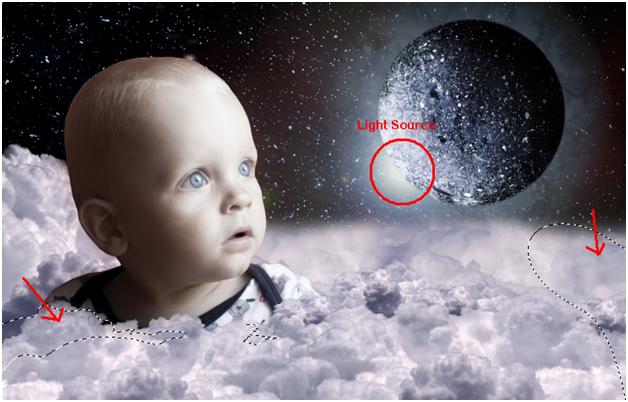
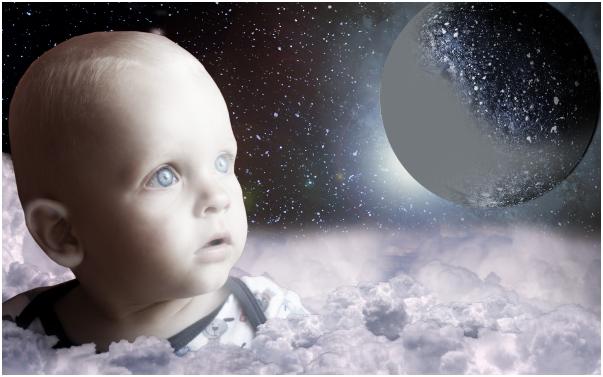
Right behind the kid image, in a new layer place the following moon and stars image.
Mask the following red area to display the clouds from the background.
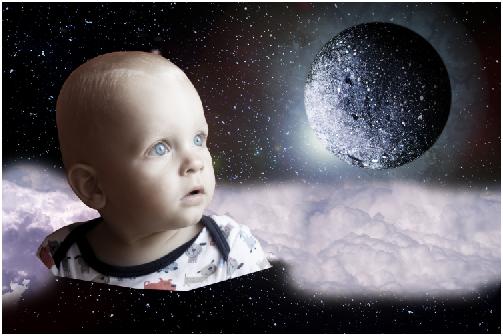
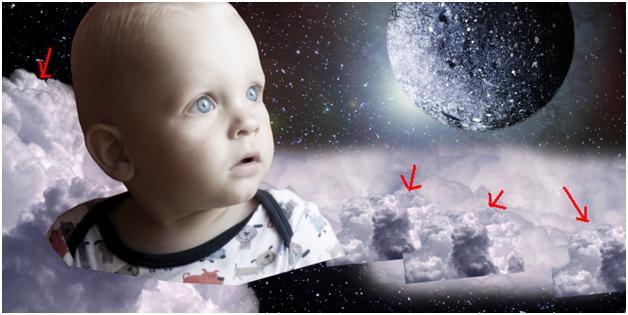
Step-9
Now, mask the clouds, make copies and place them in different places with different sizes in the following way.


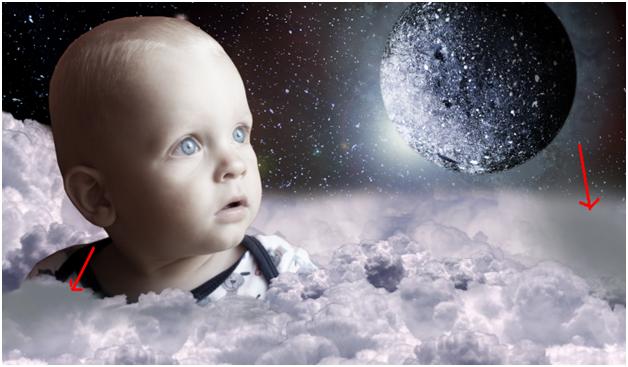
Step-9
Apply shadows in the following areas based on lighting source’s position.
Brush the above selected areas with gray color (#757A7E) using soft brush.
Step-10
Decrease the opacity of the shadows to 50% and blend mode to “Linear Burn”
Step-11
Let’s increase the brightness according to Lighting: Brush the following areas with gray color(#7F7F82)
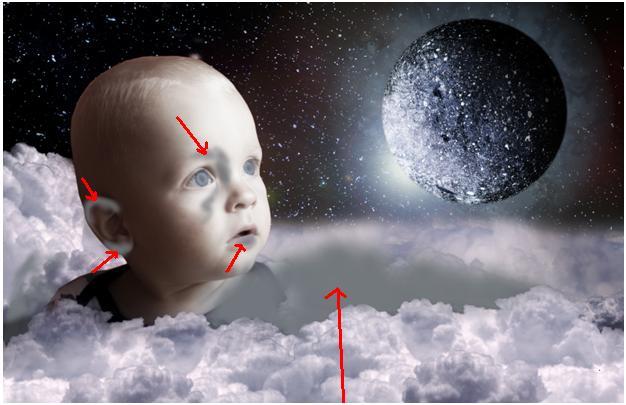
Decrease the opacity to 60% in layers palette and set the blending mode to “Screen” to achieve the following result.
Step-12
Similarly brush the following area of the face to increase the lighting effect and change the blend mode to screen.
Similarly to the moon.
Step-13
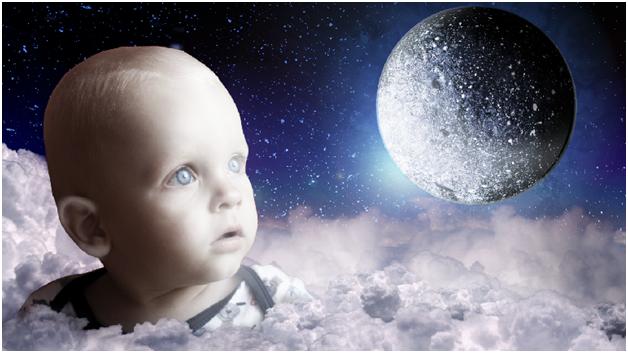
Now set the blending mode of the “moon and stars ” image to ‘Overlay’ to get the following result.
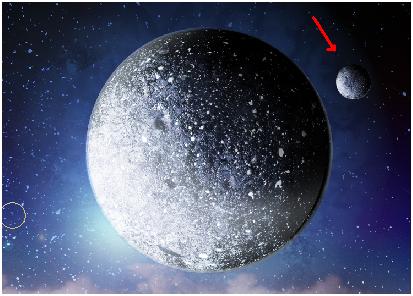
Duplicate the moon, resize it and place it in the following way.
Step-14
Finally, Create a new layer on top of all the layers and fill it with blue color(#4A6497) and set blending mode to “Soft Light” to get final result like this…
I hope you find this tutorial useful.
Enjoy!!