Hello friends, this time you will learn to model Niagara Falls (which look realistic from a distance) in 3ds max in few easy steps. So, let’s get started!
Resources:
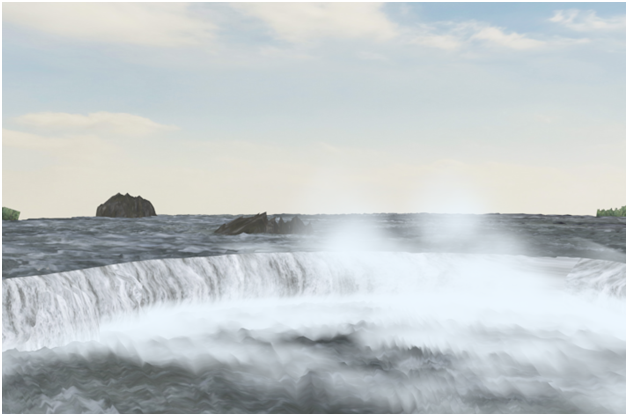
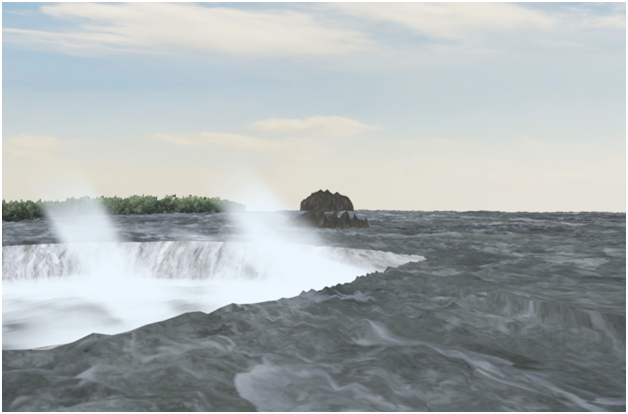
Final Image:
Video Preview:

Step-1
First of all, look for the reference images of Niagara in google search mostly of top view images.
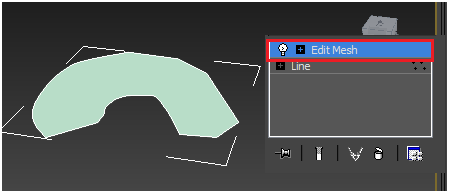
Now, in 3ds max draw outline of the Niagara in top view.

Convert it into “edit mesh” from modifiers list.
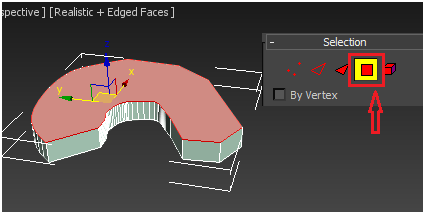
Select the surface using polygonal selection and extrude it.
Step-2
Make selection of the following side of the object : We use this object for water fall.
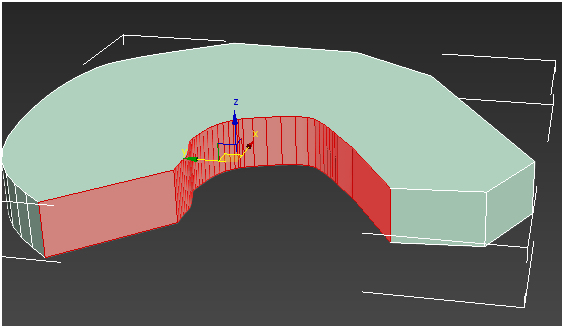
Holding “Shift” key, move the selection to make copy of it, then select “Clone to Object” from pop up to make the clone to be a separate object.

Step-3
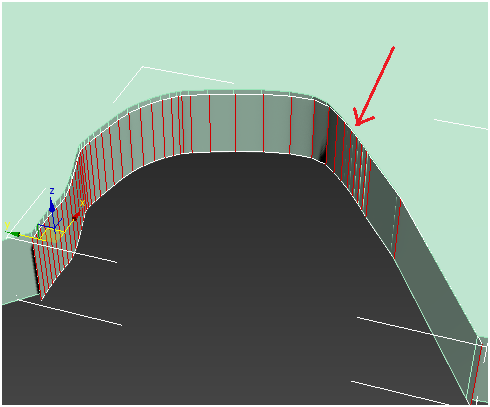
Convert the cloned object to “Editable poly” and select the edges in the following way.
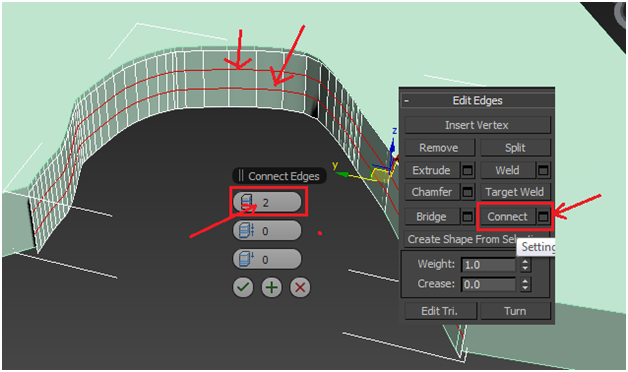
Click on “connect” option to get two horizontal edges.
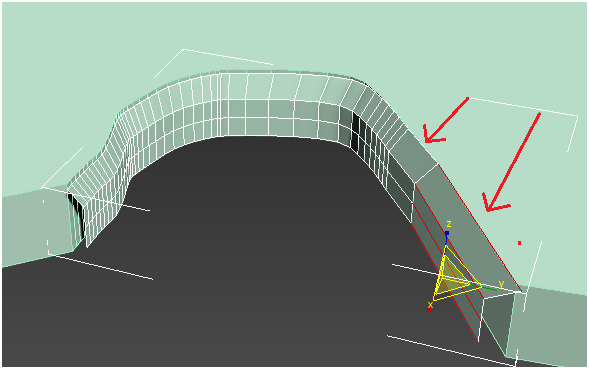
In vertices mode, select bottom vertices of the cloned object in the following way.

Drag them forward.

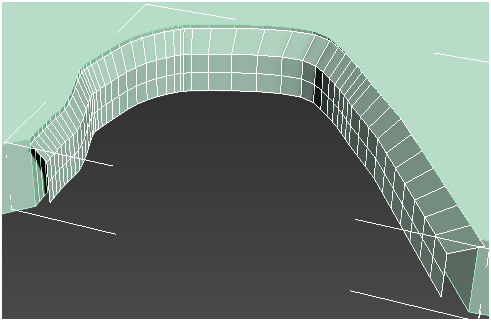
The vertices in the above scene are not distributed proportionately, so let’s add segments in the gaps like earlier.
Step-4
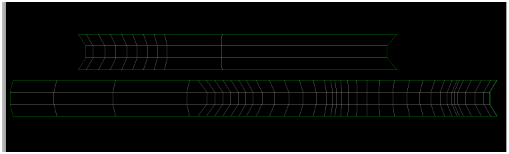
Now, let’s increase the segments of the object.
To increase the segments, add “Tessellate” from modifier list with the following properties.

Step-5
Add noise with the following properties.
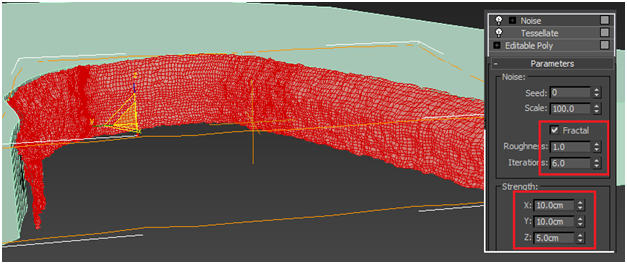
Step-6
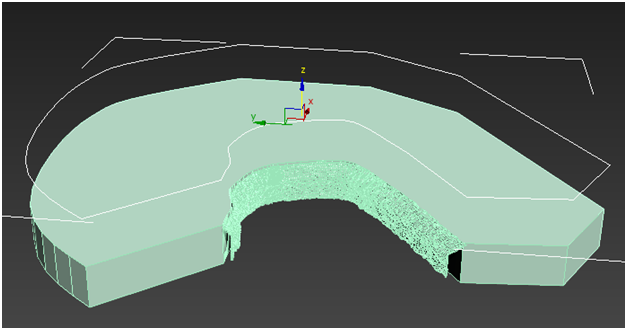
Similarly, clone the surface of the main object, increase the segments and add noise. We use this for water surface.
Or
(Better way) You can draw outline of the surface using line like this….
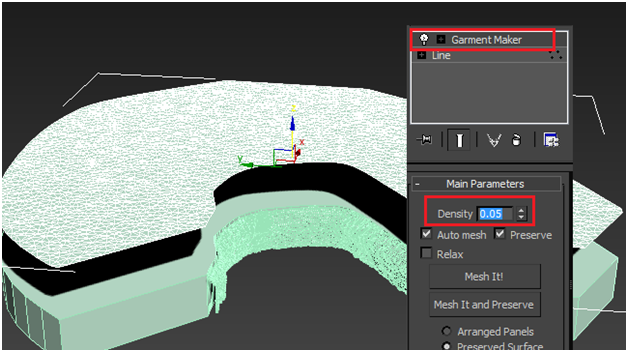
Add “Garment Maker” modifier with the following properties….
Care full with the Density value….
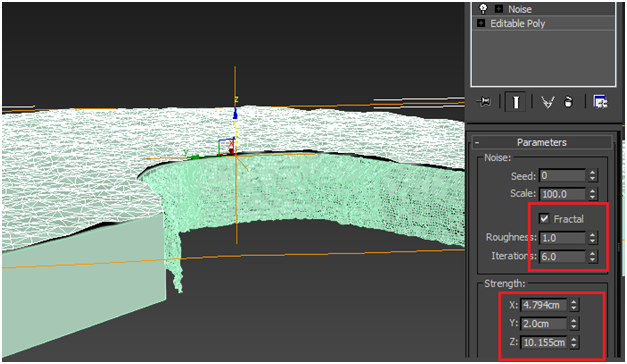
Convert it into editable poly and add noise with the following properties.
Step-7
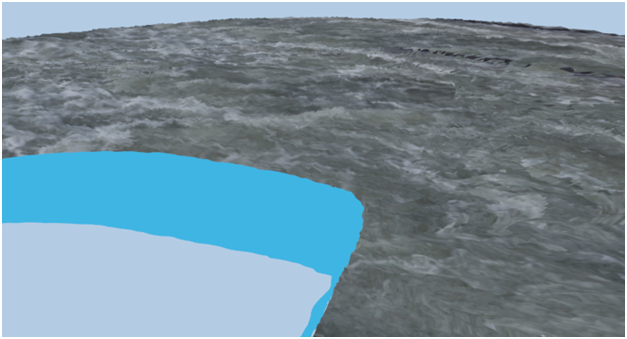
I’m using the following image as the water surface.

You get the result like this……
Step-8
Add “Unwrap UVW” map modifier to the waterfall object to get the following uv map. (To learn more about unwrap uvw map, goto “London bridge” tutorial part-2)
Apply water fall material on it in photoshop.
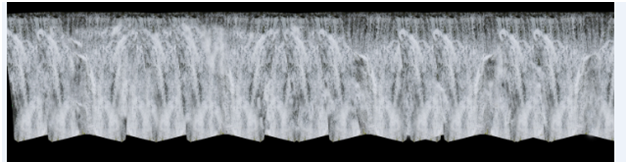
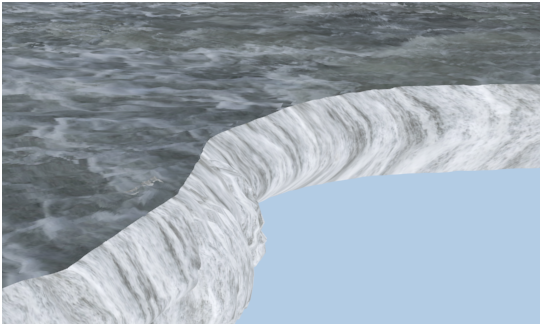
Apply this material to the object to get the following result…..
Step-9
Lets add forest in the background.
We use the following mask and image for the forest.
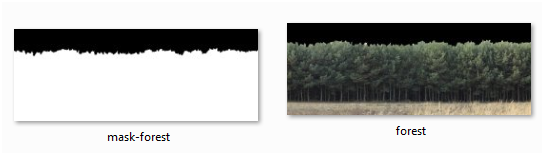
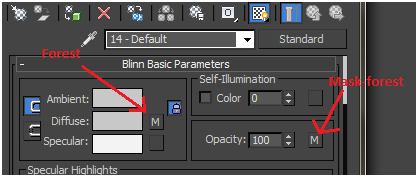
We apply them in the material editor in the following way….
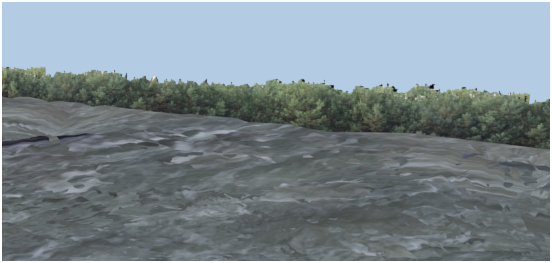
Apply this on a plane to get the result this….

Rendered….
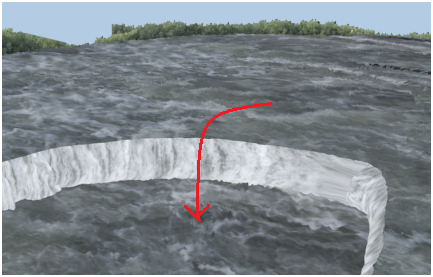
Step-10
Make a copy of the surface water and place it at the bottom.
Step-11
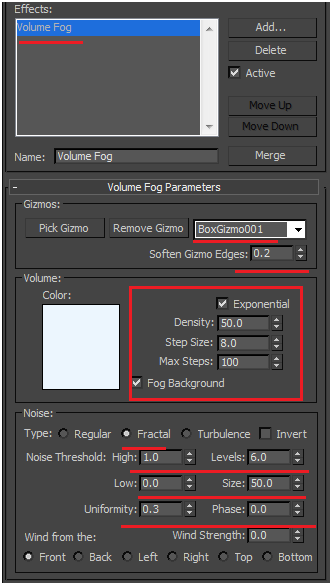
Let’s add fog using “BoxGizmo” with following fog properties……
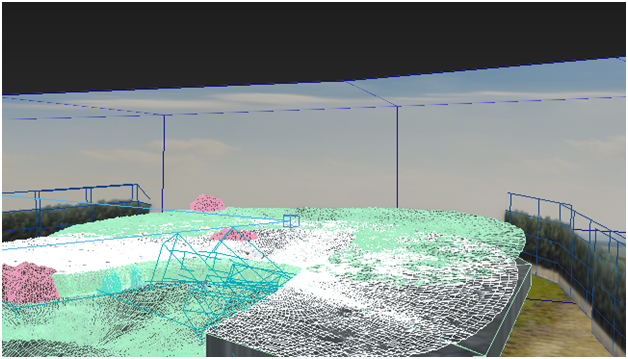
Let’s add multiple gizmos with the same fog properties to get the following result……

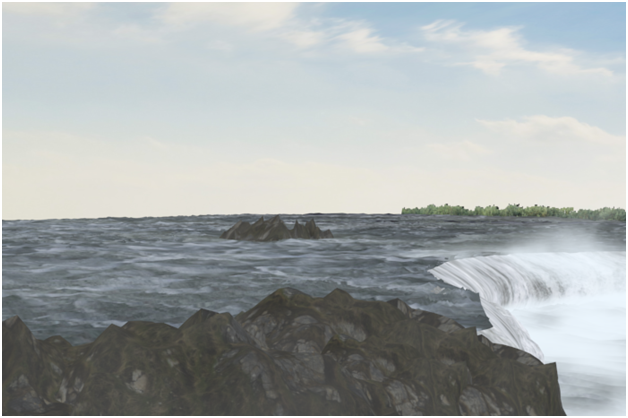
Last but not least, lets add rocks(using geo spheres with noise) and a sky (using plane)
Finally, you get result like this…
I hope you find this tutorial useful, will see you in the next tutorial.