In this tutorial, you will learn to add effects to a photo with few brush strokes, in few simple steps.
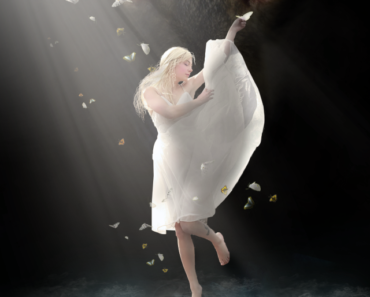
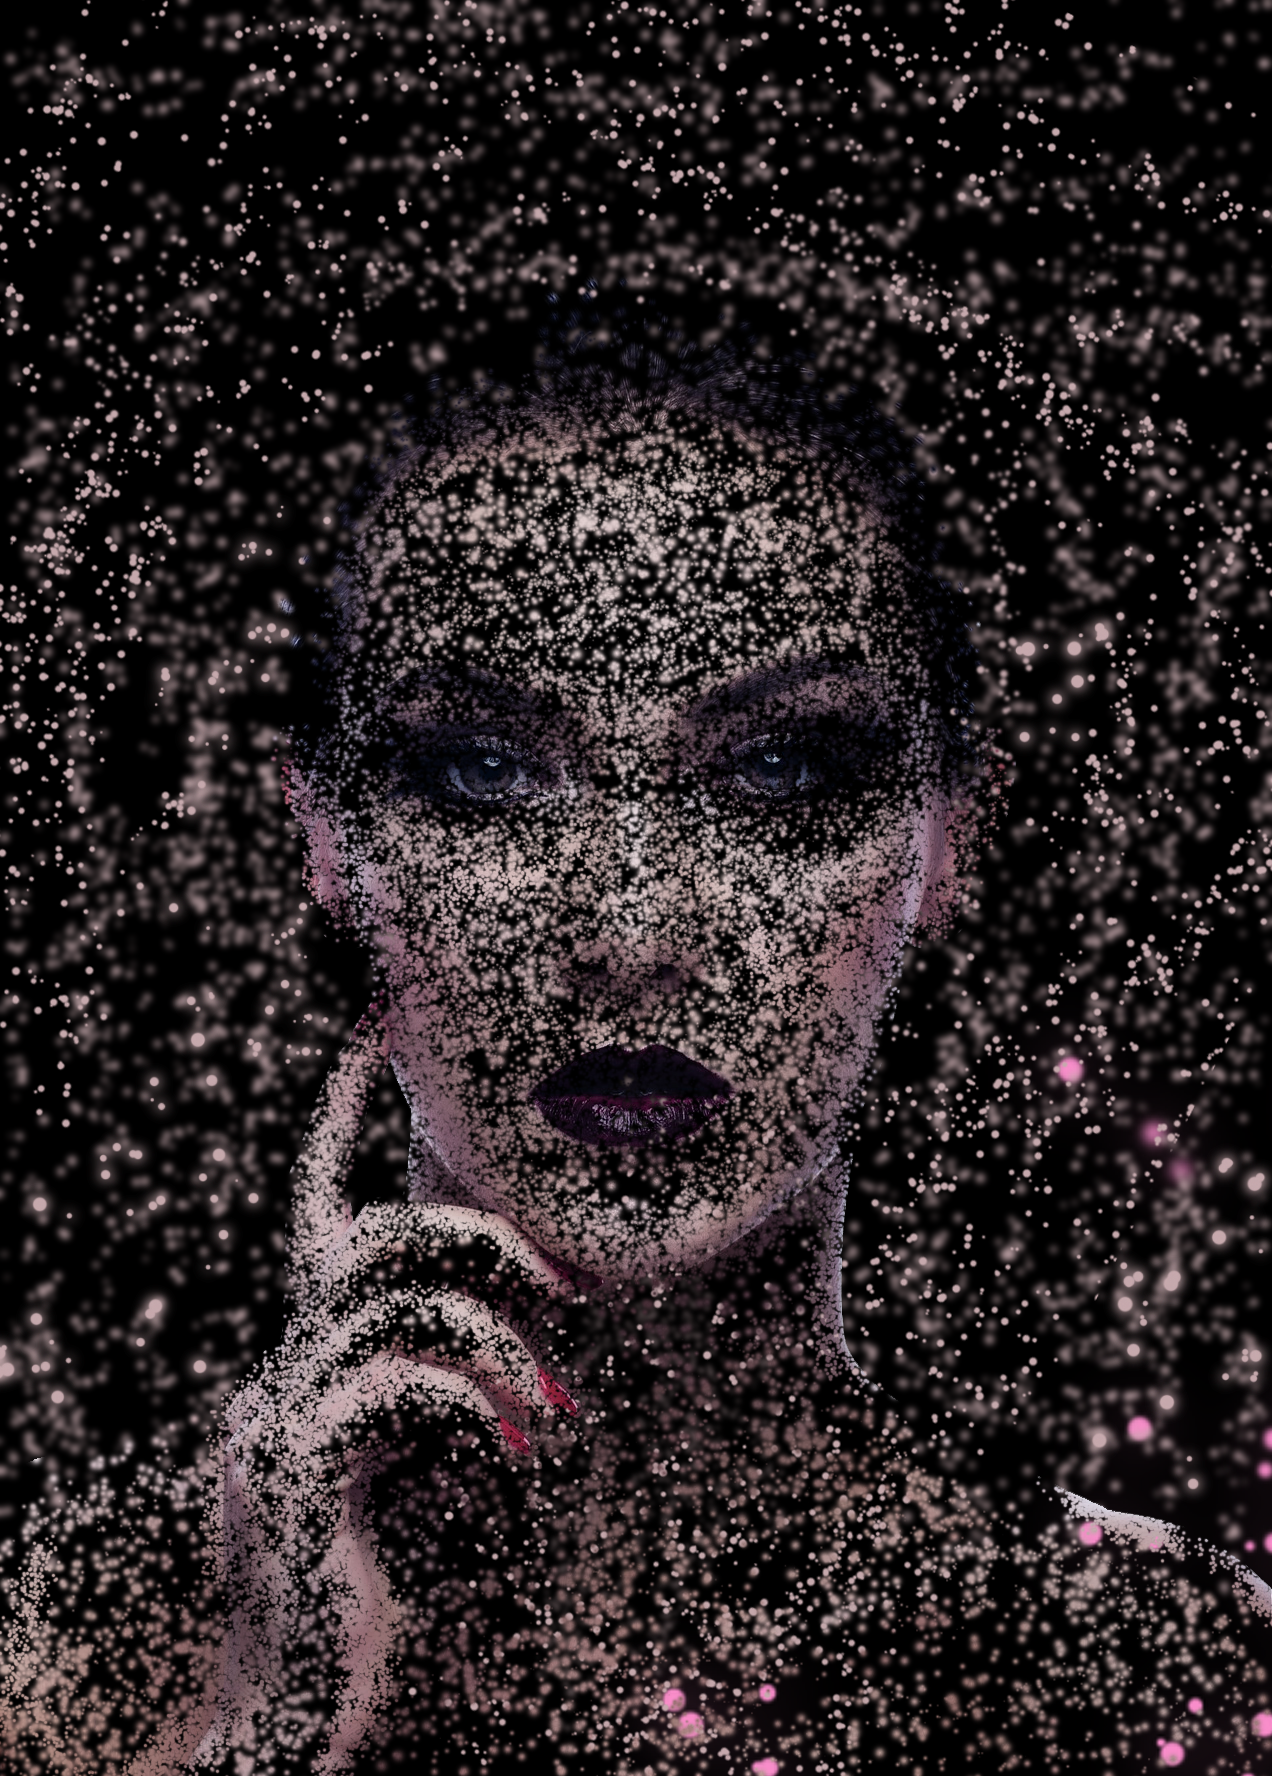
Final Image:
Resources:
Step1
Remove the white background from the image, using polygonal lasso tool or magic wand.

Step-2
In a new layer, fill the background with the skin color(#c6a9ad): (Select the color from the photo using color pick)

Note: There is one more black background layer at the bottom of all layers which should be locked and untouched.
Step-3
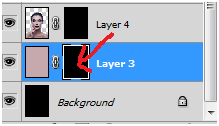
Mask the image:
Select the photo layer and click on “add vector mask” button to add mask.

Step-4
Select the “Layer mask thumbnail” of the photo layer and fill it with black color. This should mask complete photo and you should see only background.

Repeat same masking process to the skin color background layer.
Step-5
Setting up brush properties:
Set the following properties to the brush

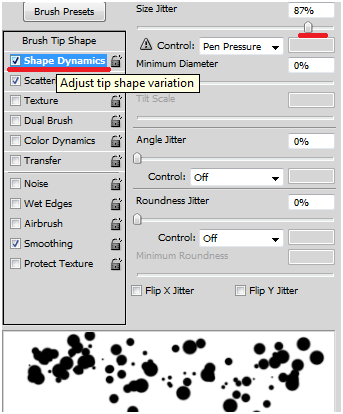
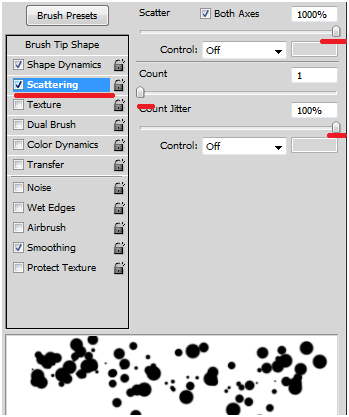
Step-6
Now set brush color to white and do brushing in “layer mask thumbnail” of photo layer.

You should get result like this….
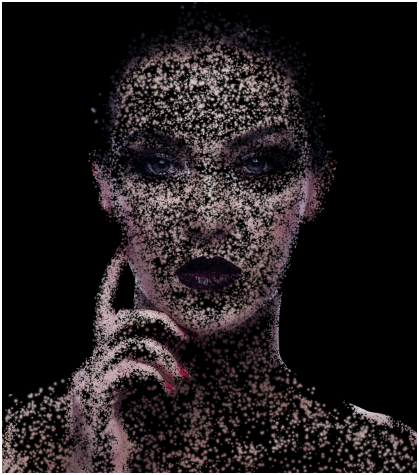
Note: You can increase or decrease the brush size as per your requirement and also use soft and hard brush with same presets.
Step-7
Similarly, apply the same process to the background layer to get result like this….
Note: Instead of masking the background layer, you can also directly spray with same brush style and skin color (#c6a9ad) in a new layer to get the above result.
Experiment with different brush presets to get variety of effects.
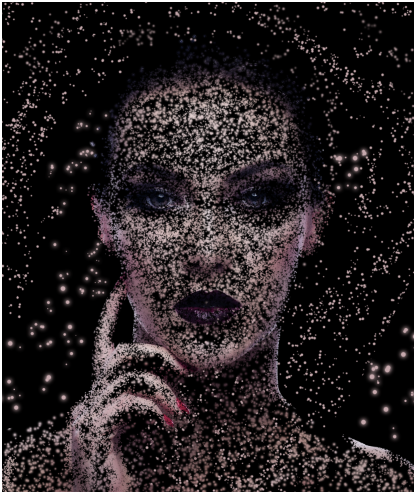
Final Result:
Finally, create a new layer in the background.
Using the same brush presets and color(#c6a9ad),
spray in the background and blur it (Filter>>Blur>>Gaussian blur(3.5)) to get depth of field effect .
You get the final result like this…
I hope you find this tutorial useful.