In this tutorial, you are going to learn a simple abstract.
Take a new file with file size 2000×1000 pixels
Take a new layer, fill it with blue.
Go to filter>>render>>lighting effect, set the parameters as follows…
Result…
Take a new layer,
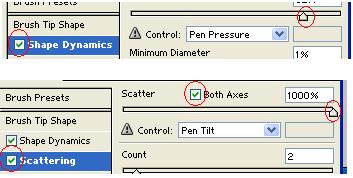
Take a brush, set the parameters as follows….
Enable air brush….
Now brush the screen like this with opacity 50%..
Go to filter>> pixelate >> mosaic..
Go to filter>>stylize>>find edges
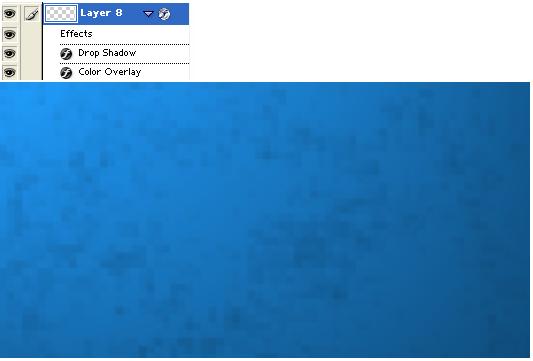
In layer styles add following effects. In color overlay, change color to black and leave rest of the parameters as it is….
Creating circles
Take a new layer, fill it with black color and
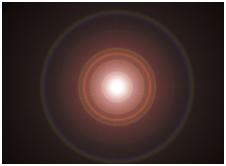
Go to filter>>render>>lens flare , position the focus like this…
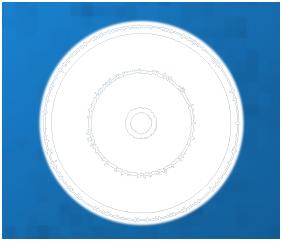
Go to filter>>stylize>> trace contour…. And cut it in the circle….
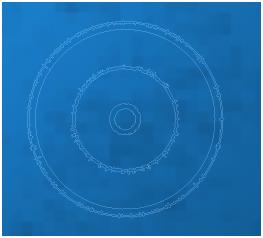
Now, invert the image (Ctrl+I) and change the blending mode of the layer to “screen”. You get result like this…
Create one more circle in the same process as above….
Creating lines
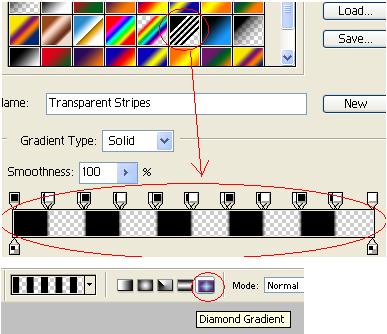
Take a new layer and go to gradient tool and select the following gradient style…..
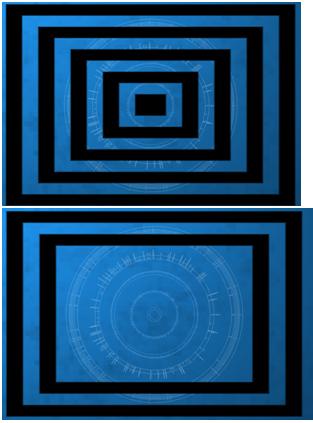
Draw something like this….
And edit it like this…..
Go to filter>>blur>>motion blur
Go to filters >> pixelate >> mosaic
Go to filter>>stylize>>find edges
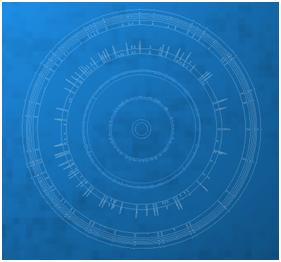
Invert it (Ctrl+i) and change blend mode of the layer to “screen”
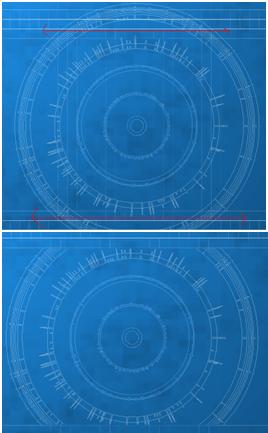
Cut the top and bottom of the outer circle…
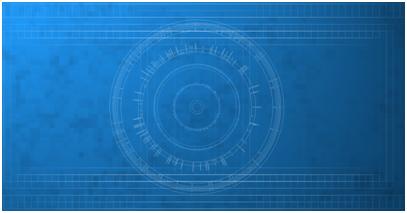
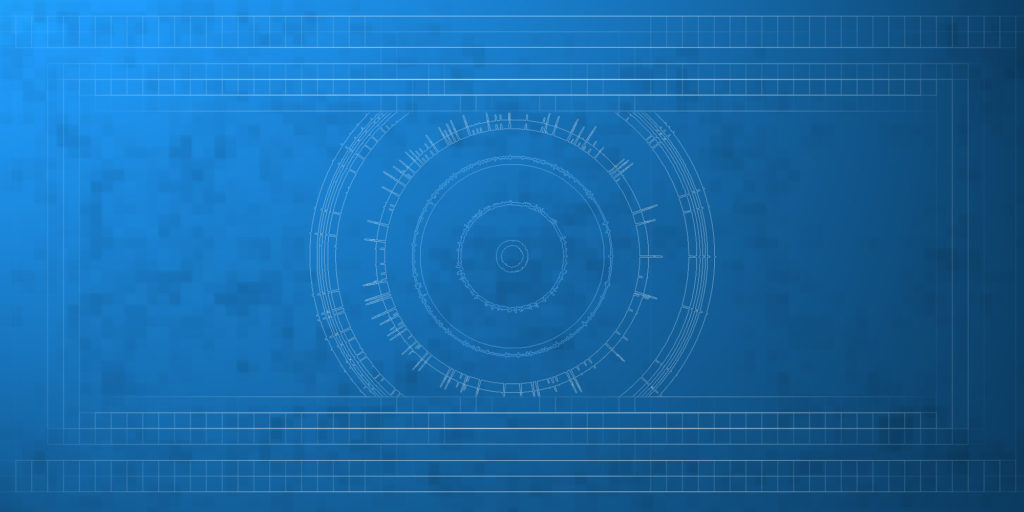
That’s it, this is the final image…….


