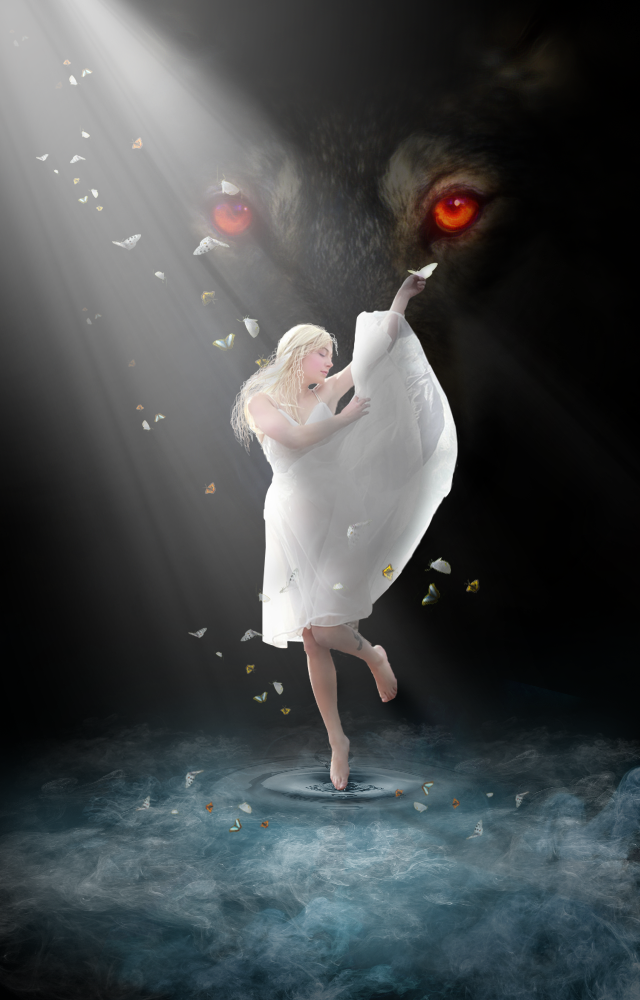
Using variety of stock images and different photo manipulation techniques, lets create a fantasy scene of beauty and the beast.
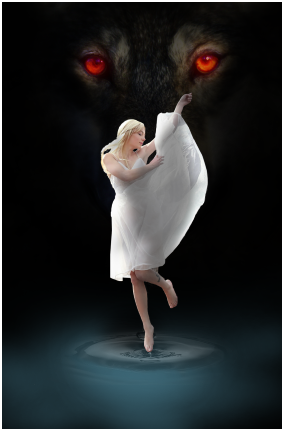
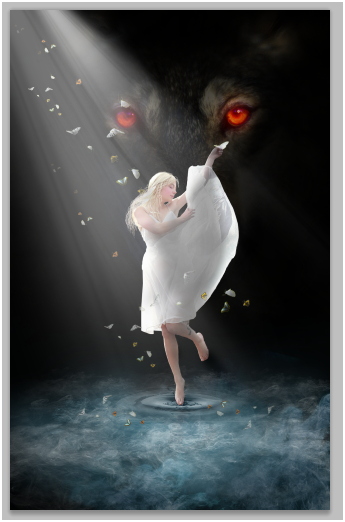
Final Image:
Resources:
Working with the wolf and background.
Step-1
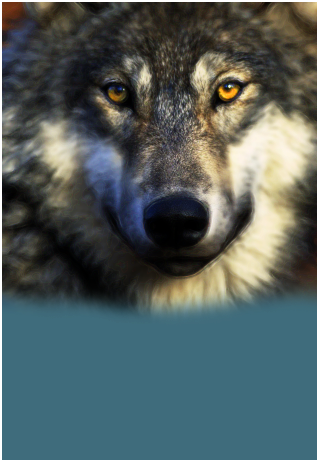
Create a new document with 640×1000 file size.
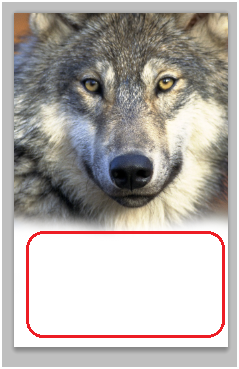
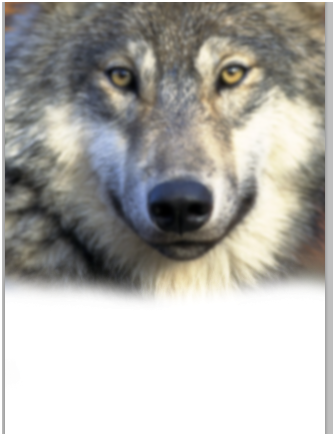
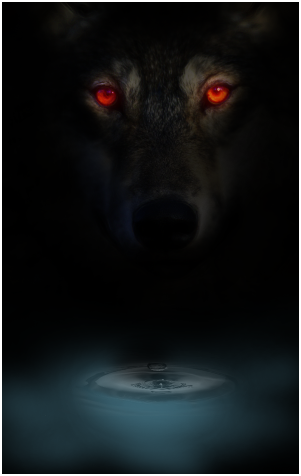
Place the wolf image in the scene and mask the bottom half.
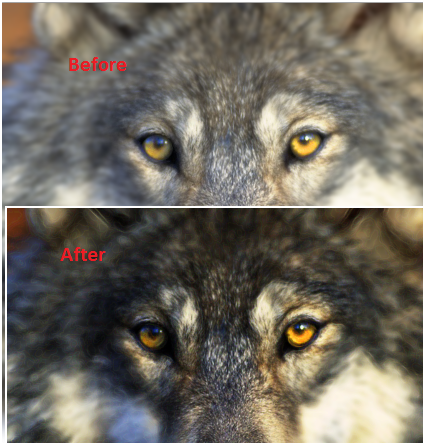
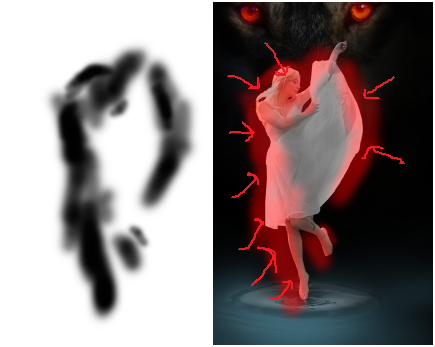
Step-2
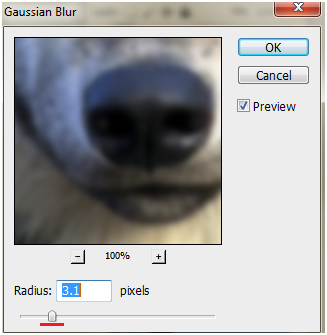
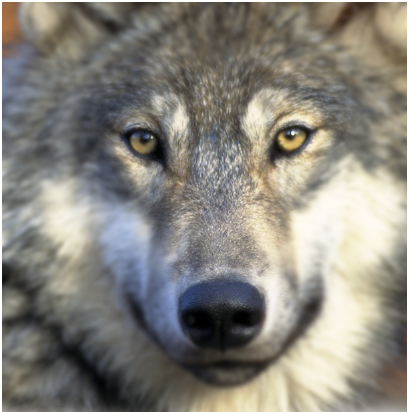
apply Gaussian blur. (go to Filter>>Blur>> Gaussian blur)
Step-3
Since you applied blur to the smart object, you get “filter effect mask thumbnail” layer.
Now, by selecting the “filter effect mask thumbnail” layer, mask the blur effect to get depth of field effect.

Step-4
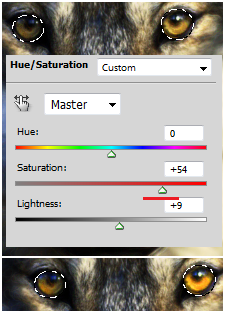
Select the eyes of the wolf and apply “Hue/saturation” with following properties to increase the saturation of the eyes.
Step-5
Duplicate the wolf layer and apply “Glowing edges” filter effect. (go to Filter>>Stylize>>Glowing edges)
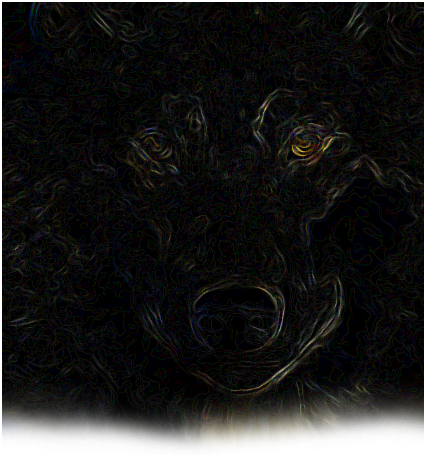
Set the blending mode to “soft light” – this whole step will improve the sharpness and contrast of the wolf.
Step-6
Lets create a background layer and fill it with blue color (#3f6c7c)- this layer will act as a water background.
Step-7
Now, we create a new layer at the top of all layers and fill it with black color to give darkness to the scene in the following way.
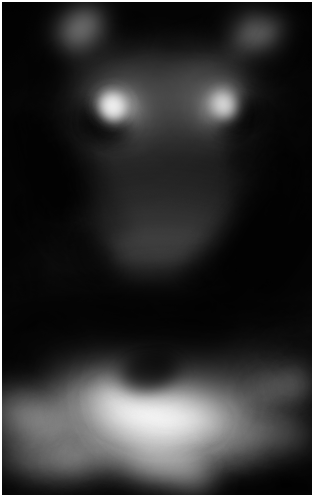

Step-8
To improve the dramatic sense of the scene, lets add red glow to the eyes of the wolf.
Select the eyes of the wolf and apply color balance and brightness/contrast with following properties.

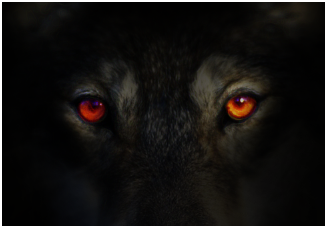
Using soft brush draw red color over the eyes in new layer and decrease the opacity to 60%

Step-9
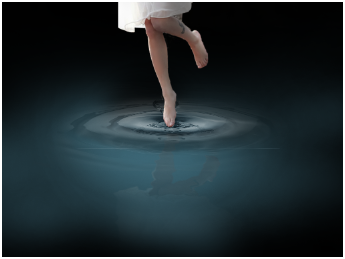
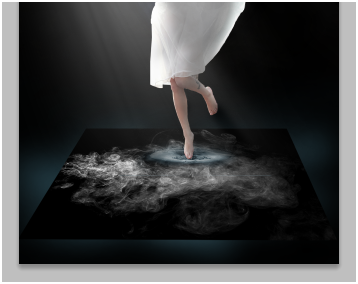
Place water ripple image and mask it as shown below
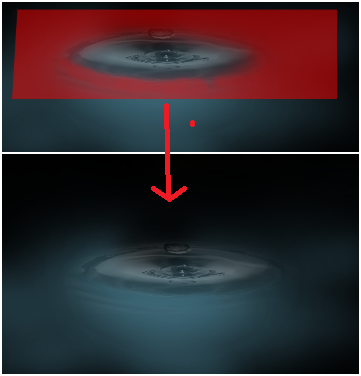
Decrease the opacity of the layer to 30%, so that it can blend into the water background.
(You can also color balance to match the background)
Working with Model
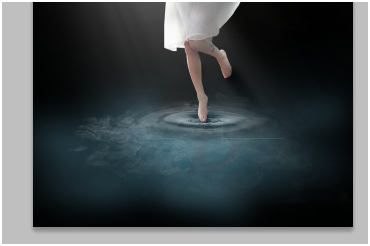
Step-10
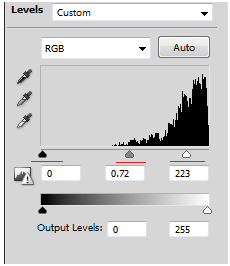
Place the model image in the scene and set the adjustment “levels” of the model in the following way to increase the brightness of the white dress.

Step-11
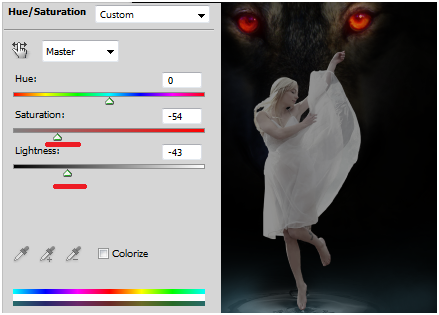
Now, we have to set lighting and it direction. I choose top left corner of the scene as light source. Top left side of the model should be brighter than the rest. To get that result, lets add Hue/saturation adjustment layer with following properties.
Step-12
Mask the adjustment layer in the following parts, particularly left side of the model.
Result should look like this….
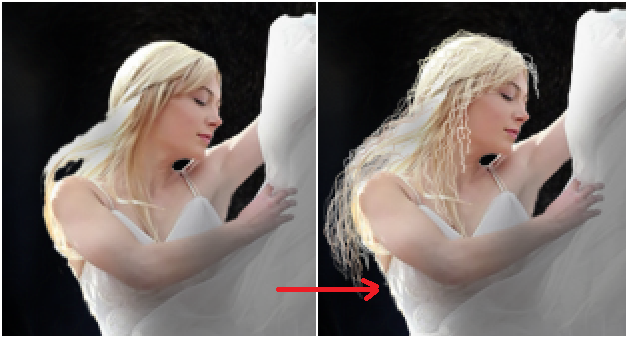
Step-13
Lets add hair!
If you are using mouse, it is bit difficult to draw straight silky hair, but it is very easy to draw curly hair.
Using color picker, select color from the hair.
Select soft brush with least possible size and draw curly hair.
Add Reflection
Step-14
Duplicate the model, flip vertical. Place it as shown below….
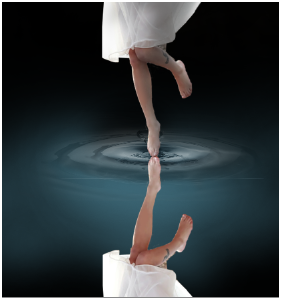
Go to Filter>>Distort>> Ripple. (Make adjustments as per your requirement.)
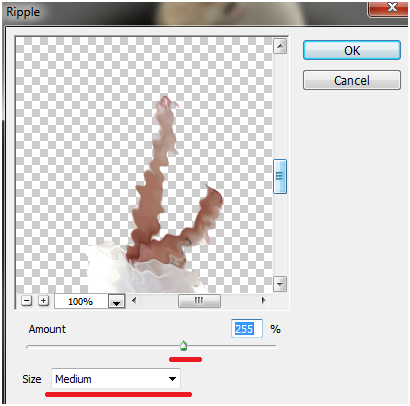
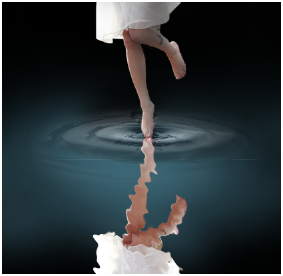
Decrease the opacity of the layer to 15%
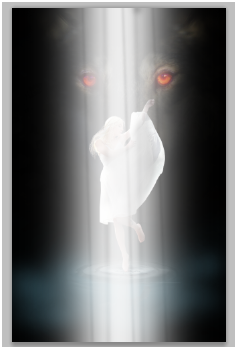
Add Light Rays
Step-15
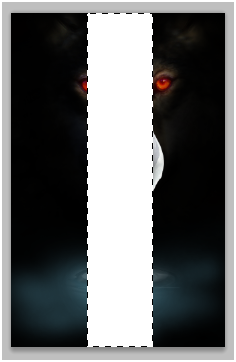
Create a new layer at the top of all layers.
Create a vertical bar using rectangular marquee tool and fill it with white color.
Add Gaussian blur to the white bar.
Filter>>Blur>> Gaussian blur – 50pixel

Step-16
“Add layer mask” to the layer.
Using soft brush with black color(opacity 20%), draw lines in the layer mask to get the below result….
Step-17
Make Transform selection(Ctrl + T) of the blurred white bar and change its perspective….
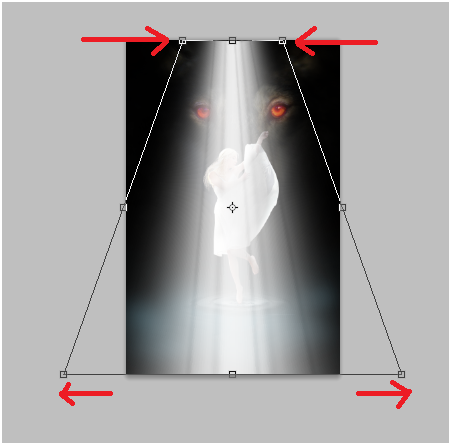
Change its position, angle and change its layer opacity to 50%…
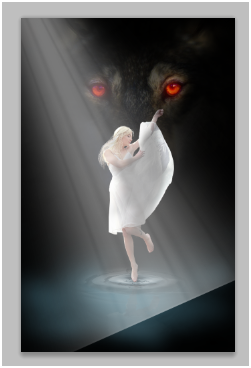
Mask the sharp edges at the bottom…….
Duplicate the light rays and mask the lighting at the following parts.

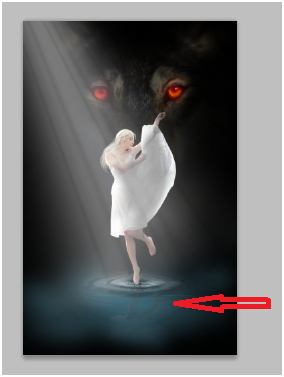
Add Fog effect
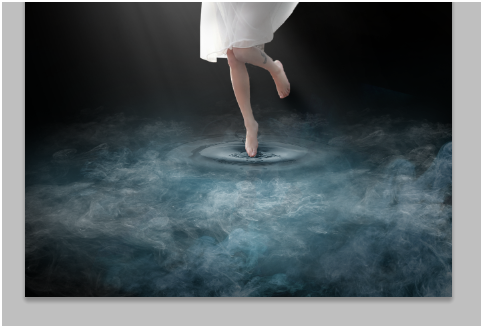
Step-18
Select smoke image and change its perspective in the following way..
Desaturate (Shift+Ctrl+U) the image and increase smoke’s whitness – background blackness using levels.
Note: Increasing the background blackness will remove the background of the smoke effectively when you change the layer mode to “screen”
Change its blending mode to “Screen” and opacity to 30%
Add “color balance” adjustment layer with following properties….
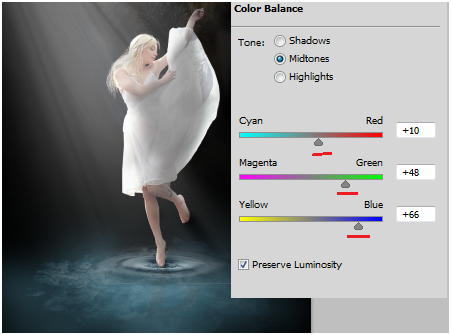
Similarly, use different types of smoke images with different perspective styles and sizes and cover the water background as shown below….
Add Butterflies
Step-19
Select the butterflies of different colors and poses.
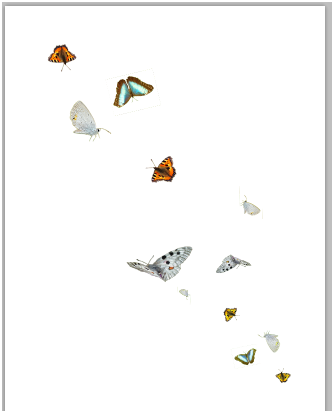
Make multiple copies of the butterflies with different sizes and colors (use hue/saturation), place them like this….

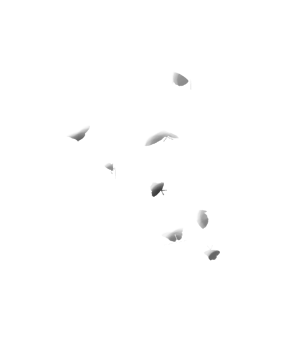
Mask the butterflies layers and decrease the transparency
Step-20
Lets increase the brightness of the light source…
In a new top most layer, draw a radial gradient….

Change its layer mode to “screen” and opacity to 60%

Add Shadow
Step-21
In a new layer, make selection of the model(Ctrl + click on the model layer) and fill it with gray color.
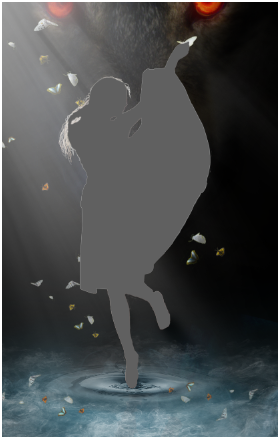
Apply little bit of Gaussian blur (Filter>>blur>>Gaussian blur)
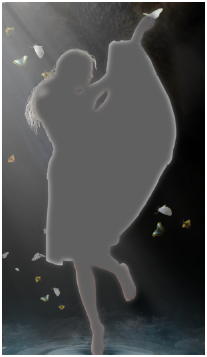
Using transform selection (Ctrl+T), skew it in the following way and change layer opacity to 30%

Finally, lets add some warm and cool colors to the scene using two photo filter layers with following properties…
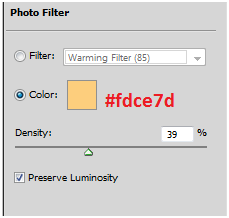

The final result should look like this…..
I hope that you find this tutorial useful.