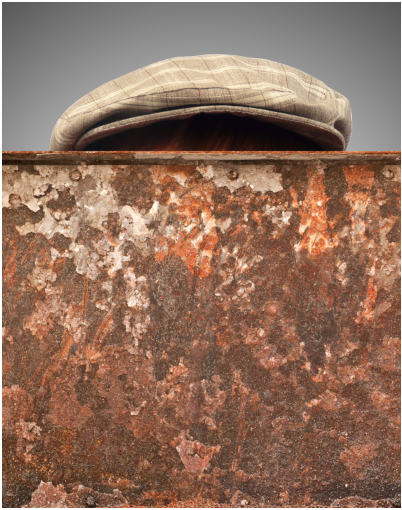
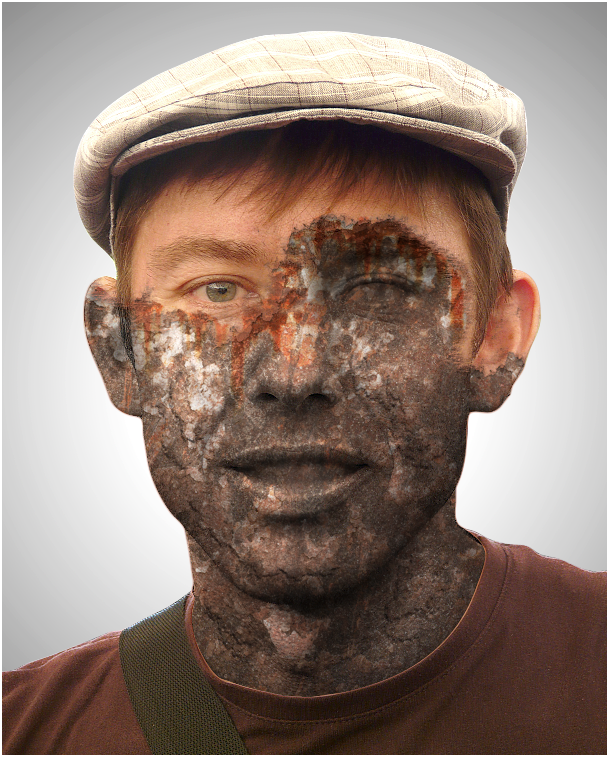
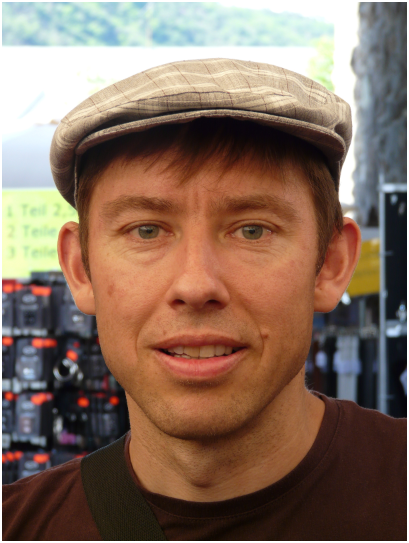
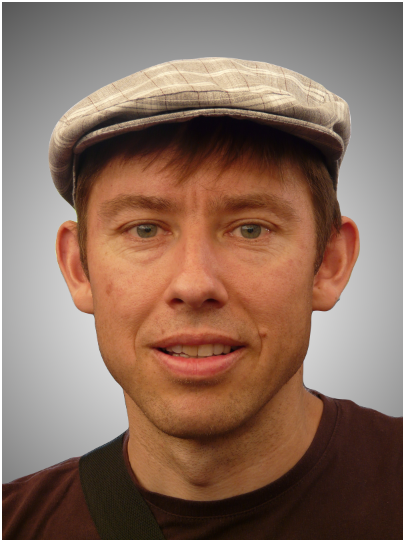
Hello everyone, in this tutorial you are going to learn to create a rusty iron statue out of a portrait. I assume that you have basic knowledge of photoshop like masking, adding adjustment layers, blending options and other tools because I’m not going to explain how to create them in detail, we just focus on how to achieve the effect. Please use the image from this tutorial. The values of adjustment layers and other effects we are going to use in this tutorial can’t be generalized since each image has its own unique histogram (colors, darks and lights). So I suggest, you use the image from here to practice the tutorial, so that you can experiment with different values on your own images later on.
Final Result:
Resources:
Textures (rust iron images)
Brush (Download)
Step-1
Open the portrait image in photoshop.
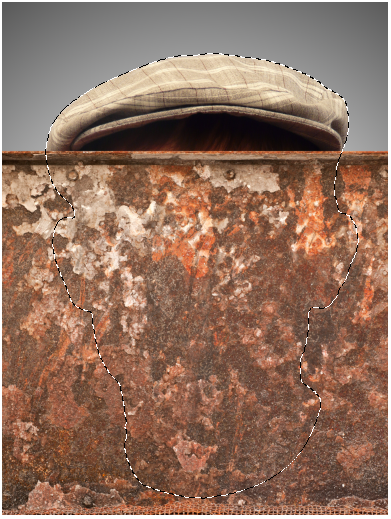
Using pen tool, select the man from the image and mask the background.
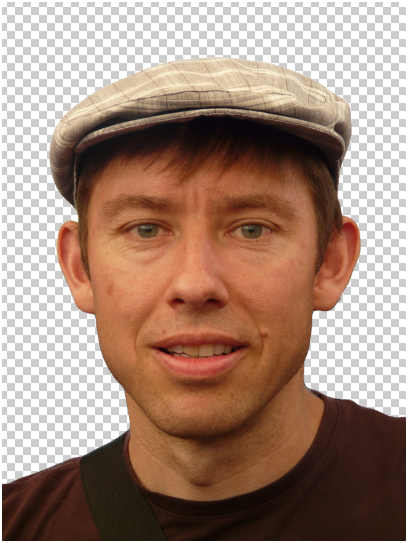
Create a new layer just below the active image layer and apply white and black radial gradient.

Step-2
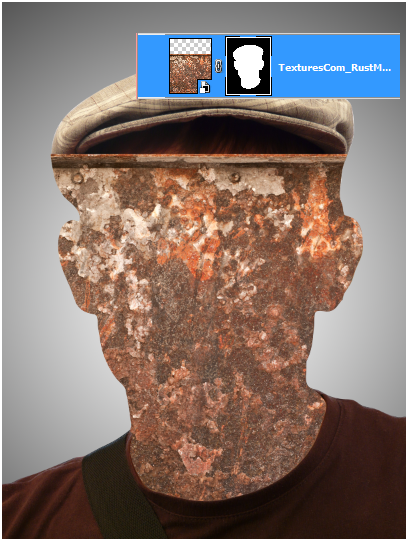
Place the rusty cast iron image.
Using pen tool select head and neck part of the man.
Right click the path and select “Make selection”.
Now, select the rusty cast iron image layer and click on “Add Layer Mask” or Go to Layer > Layer Mask > Reveal Selection