“Stranger things ” text effect
In this photoshop text effect tutorial, learn how to create most popular science fiction-horror web television series “stranger things” text effect in few simple steps.
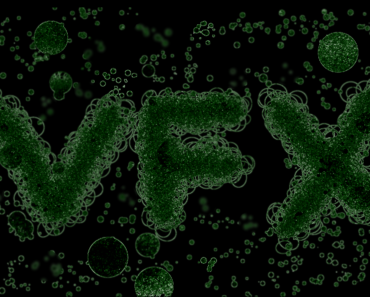
Final Result:

Step1
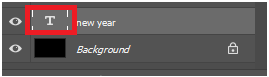
Here I’m using “Times New Roman” font for this tutorial, you can hoose a font of your liking which is suitable for drawing stroke of 9px size. Type the following text….

Step2
Press “Ctrl” and left click on the thumbnail of text layer to make selection of the entire text.

Step3
Hide the text layer and create a new layer(Ctrl+Shift+N) and rename it as “stroke layer”.
Go to Edit>>Stroke
Set the following properties in the stroke palette…


Step4
Set foreground and background colors to gray(#262626) and black respectively in tools.
![]()
Press Ctrl and left click on the thumnail of the “stroke layer” layer to make selection of the text.

Step5
Goto Filter>>Render>>Clouds.
Repeat this step 2 more times to get random black and gray effect like this…

Step6
Goto Filter>>Noise>> AddNoise
Add noise effect with following properties….

Step7
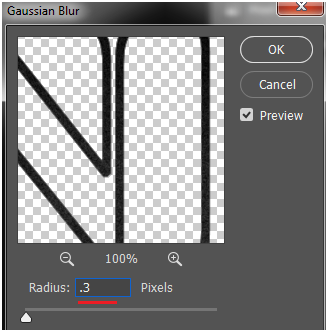
Now lets add some blur(0.3px) to the text; goto Filter>>Blur>>Gaussian blur
Desaturate(Ctrl+Shift+U) the text and deselect the selection(Ctrl+D).

Step8
Now, lets add colors to the text using color balance (Ctrl + B) with following properties…


Step9
Let’s increase overall brightness of the text using levels(Ctrl + L).

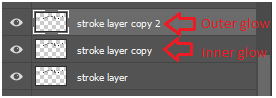
Duplicate the text layer twice(Ctrl+J -two times). Rename them as “outer glow” and “inner glow” respectively…
Step10
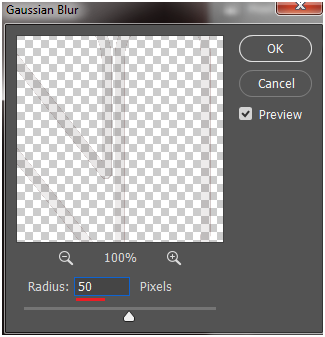
Now select the “outer glow” layer , go to Filter>>Blur>>Gaussian Blur and apply the blur with following settings….
Decrease layer opacity to 50% to decrease the glow and now you must get the effect like this….

Step11
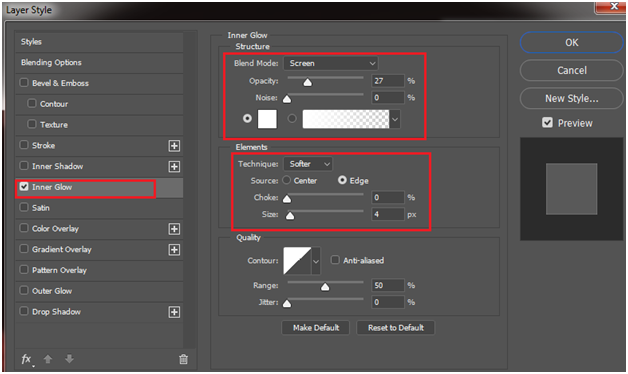
Select the “inner glow” layer and double click on the layer to open up “layer style” palette, here you can add inner glow effect with following properties….

Now, lets randomize the inner glow to affect random places;
While the “inner glow ” layer selected, click on the layer mask to apply layer mask.
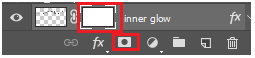
Click on the layer mask and go to Filter>>Render>> Clouds and apply clouds to layer mask to get random inner glow effect…

Finally, draw lines at the top and bottom of the text in the same process.
I hope that you find this tutorial useful.