Today, we try to mimic photographer’s trendy double exposure effect in adobe photoshop using multiple images and some techniques like blending mode, clipping masks and adjustment layers.
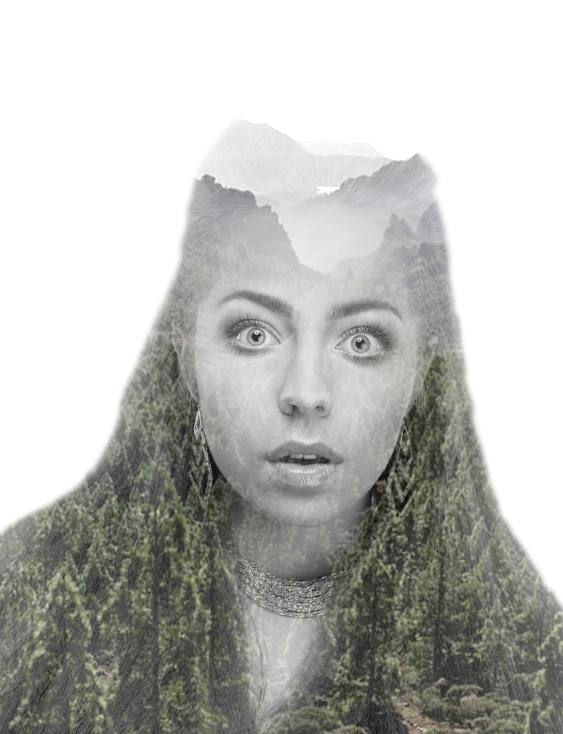
Final Image:
Resources:
Step-1
Create a new document with 850 X 1200px file size.
Fill the background with white color.
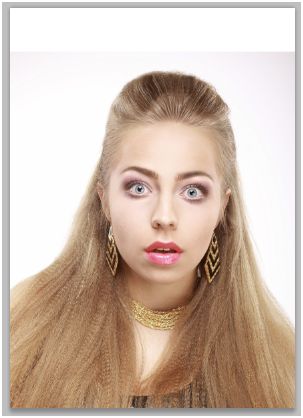
Place Model image in a new layer.
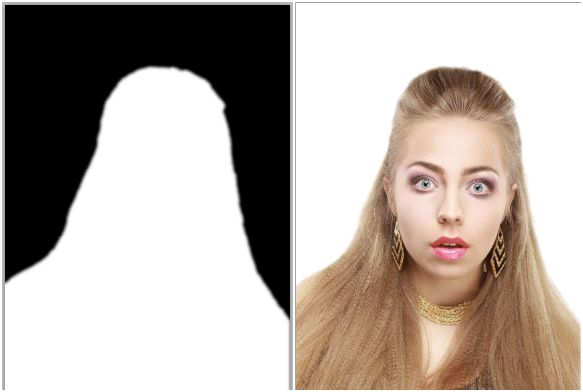
Step-2
Mask the model background.
Step-3
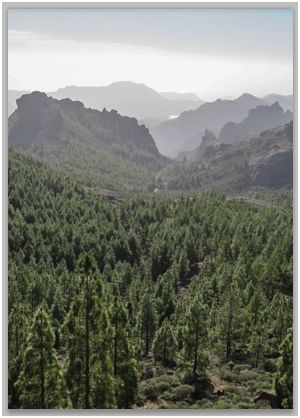
Import landscape image into a new layer just above the model layer.
Position the image like this.
Step-4
‘Ctrl + Left Click’ on the model’s layer mask and select the landscape layer.
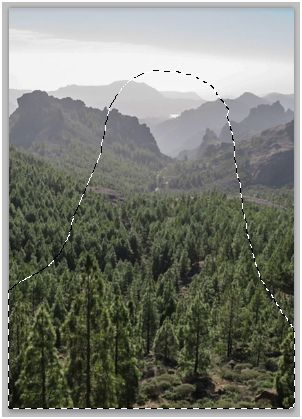
Step-5
Click on the ‘add vector mask’ to mask the landscape with the model outline selection.

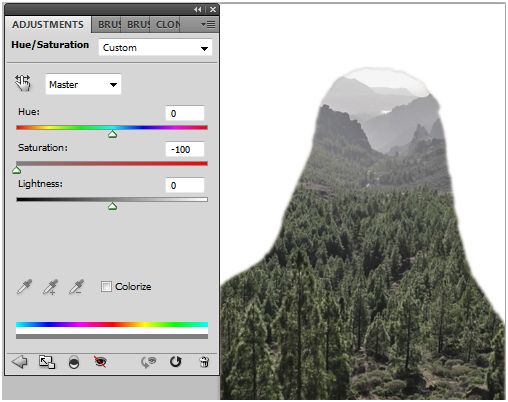
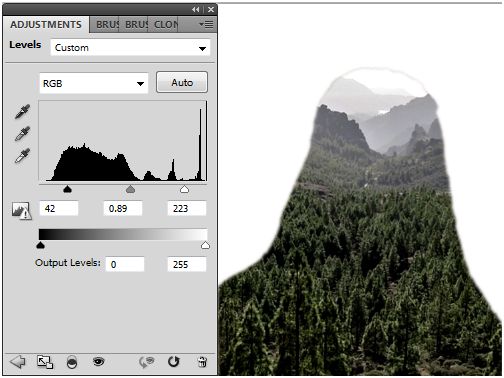
Step-6
Add two adjustment layers ‘Hue/Saturation’ and ‘Levels’ to the landscape image (clipping mask) to make some color and shadow corrections.
Step-7
Duplicate the model image and place that particular layer above all layers.
Set blending mode to ‘Screen’.
Decrease opacity to 70%.

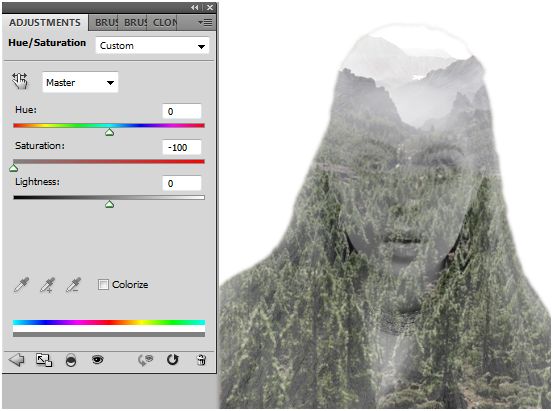
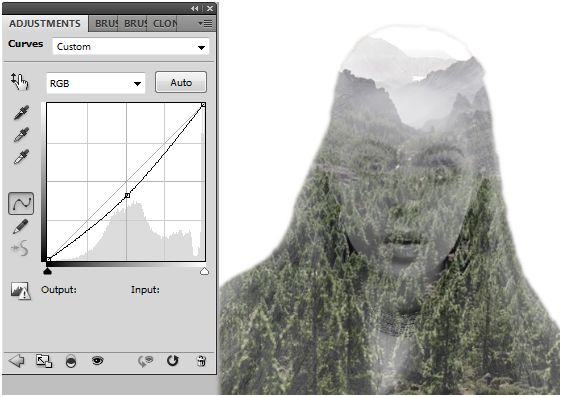
Step-8
Now, we are going to desaturate the image and work on shadow levels with two adjustment layers ‘Hue/Saturation’ and ’Levels’ with following settings.
Merge the adjustment layers with the image.
Step-9
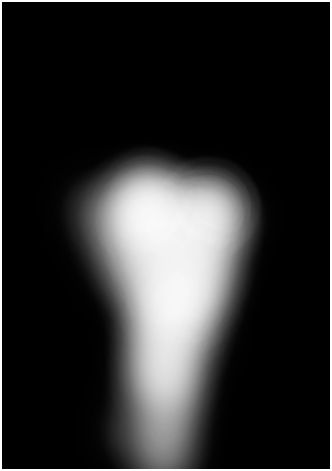
Duplicate the model image, place it above all layers.
Mask the complete image by filling black color in the layer mask.
Using soft white brush, slightly unmask face and neck in the following way.
Final Image:
Finally, you get the double exposure effect like this.