In this tutorial, you will learn to create a cute little character called Minion from the movie Despicable Me.
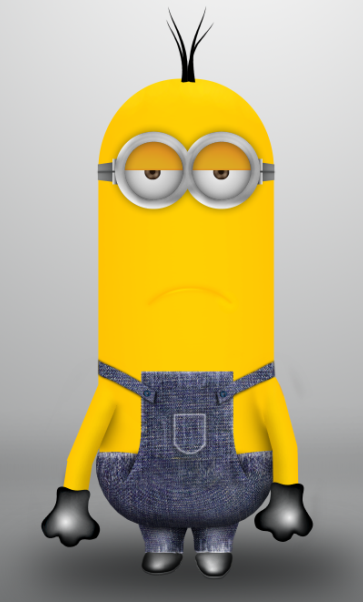
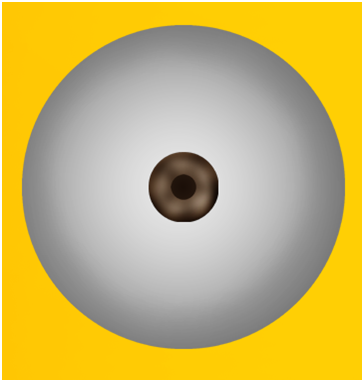
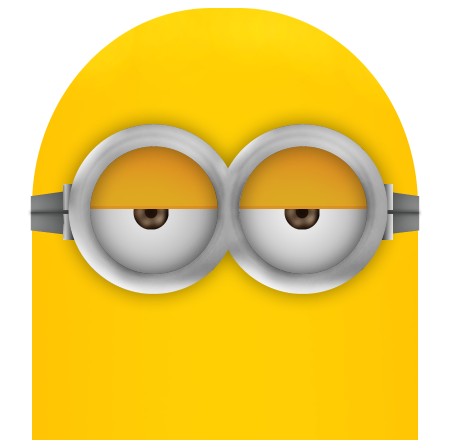
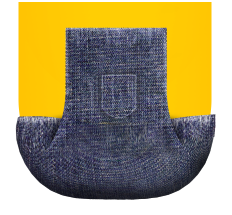
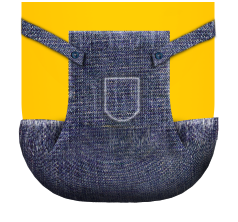
Final Image:
Resources:
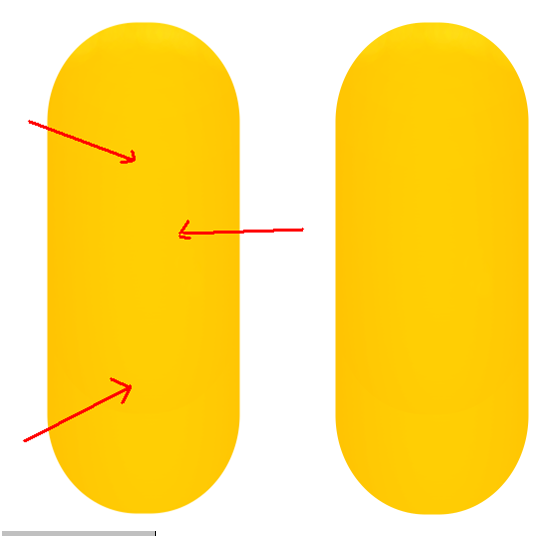
Create yellow body:
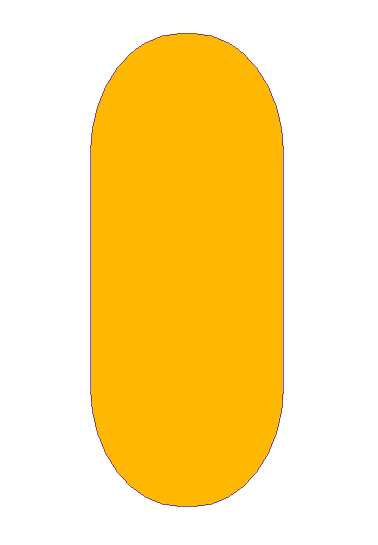
Step-1
Select “Rounded Recangle Tool (U)” with radius 360 deg.
![]()
Step-2
Right click on the layer to select “Rasterize layer”
Fill it with yellow color(#FFC703)

Step-3
Select “Dodge tool” with exposure value 25%, lighten the color of middle part.
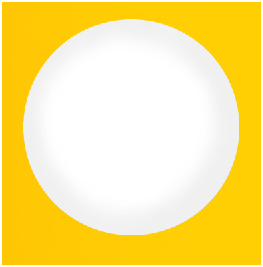
Create eyes :
Step-4
Draw a circle with “Ellipticle Marquee Tool(M)” and fill it with white color.
Step-5
Double click on the layer to open up the blending options.
Select “Inner Shadow” with following properties.
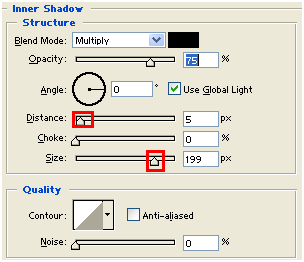
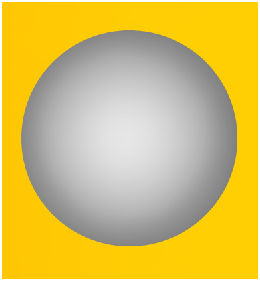
To get result like this…..
Step-6
Duplicate the circle and resize it and fill it with brown color (#927D68) like this…..

Step-7
Select “Burn Tool (O)” with 20% exposure and burn the edges of the brown circle.

Step-8
Now, duplicate the brown circle, resize it and fill it with black color.
Step-9
Similarly , duplicate the cirlce to add white reflection to the eye.

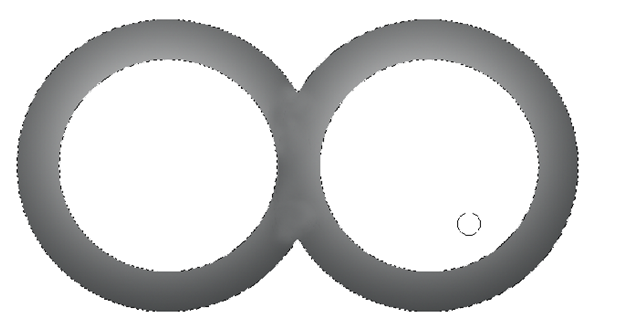
Create frames:
Step-10
Using “Ellipticle Rectangle Tool (M)” and substractoin mehtod, create frames like this…
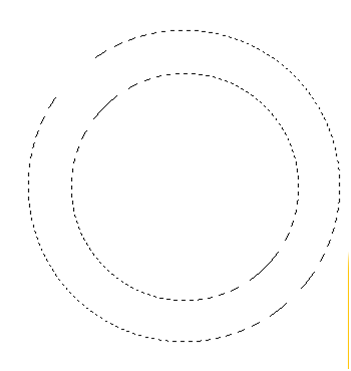
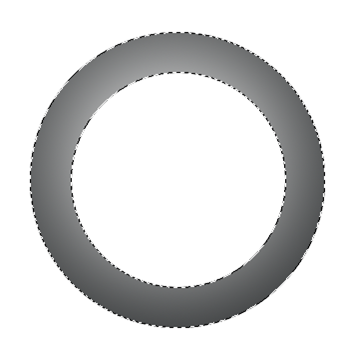
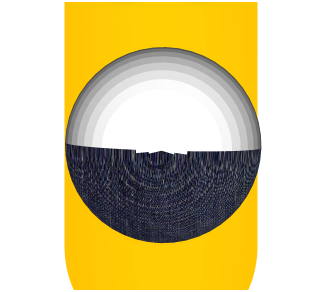
Step-11
Using “Gradient Tool (G)” and following properties, draw radial frame.
![]()
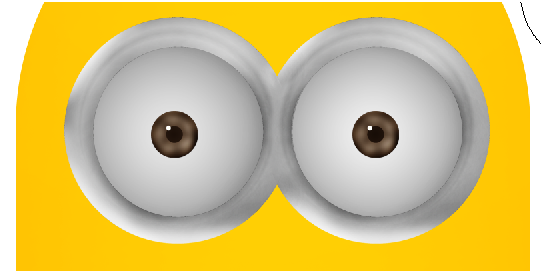
Step-12
Duplicate the frame and place side by side. Merge them.
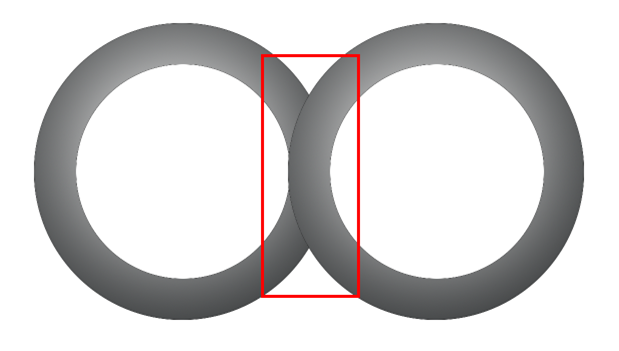
Using “Clone Stamp Tool (S)” remove the differences at the intersection.
Step-13
Highlight the lower part of the frames using “Dodge Tool” to fake reflections and place them over the eyes.
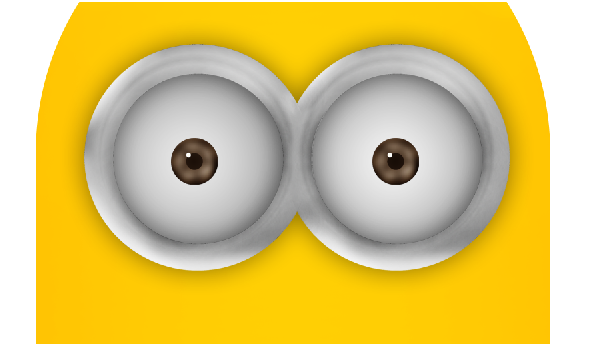
Step-14
Add drop shadow to the frames with following properties.

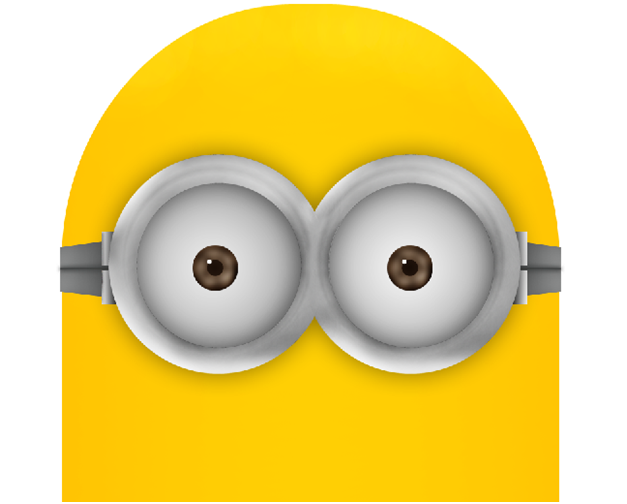
Create frame belt:
Step-15
Draw linear gradient rectangle.

Duplicate it and flip it vertically.

Make transform selection (Ctrl + T) >>right click to select “ perspective transform” and transform like this…

Similarly add joints to get look like this….
Add eye lids:
Step-16
Draw a radial gradient circle with following colors.


Step-17
Cut it into half and select the edges and darken them using curves(Ctrl + M)

Place them over the eyes.
Create Lips:
Step-18
Draw a circle with selection rool and stroke it with 10px (orange color # FFB702)

Step-19
Erase the circle to create arc.

Lets add reflection to the lips.
For this, lets duplicate the lips.

Increase the brightness of the duplicated lips with curves(Ctrl + M)

Erase both ends with soft brush earser.

Now, lets add depths to the lips.
For this, duplicate the main lips and blur it.


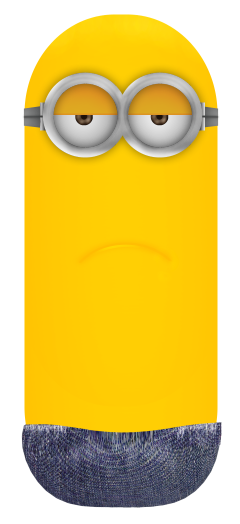
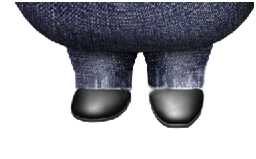
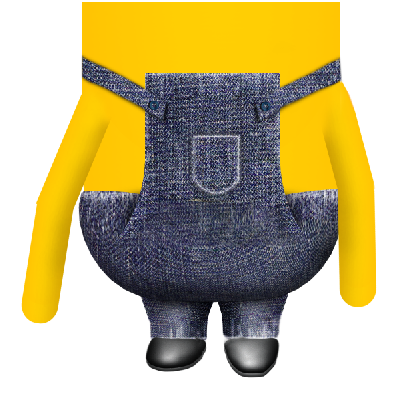
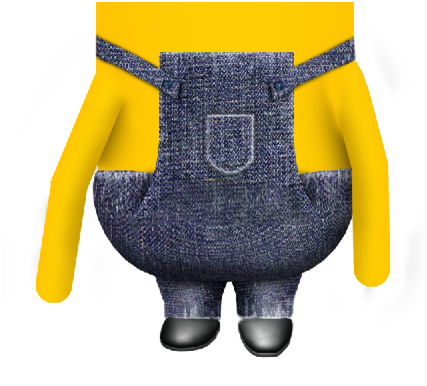
Create Pants:
Step-20
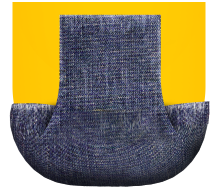
Here is the texture we are going to use for pants.

Step-21
Select the texture layer and go to filter>>Render>>3d transform (this option available in before cs versions)
In options uncheck “display background”
Using “sphere tool “ draw sphere like this.

Step-22
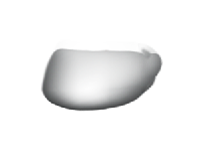
Delete top hemisphere and go to filter >> liquify
And reshape it like this….
Step-23
Using “Burn tool (O)” darken the bottom.

Step-24
Now, lets add other parts of the pants.

Add shadows in new layer using brush.
To add pocket to the dress, lets make selection of the colth like this…

Inverse the selection and darken the edges using “Burn Tool (O)”
Add stroke to the pocket with white color.

Lets add buttons and strips with drop shadows.
Similarly lets add legs.

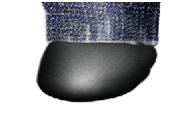
Add Shoes:
Step-25
This is one of my favorite part of the tutorial, because here we are not going to use any pen tool or brush to draw curves and shapes.
We simply draw a circle with radian gradient – gray colors.
Step-26
Go to filters>> liquify
Using “Wrap Tool” with pen pressure 50%, lets reshape the circle like this….
Increase darkness using curves(Ctrl + M)

Duplicate the layer and add noise and set blending mode to “Multiply”
Again duplicate the layer and increase brightness a little bit and place it below the shoe as shoe sole.

Similarly other shoe.
Create hands and gloves:
Step-27
Draw a tube using “Rounded Rectangle Tool(U)”

Select half of the tube and rotate it.

Step-28
Erase the top end and attach them to the body.
Step-29
Lets add shadows under arms.
For this duplicate the hands, fill them with black color and blur them.

Step-30
Now erase the following area of the blur.

You get result like this….
Step-31
When it comes to gloves, create them just like shoes were created and add them to the hands.

Create Hair:
Step-32
Using “Polygonal Lasso Tool” draw a triangle and fill it with black color.

Step-33
Reshape it using Liquify option.
Duplicate them multiple times and place them over the head like this…..

Step-34
Finally add gradient background and blurred shadows to subject.
I hope you find this tutorial useful.