In this quick tutorial, we are going to create a gigantic deer photo manipulation with few blending techniques. This simple tutorial is great for the beginners, this will teach you on how to blend saturation, lighting of a subject to match the atmospheric background and add fog effect to give depth and size of the subject in comparison to its surroundings.
Resources:
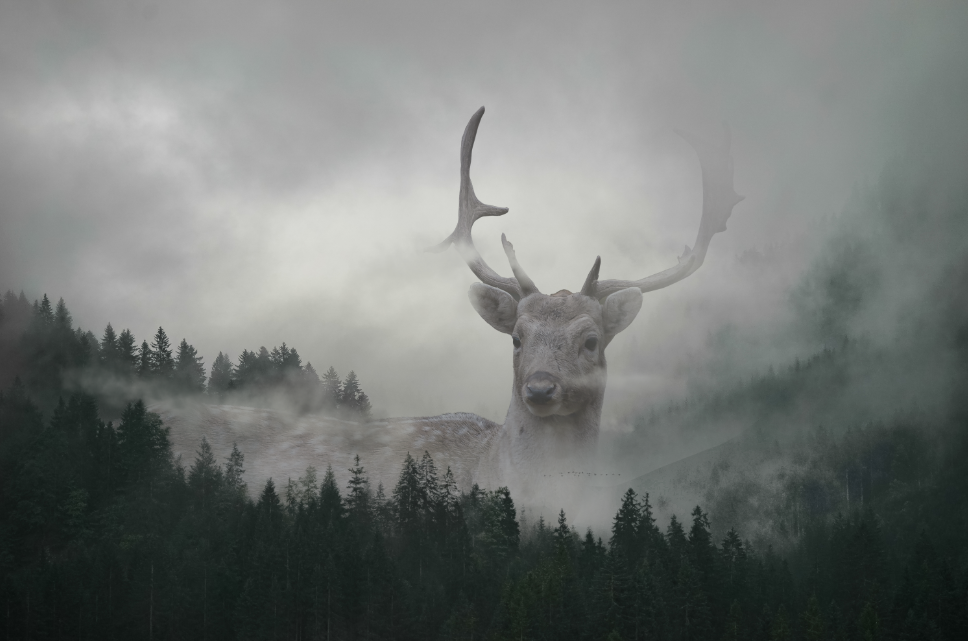
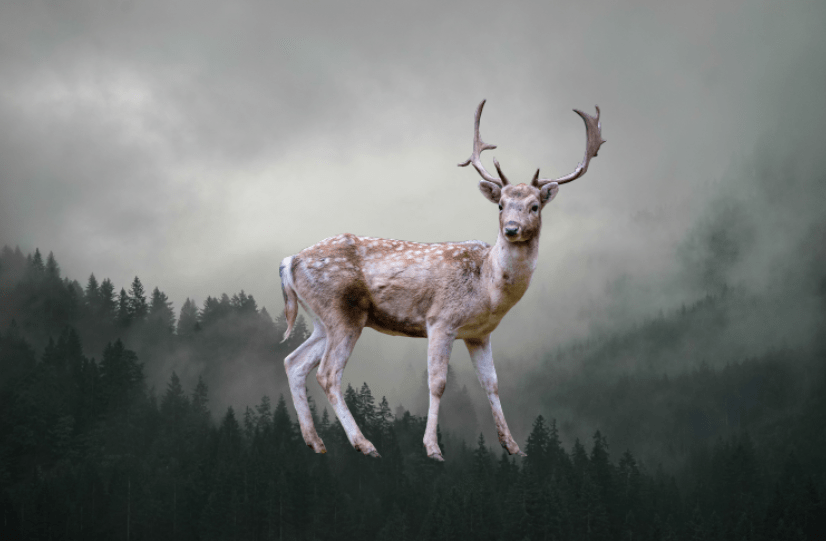
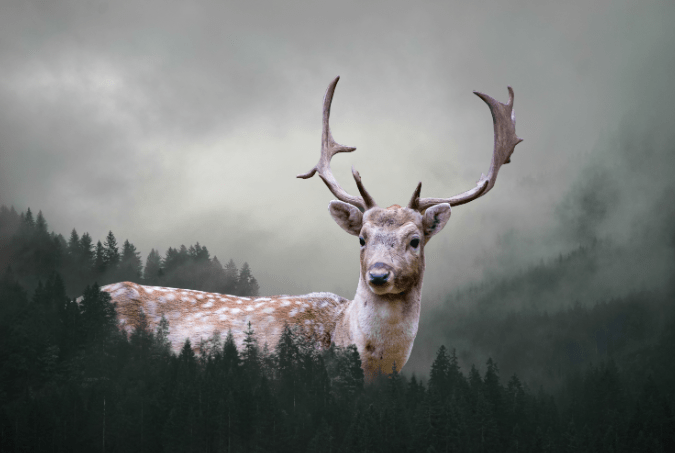
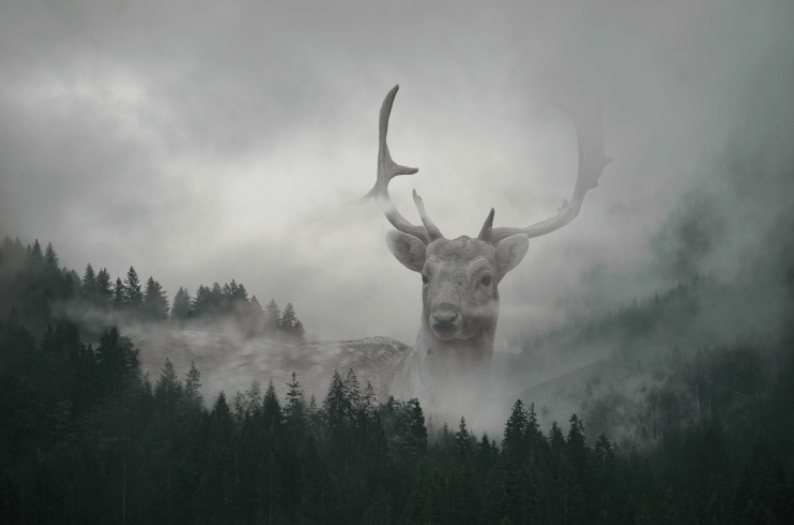
Final Image:
Step – 1
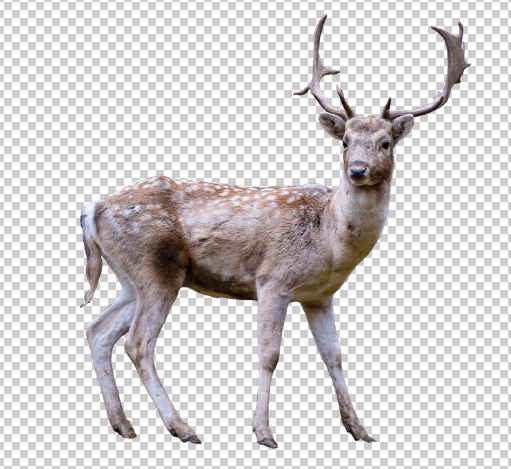
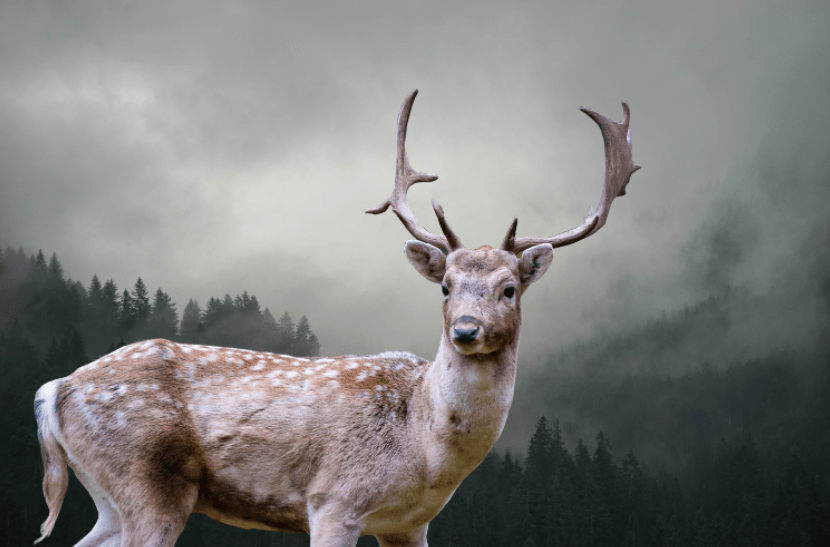
Open the deer image in photoshop, using a pen tool select the deer, press “ctrl + enter” to convert path into selection and click on “add vector mask” button to mask out the background.
Step – 2
Open up the background image in new window and, place the deer image on top.
Step – 3
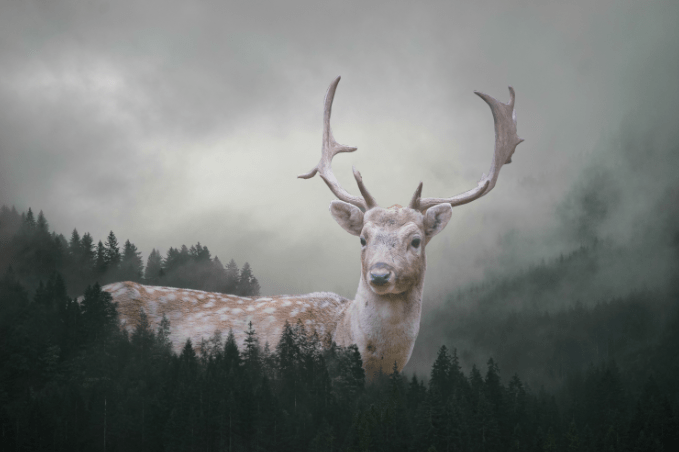
Resize the deer image and position it in the following way.
Step – 4
Now, we need to create a new folder and move the deer image into it.
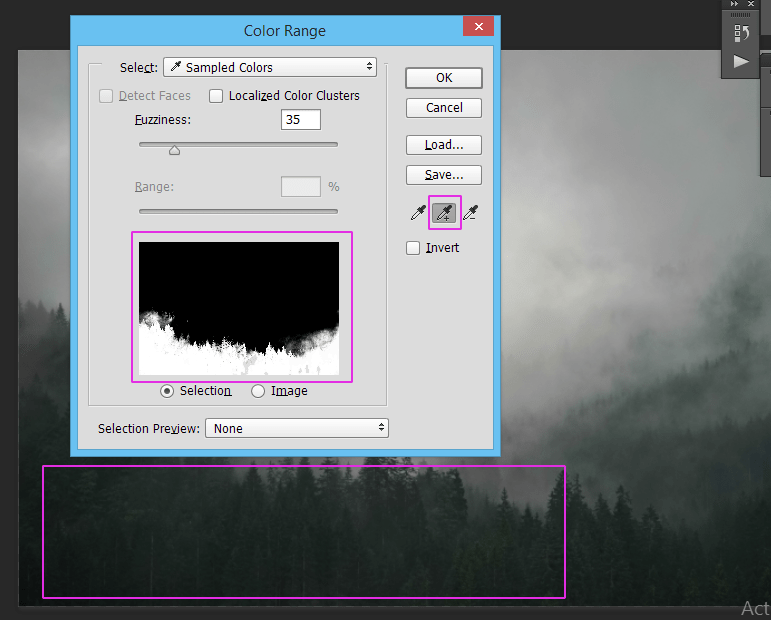
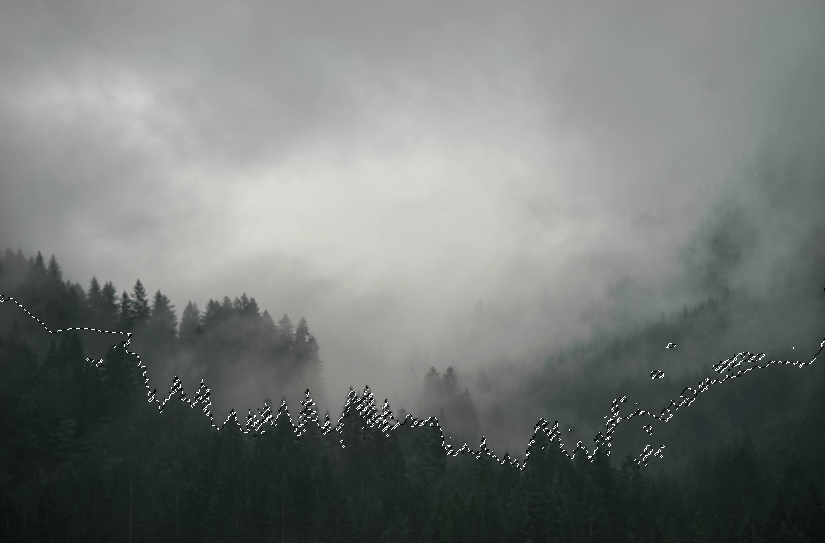
For a moment hide the deer folder and select the background image. Goto Select >> Color Range
In the Color Range panel, select “add sample” eyedropper and click on multiple green variations in the foreground tree. This will allow you to make selection of trees in the foreground.
Step – 5
Select the deer folder and click on “add vector mask” button to add mask to the folder.
Unhide the folder, now it supposed to look like the below image.
Step – 6
Decrease the opacity of deer layer to 63%
Step – 7
Using adjustment layers, we will adjust lighting, saturation, brightness and blend it into the scene.

Clip these adjustment layers to the deer image.
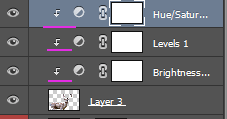
The result should look something like this.
Step – 8
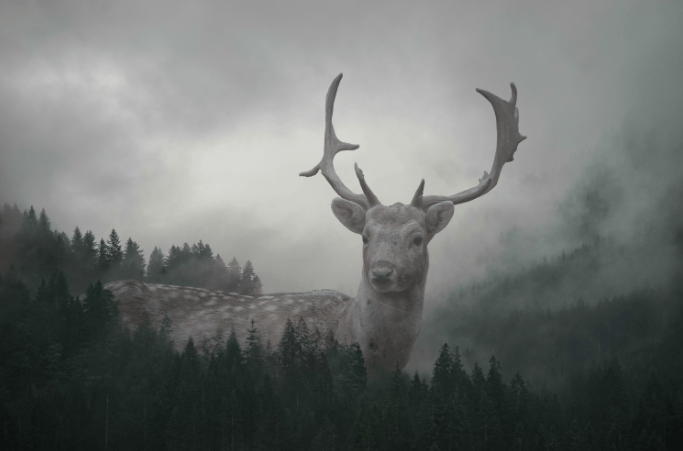
Create a new layer just above the deer layer (inside the folder), using fog brush paint fog effect on top of the deer. Pick the colors (light and dark grey) from the fog in the background and paint over the deer to have a perfect blend in. you can download the fog brushes from the resources section.
Step – 9
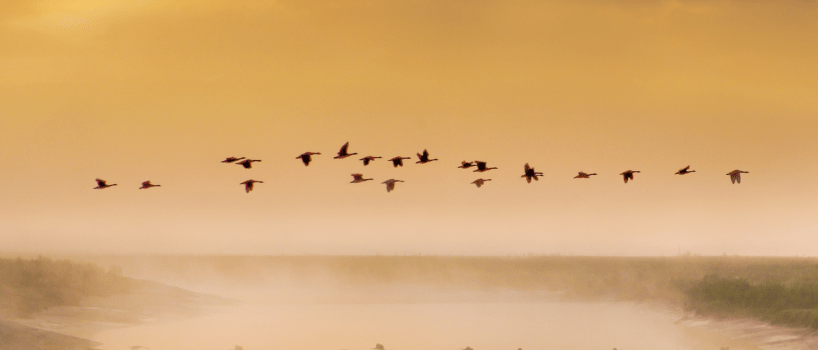
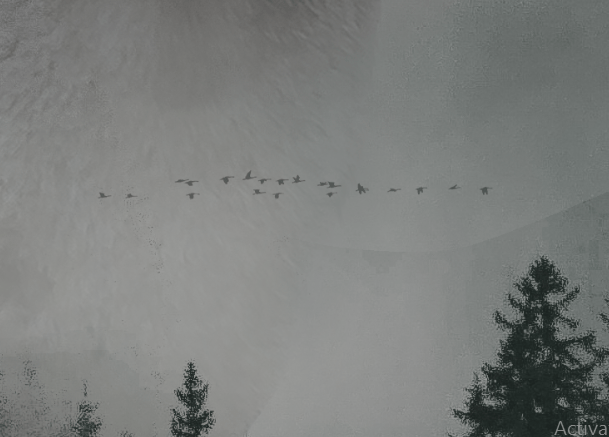
Finally, open up the bird image in new window, extract the birds from the sky and de-saturate them to be dark grey color. Place it on top the fog layer and decrease the opacity of the layer to 35%. Resize and position them in the following way.
Final Image

I hope you find this tutorial helpful and fun!