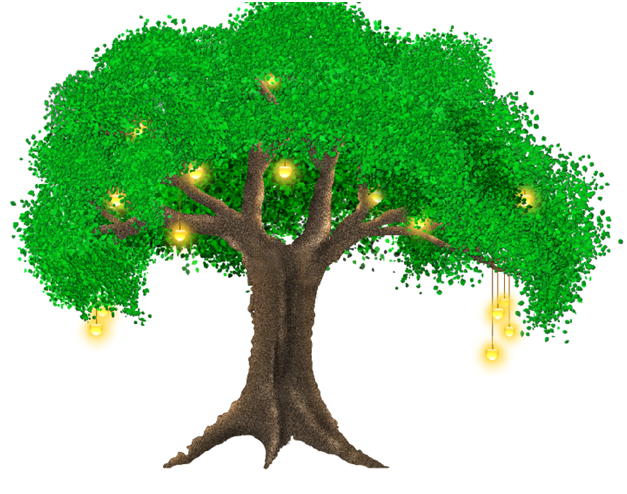
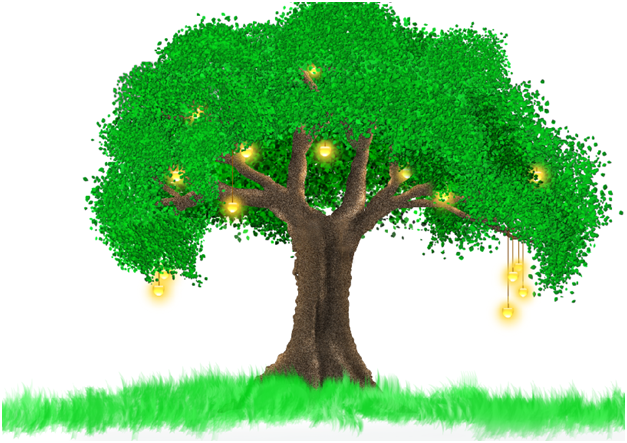
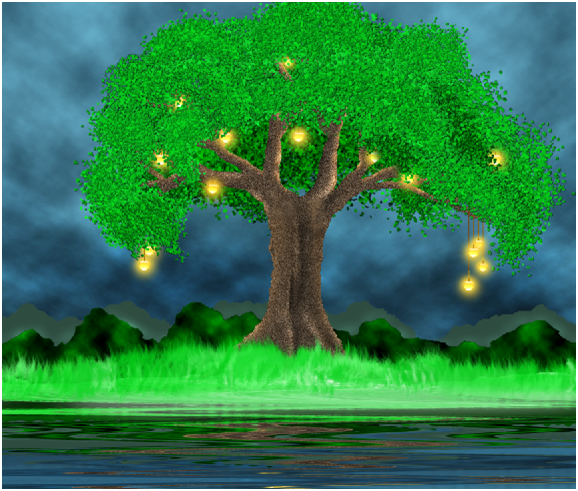
In this tutorial, you will learn to create a surreal tree with basic drawing skills and basic tools.
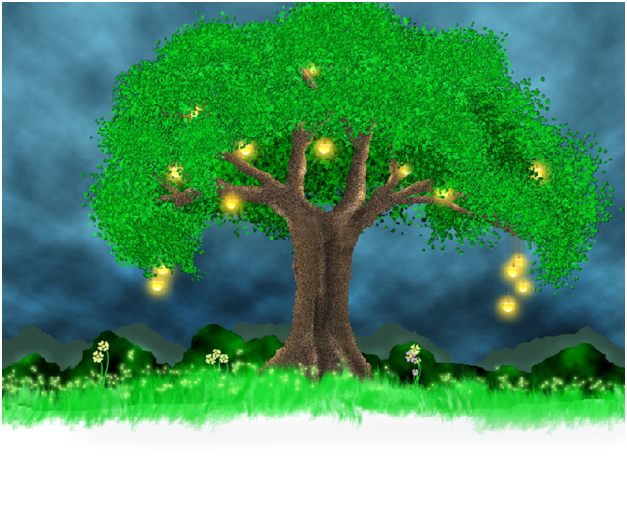
Final Image:

Define Brushes:
Step-1
Before we start off, let’s define leaves and grass brushes.
For this, take a new file.
Draw a circle like this.

Step-2
Fill it with green color (#31A040)

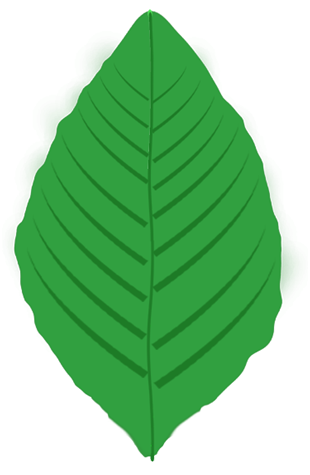
Step-3
Now, lets turn the above shape into a leaf.
For this, go to Filters>>Liquify
Using Wrap Tool(W) and Turbulence Tool(A), create shape like this.

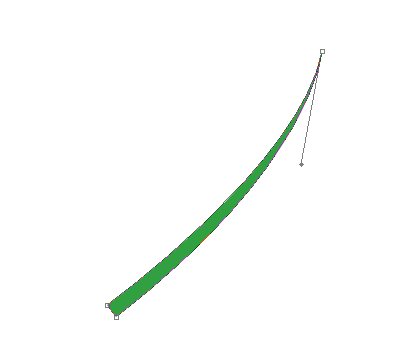
Step-4
Using Pen Tool (P), draw a shape like this….
Step-5
Rasterize it(right click on the layer and click on the Rasterize Layer) and duplicate it and place them like this..
Step-6
Make selection of it (ctrl + click on the layer)
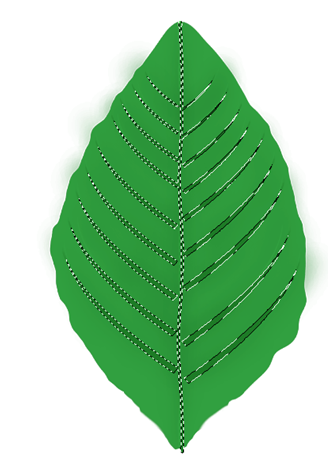
Step-7
Inverse the selection (Ctrl + Shift + I).
Select leaf layer and using Burn Tool darken the red colored area.
Hide the object of the selection which we made just now.
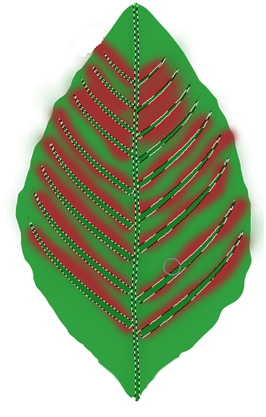
You get result like this….
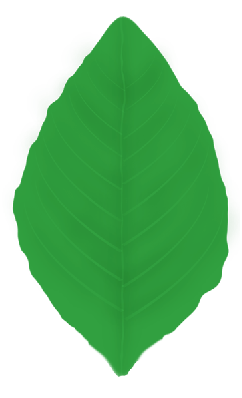
Step-8
Desaturate (Ctrl + Shift + U) the leaf and crop the leaf like this.

Step-9
Goto Edit >> Define Brush and name the brush as “leaf”. This is how brush is defined.
Similarly define grass brush.

Creating Tree Trunk:
Step-10
Now, lets start creating a tree.
Draw a rectangle with selection tool and fill it with brown color (#47331D)

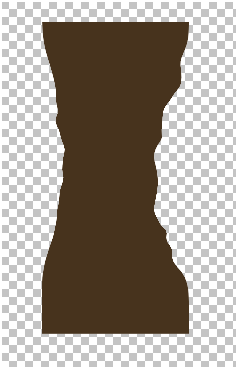
Step-11
Go to Filter >> Liquify and shape the rectangle like this.
Use Wrap Tool and Turbulence Tool.
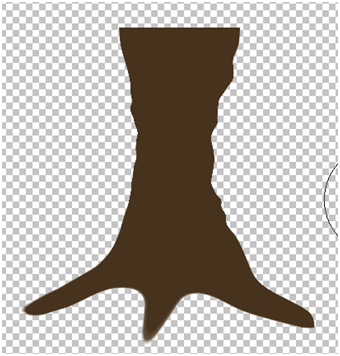

Step-12
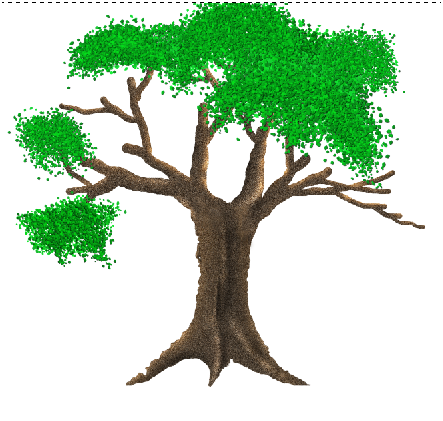
Using Pencil Tool (B), draw braches like this…..

Decrease the brush size and draw sub-branches.

Again decrease brush size and further sub-branches


Step-13
Duplicate the tree(for backup) .
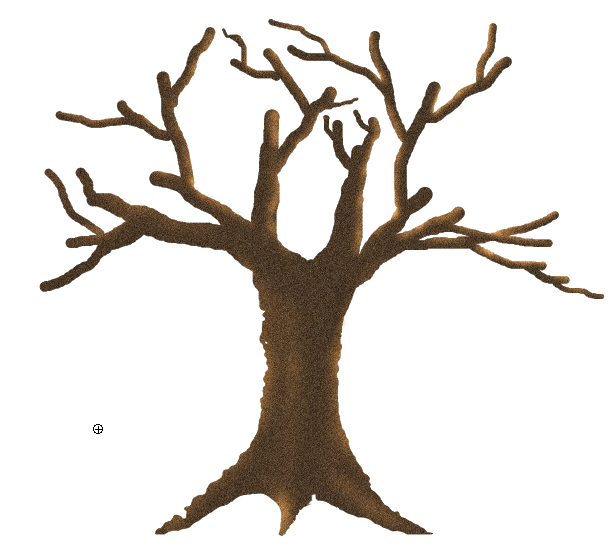
Lets highlight the edges of the tree using Dodge Tool.

Step-14
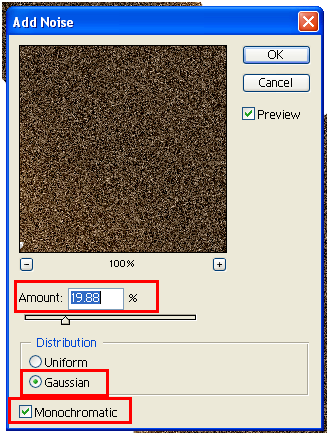
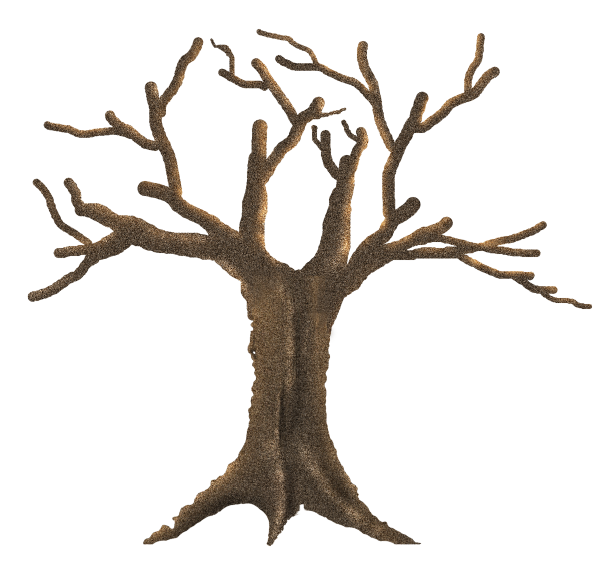
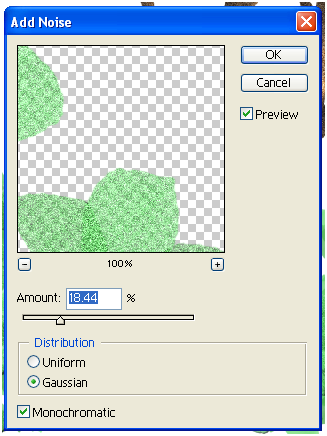
Add noise with following parameters.
Step-15
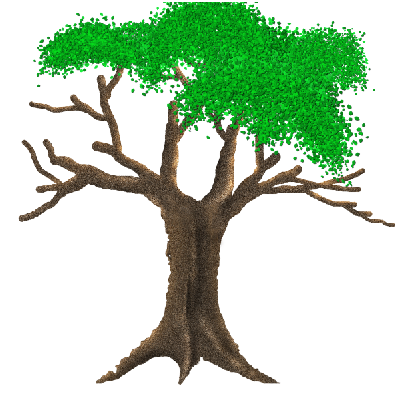
As shown in the below image, highlight the red colored area using “Dodge Tool” and darken the black colored area using “Burn Tool”. The main purpose of this process is to give muscular look to the tree trunk.

You get result like this….
Creating Foliage:
Step-16
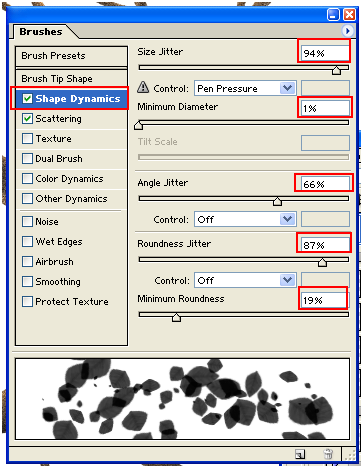
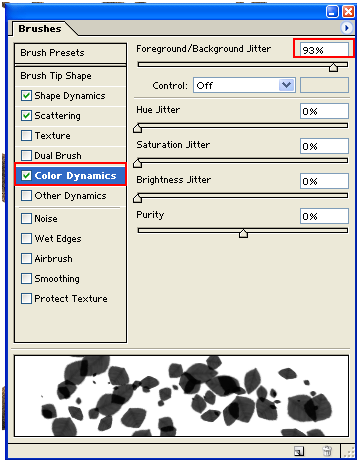
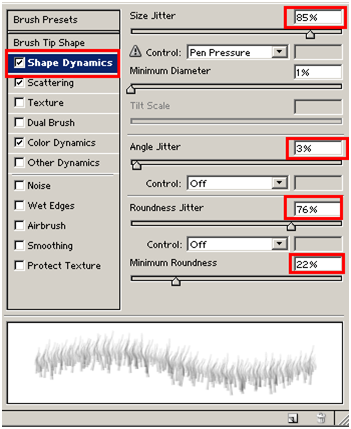
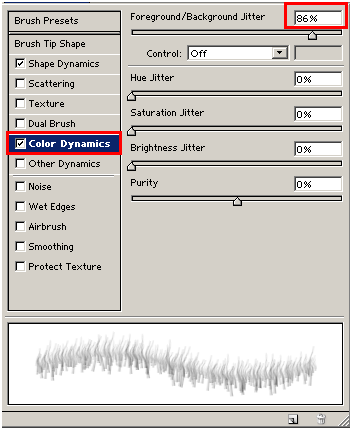
Click on the Brush Tool (B) and select brush type “leaves” which we created at the beginning.
Set the Brush Presets parameters.

Step-17
Set foreground and back ground colors as #7FF785 and #489D41

Step-18
Select New Layer and draw leaves like this….
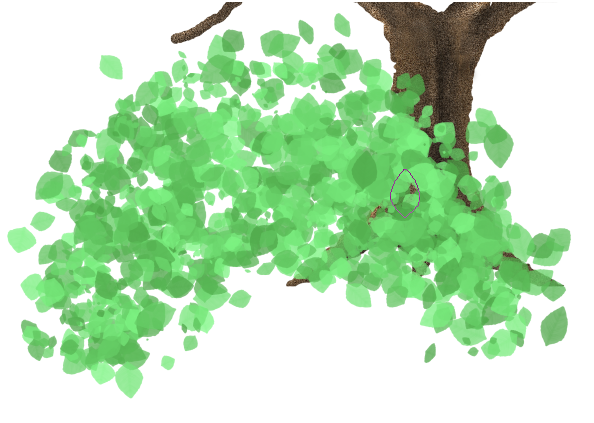
Again select New Layer.
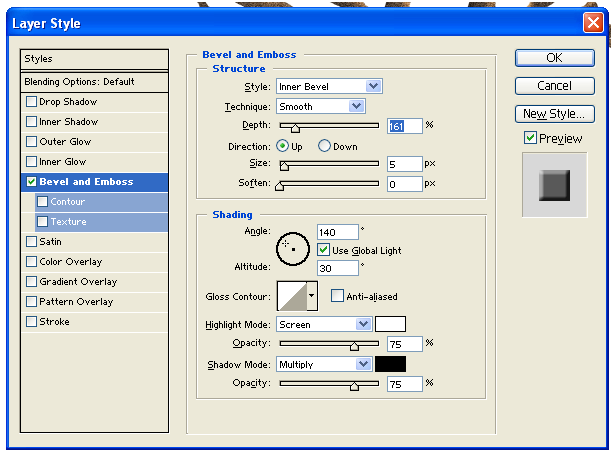
Draw leaves and add “Bevel and Emboss”
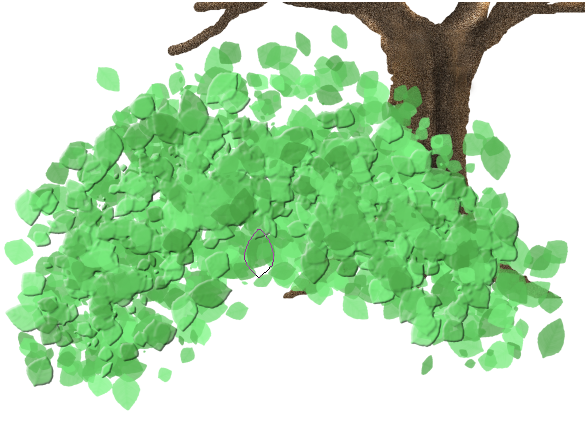
Step-19
Add noise to the above layer (to which we just added “Bevel and Emboss”)
Step-20
Darken the layer using Curves(Ctrl + M).
Set the Blending Mode of the Layer to “Multiply”
Step-21
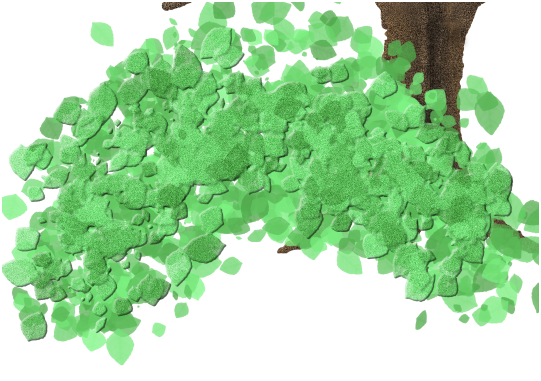
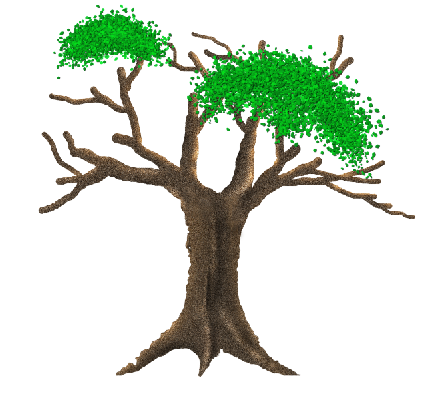
Merge these two leaves layers and resize it to fit one of the branches like this….
Step-22
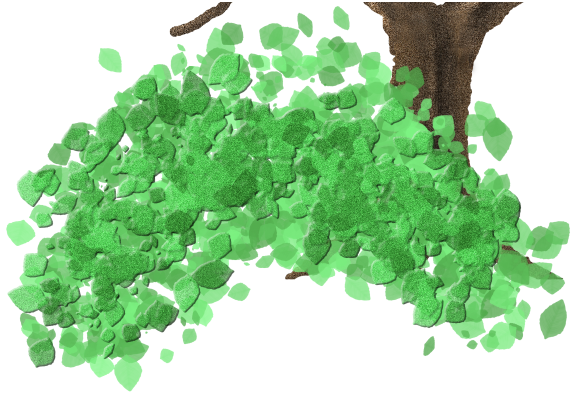
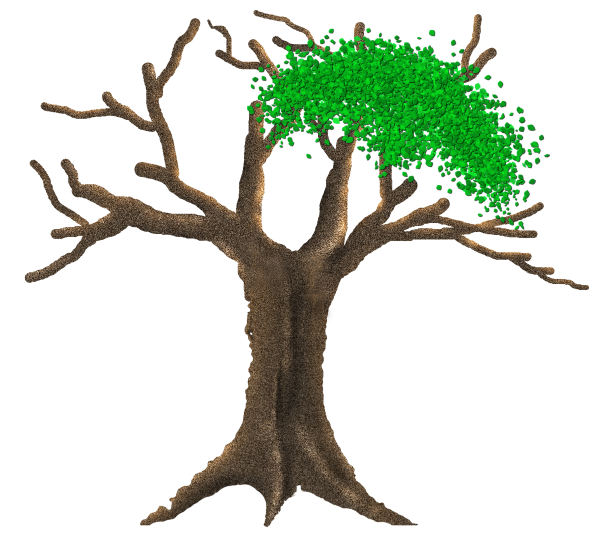
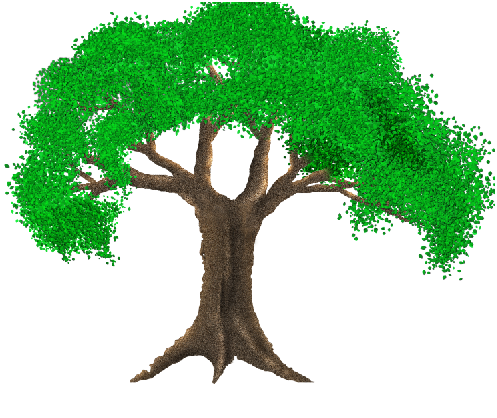
Similarly create different foliage style and place them like this.
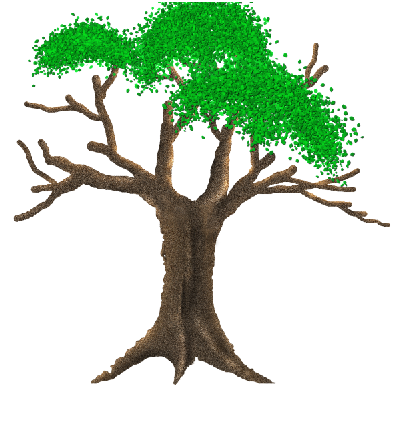
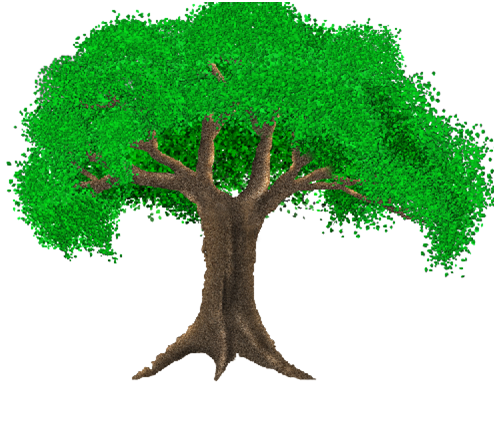
Step-23
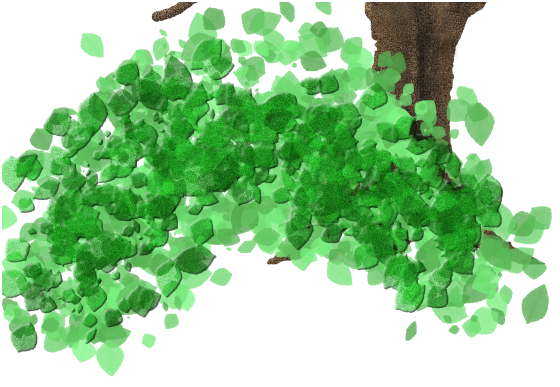
Similarly lets add foliage at the back of the tree and darken them little bit.
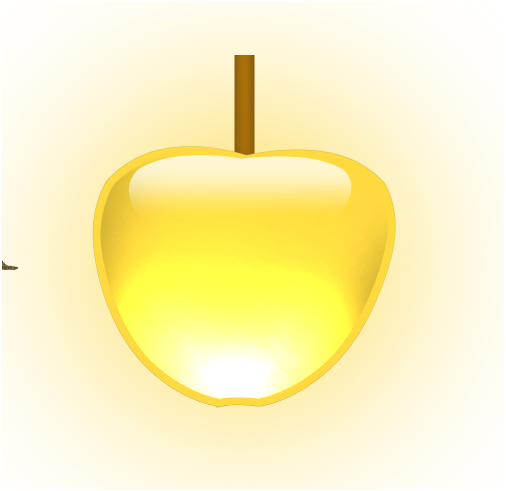
Creating Glassy Fruit:
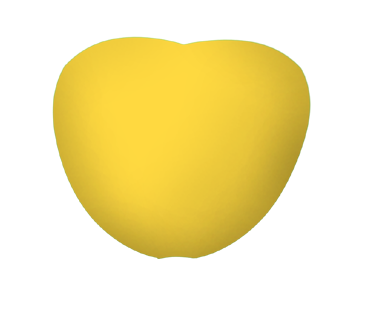
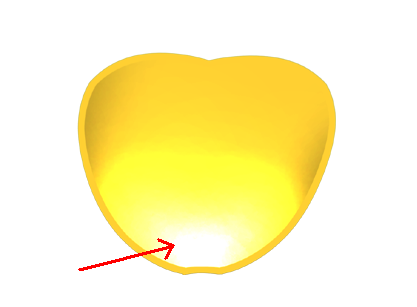
Step-24
Draw a circle and fill it with yellow color (#FAD63F).

Step-25
Darken the edges using Burn Tool (O)

Step-26
Go to Filter >> Liquify and shape it like this…..
Use Wrap Tool(W)
Step-27
Duplicate the above image and resize it a little bit and place it like this….

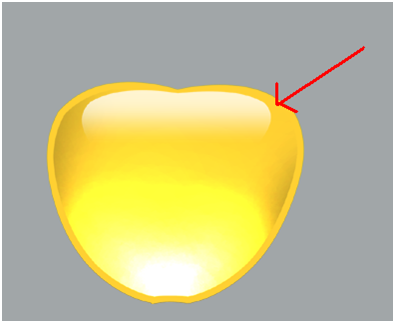
Step-28
Using Dodge Tool(O) brighten the below edge of the copied object like this……
Step-29
Draw a circle and fill it with gradient with following properties.
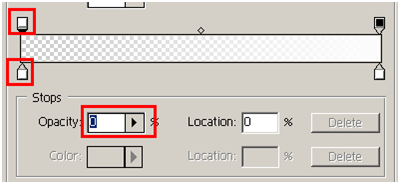

Go to Filter >> Liquify and shape it like this……

Add stem to it….
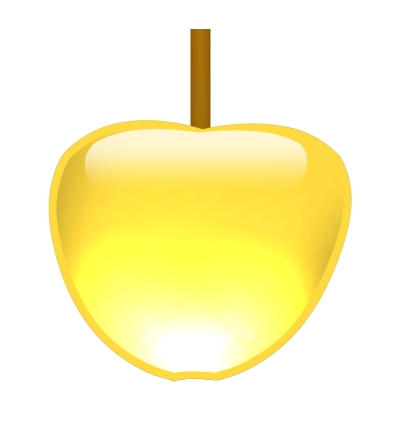
Adding Glow to the Fruit.
Step-30
In the below layer of the fruit layer draw a circle, fill it with following color(#FAD63F) and blur it to get result like this… (Go to Filter >> Blur >> Gaussian Blur)
Step-31
Now, lets add fruits to the tree.
Creating Grass:
Step-32
Select grass brush which we created in the beginning.
set foreground and background colors like this….

Step-33
Set brush properties like this….
Draw grass in the new layer like this…..
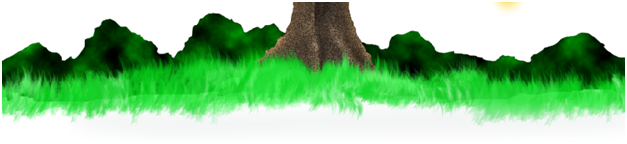
Creating Background mountains:
Step-34
Select New Layer.
Using Lasso Tool (L)
Draw selection like this…..

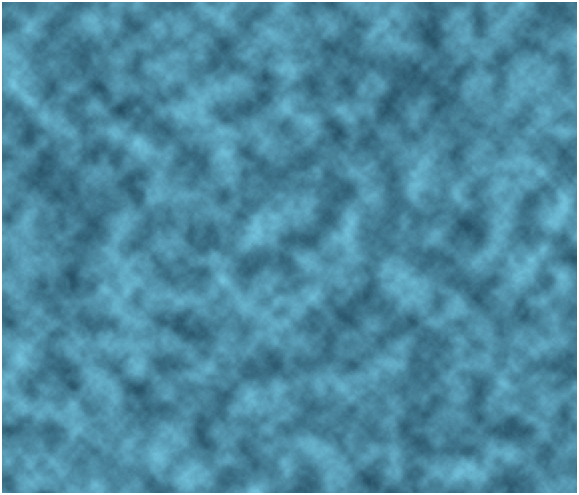
Step-35
Set foreground and background colors like this…..

Now, go to Filter >> Render >> Clouds.
You get result like this….
Step-36
Similarly draw another background mountains.

Creating Back ground sky:
Step-37
Set background and foreground color (#78CAE5 & #224A5F ) like this….

Step-38
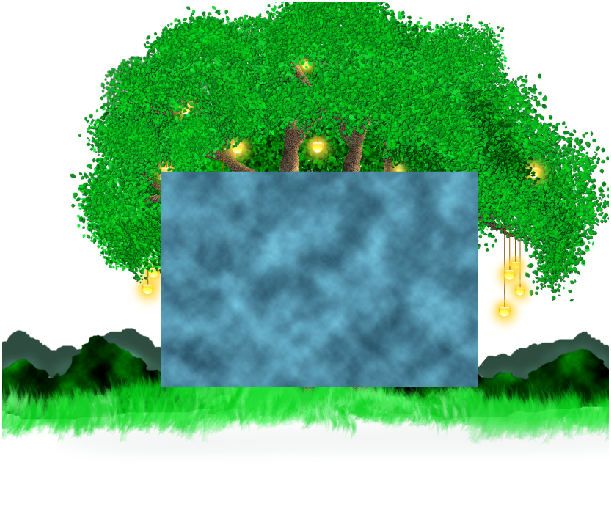
Select New layer.
Go to Filter >> Render >> Clouds
You get result like this…..
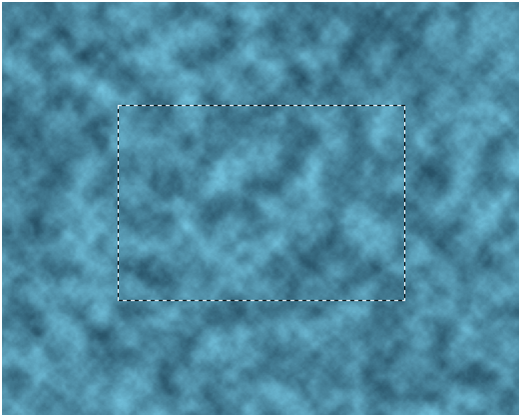
Step-39
Make a selection of the area.
Step-40
Delete un-selected area.
To do this, press Ctrl+Shift+I and delete.
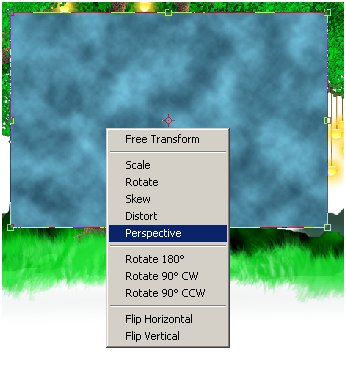
Step-41
Make Transform Selection (Ctrl + T), right click and select ”Perspective”.
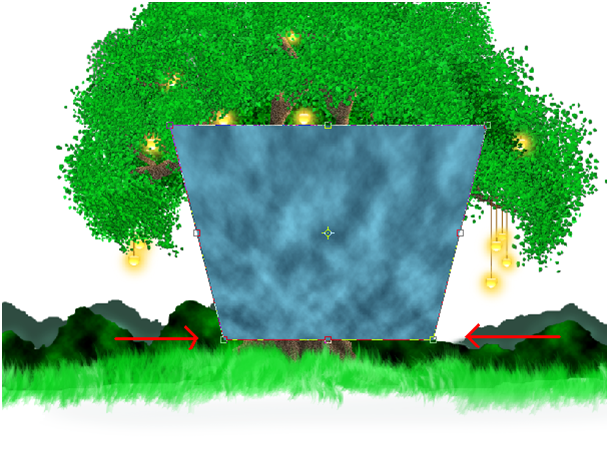
Step-42
Change the perspective in the following way.
Step-43
Now, get the sky behind the scene.
Make normal transform selection and resize it to fit the background.
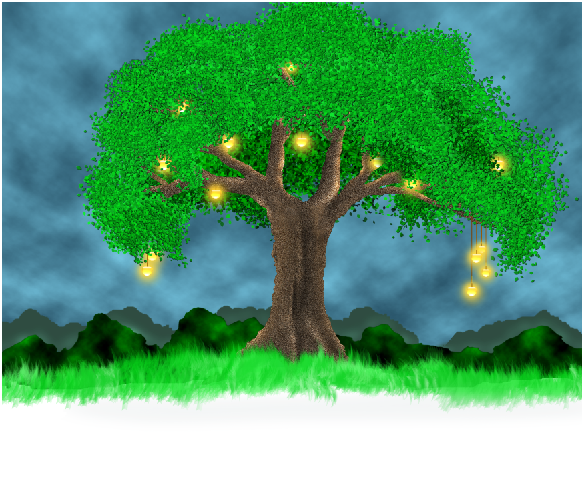
Step-44
Using “Burn Tool (O)” darken the following areas to give depth.
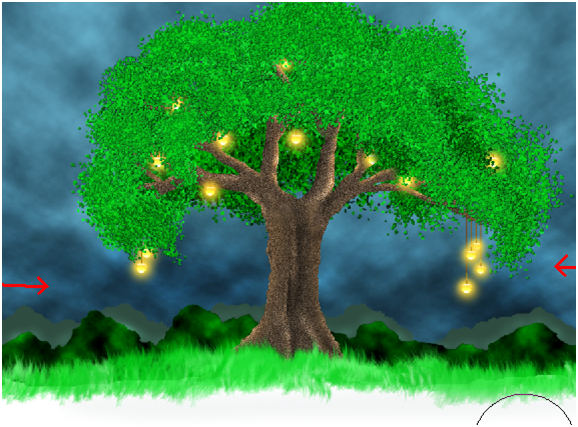

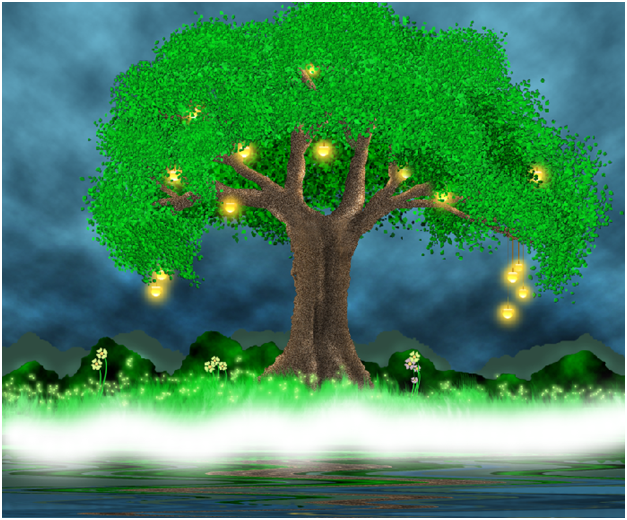
Lets add some flowers and glowing dots (use soft round brush).
Creating Dark water and reflection of the scene.
Step-45
Duplicate the entire scene into one layer and flip it vertically.

Step-46
Now, we are going to convert this duplicated layer in to water and reflection .
To do this, go to Filter >> Distort >> Wave
And set the properties of wave palette to this….
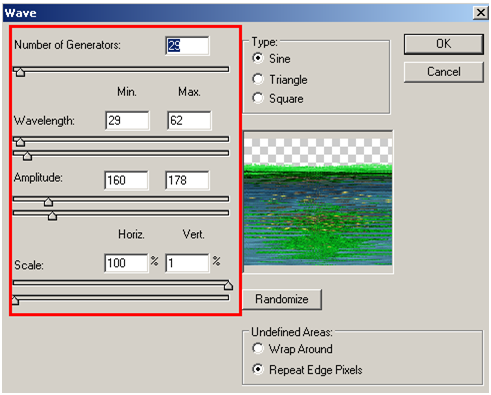
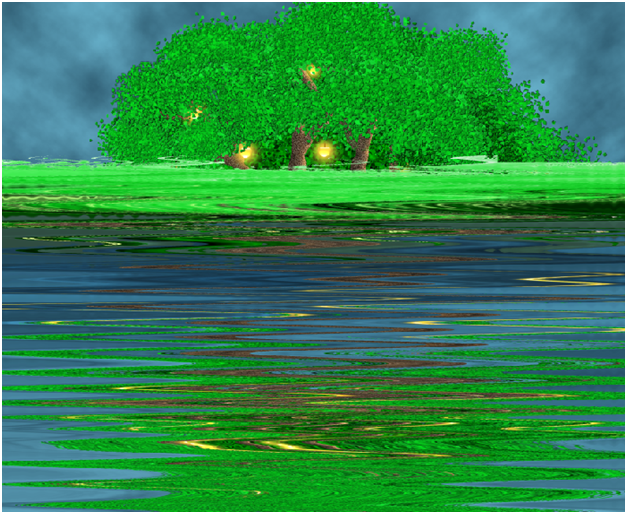
And you get result like this…..
Step-47
Get the water effect behind the scene and place it below as water like this…..
Step-48
Finally lets add fog.
For this, create new layer.
Select soft round brush with white color and draw like this….
Blur it.

Step-49
Repeat the same fog effect to get the final result like this…

Done!!
I hope you find this tutorial useful . Enjoy!!