Final Image:
Step-1
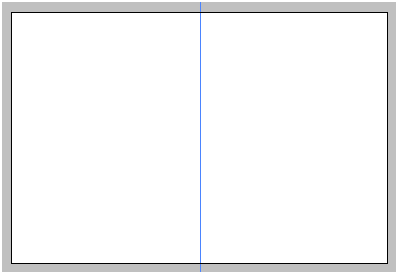
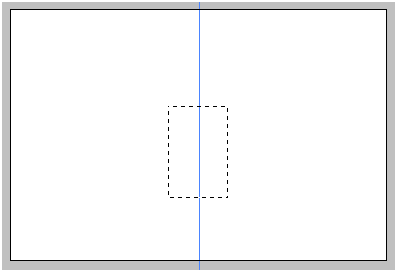
Create New Document.
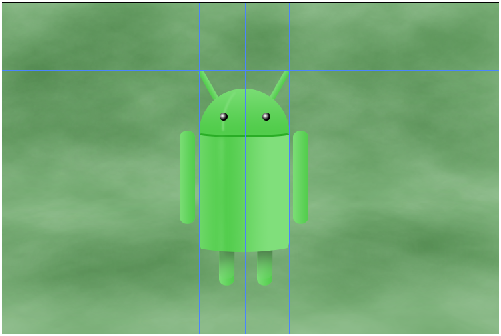
Press “Ctrl + R” to get rulers and set a vertical ruler in the middle.
Step-2
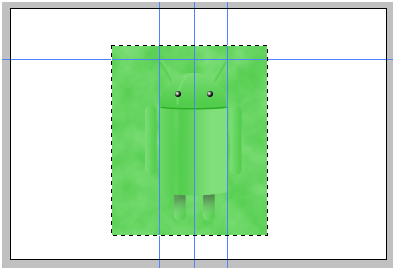
Draw a rectangle using “Rectangular Marquee Tool (M)” in new layer.
Step-3
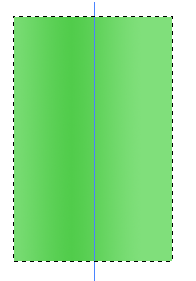
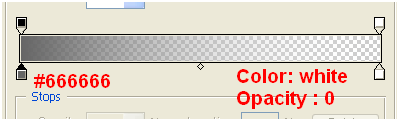
Set the following colors in gradient.

Select reflected Gradient.
![]()
Fill the selection to get the following result.
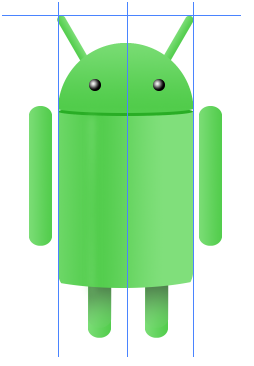
Create Hands:
Step-4
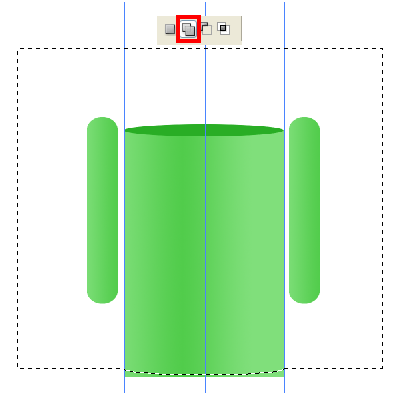
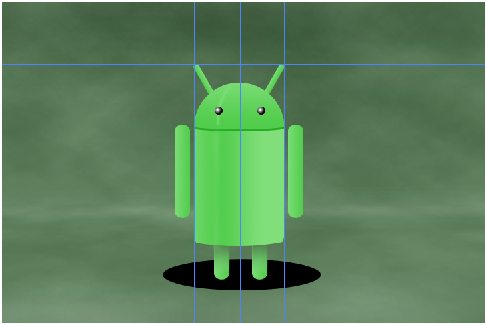
Set the rulers on the both sides.
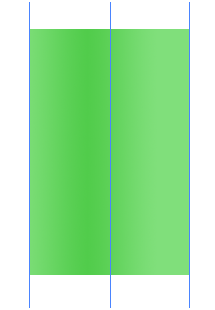
Select, “Rounded Rectangle Tool (U)” with radius 360px.
Draw hands and fill them with the same gradient as above.

Step-5
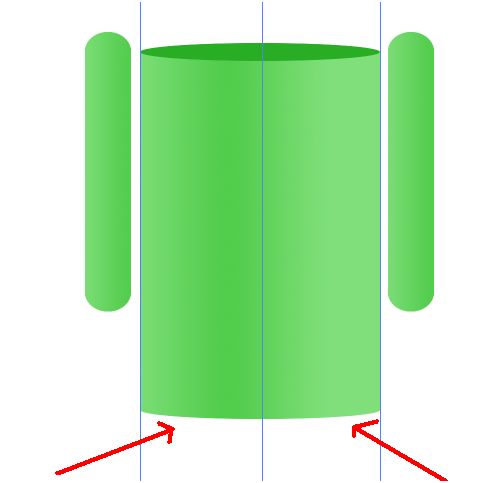
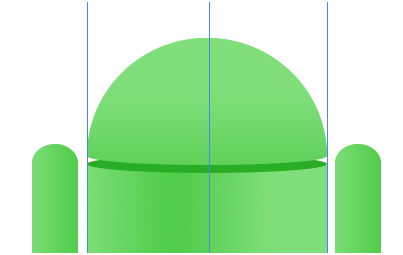
Now draw a elliptical circle using “Ellipticle Marquee Tool (M)” and fill it with dark green color in new layer.

Step-6
Using the same elliptical selection, lets select bottom of the body.
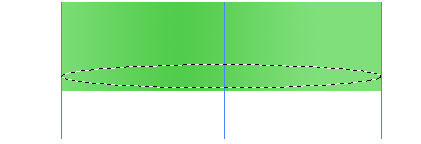
Expand the selection using “add to selection”.
Inverse the selection (Ctrl + Shift + I) and delete to get round edges like this.
Step-7
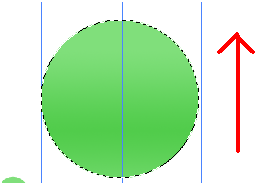
Now, let’s create head.
For this, draw a circle with “Ellipticle Marquee Tool (M)” and fill it with same gradient as above.
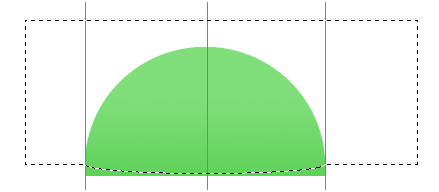
Cut it into half.

Using the above elliptical selection, inverse the selection and delete it to get round edges at the bottom of the head.

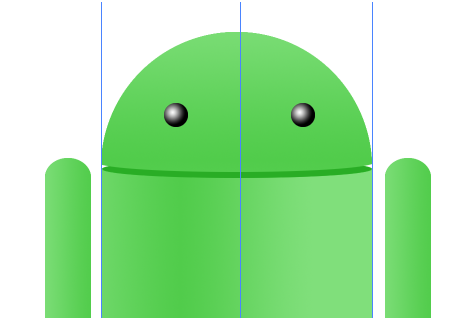
Create Eyes:
Step-8
Draw circle using selection tool in new layer and fill it with radial gradient (black and white).
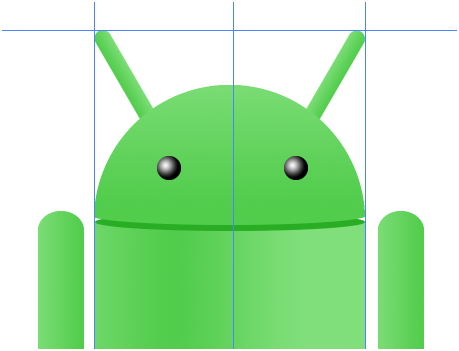
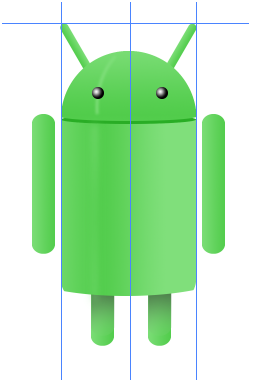
Create Antennas:
Step-9
Duplicate the hands, resize them and position them in the following way.
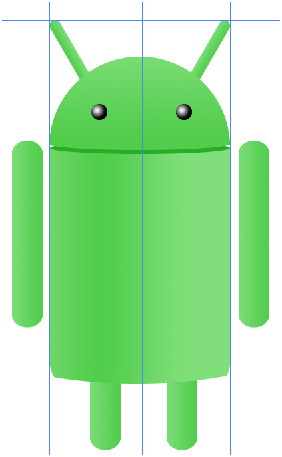
Create Legs:
Step-10
Duplicate the hands and position them like this….
Step-11
Make selection of the legs, select new layer and fill it with following gradient.

Add Reflection:
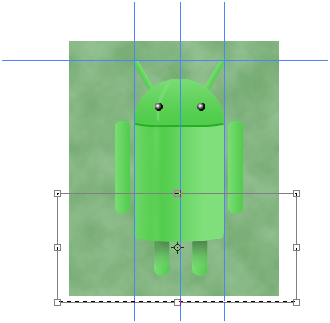
Step-12
Make rectangular selection with selection tool(M) and fill it with light green color in new layer.

Blur it. (Gaussian Blur)
Similarly over the head.
Set Background:
Step-13
Create a new layer at the bottom.
Make rectangular selection.
Set foreground (#80DF7B) and background colors (#51CC4B).
Go to Filter >> Render >> Clouds.
Desaturate it a bit
For this, go to Image>> Adjustment >> Hue/Saturation and adjust the saturate bar.

Step-14
Select half of the background and select free transform(Ctrl + T).
Right click and select “Perspective” and expand the selection.
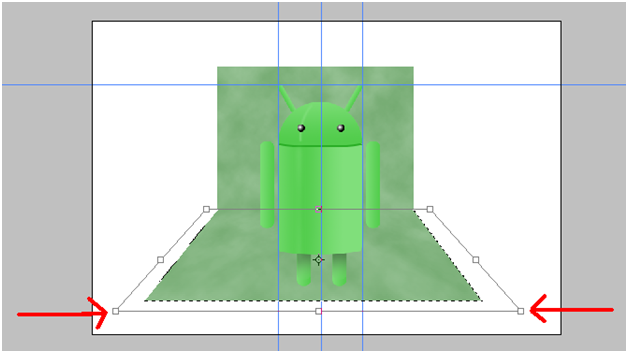
Resize the whole background to the full screen.
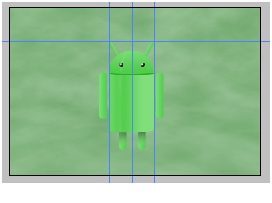
Step-15
Using “Burn tool (O)” darken the following areas using soft brush tool.

Using “Dodge Tool (O)” lighten up the following areas using soft brush tool.

Add Shadows:
Step-16
Draw elliptical circle with black color in new layer.
Blur it and decrease the opacity to 60%

Duplicate the blurred shadow(2 copies), resize it and place them below the feet each.

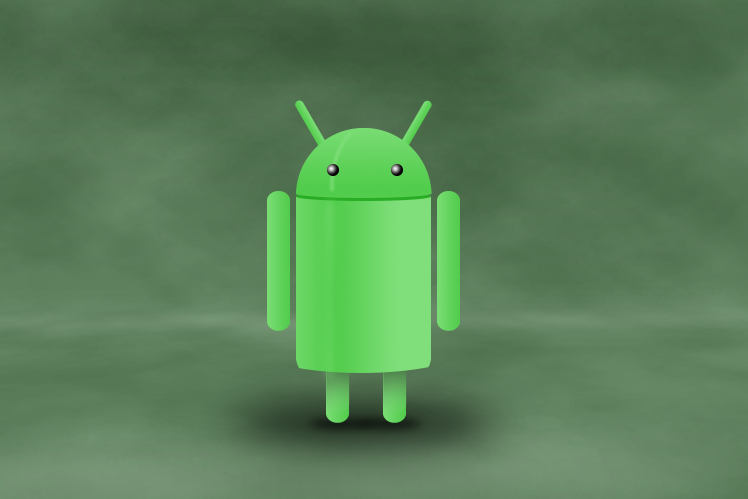
Finally you get result like this…
I hope you find this tutorial useful.
Enjoy!!