In this short tutorial, we will create a starry night background image in few simple steps using some filter effects and layer blending.
Final Result:

Step 1
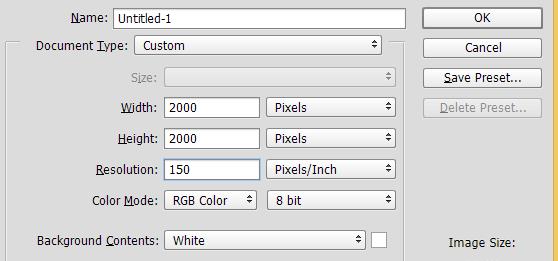
Press Ctrl + N to create a new document with 2000px by 2000px size (this is not mandatory size, you can create your own custom size) in photoshop.
Step 2
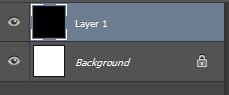
In the newly created document, create a new layer (Ctrl + Shift + N) and fill it black color
Step 3
Select the “Layer 1” and go to filters>>Noise>>Add Noise which opens up Add Noise palette.
Add noise with following settings :

Step 4
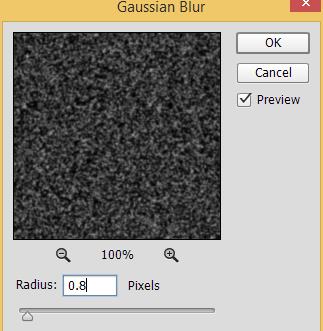
While the “Layer 1” is selected, go to Filter>>Blur>>Gaussian Blur
Add blur to layer with following settings:
Step 5
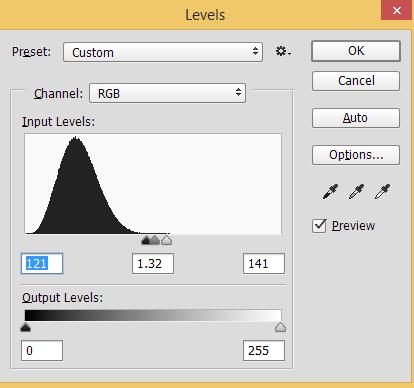
Now we will decrease the noise to few white spots to get the starry night using levels.
Press Ctrl + L on your keyboard to open up a “Level” palette and set the following parameters:
The result should look like this:

Step 6
Press Ctrl + J to duplicate the layer and go to Filter>>Blur>>Gaussian blur.
Add blur to duplicated layer with following parameters:
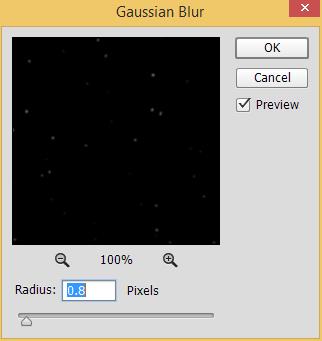
Then set blend mode of the layer to “Screen” to give glow effect like this..

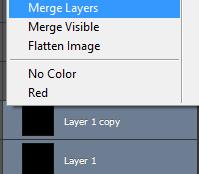
Merge the “Layer 1” and “Layer 1 copy” layers and name the layer as “Stars”.
To merge the layers, select both the layers by pressing “ctrl” key on the key board then right click and select “Merge Layers”
Step 7
In this final section lets create dark blue sky for the background.
Create a new layer (Ctrl + Shift + N) just below the merged layer and name “sky”.
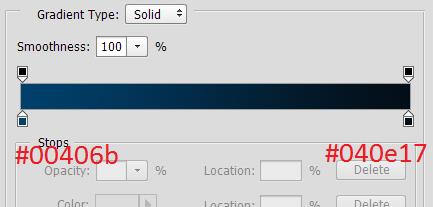
Press G on the keyboard to select gradient and click on the gradient editor on the top left corner.
![]()
In the Gradient editor set following colors for the sky.
Select the ”Radial Gradient” and draw across the document from bottom right to top left to get the gradient like this…

Step 8
Finally select the “Stars” layer and set blending mode to “Screen” and duplicate the Stars layer multiple times to get the final result like this…
Final Result: Starry background image.
I hope you find this tutorial helpful and learned few new techniques to implement in your own project. See you next time.