How far you can change a given real image into surreal image. In this tutorial you will learn to fantasize an image with available resources within the image. We are not going to use any other images, we just use different parts of the given image in multiple ways. So let’s get started.
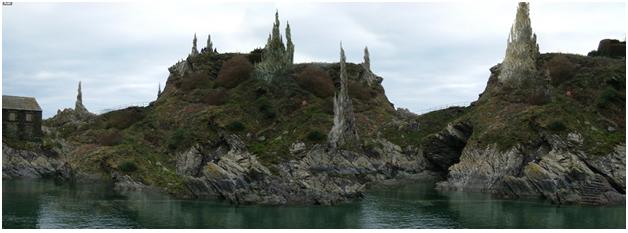
Final Image:
Image source
Step-1
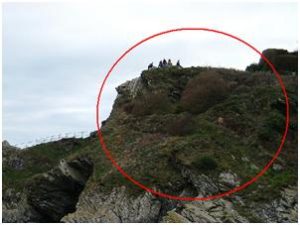
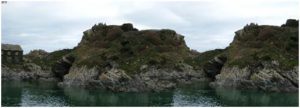
I’m taking the following image.
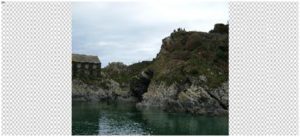
It’s original size is 1024×768 pixels. So, I’m going to change the width of the canvas.
Image>> Canvas size, in canvas size panel give width 2000pixels.
Step-2
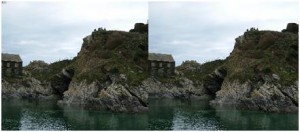
Now, duplicate the same image and position them in the following way.
Step-3
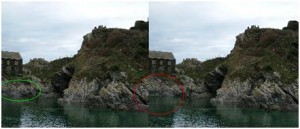
I’m going to manipulate the red circled area with green circled area using “Clone stamp” tool.
You get result something like this.
Step-4
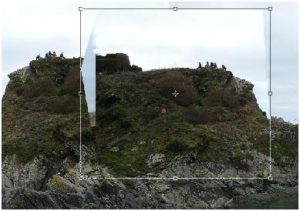
Now I’m going to manipulate the following sharp differences.
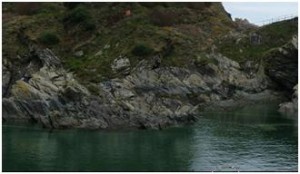
For this, I’m going to use this part of the image.
Flip that part horizontally and place like this.
Step-5
Erase the edges of the image and the result should look like this.
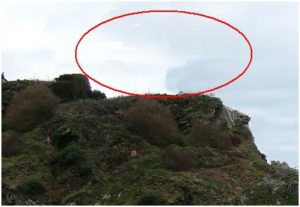
Now, adjust the following part of the sky.
Modified sky looks like this.
Step-6
Lets modify the following part using the clone tool.
Result should look like this.
Step-7
In the following images, there are two similar caves. I’m going to cover one of them with green circled area.
Step-8
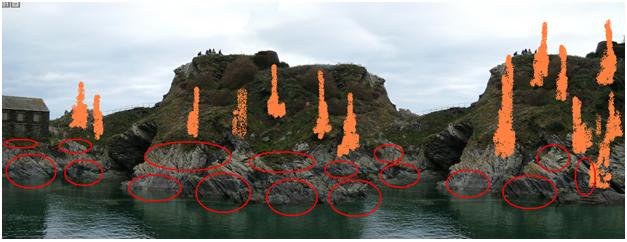
Now, I’m going to add rock peaks using the red marked rocks in the following way.
Step-9
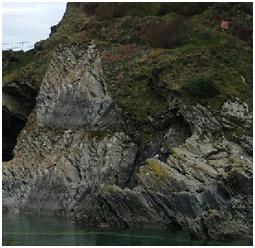
Here I’m selecting the following area
Copy and paste like this.
Select “Clone stamp tool” and select following brush type.
Clone the copied image in the following way.
In the above image, you can see the cloning was not natural and also the edges are blurry.
So, to improve that, select following “Clone stamp tool” brush type.
Decrease the brush size to maximum and set the opacity and flow value to 100%. Here is the important part, clone any part of that piece which is convenient to you and draw the edges like this……
Using dodge tool, brush left side of the image to improve the brightness and also color balance to get the following result.
Step-10
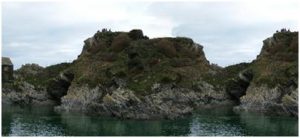
In the similar way, create the rest of the peaks to get the final image like this.

