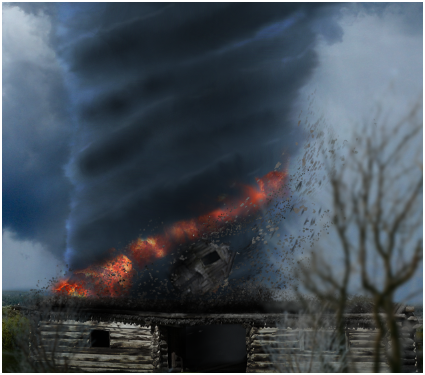
In this photoshop tutorial, learn how to draw tornado from scratch without using any images.
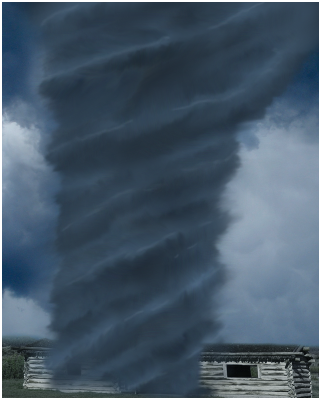
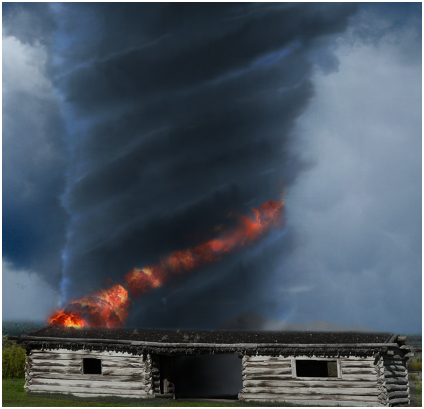
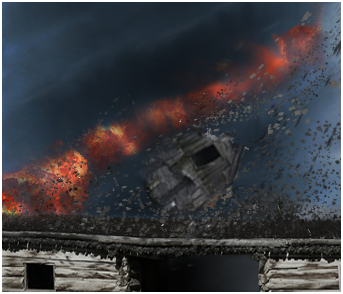
Final Result:
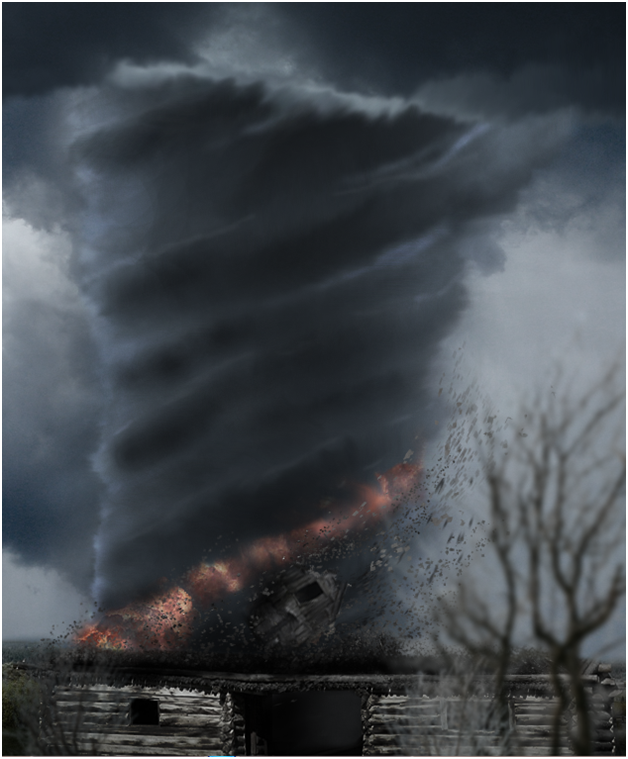
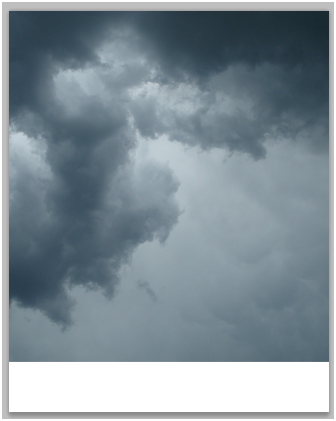
Image Resources:
Step-1
Create a new document with 640×800 size.
Import Sky image.
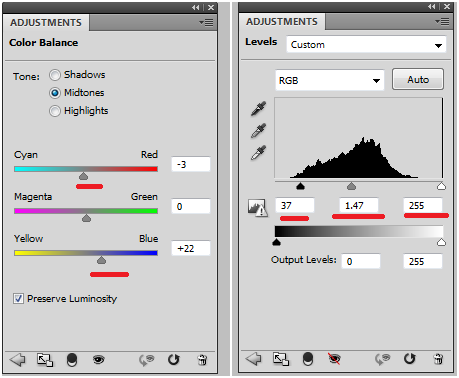
Step-2
Add “color balance” and “levels” Adjustment layers to change color and lighting of the image.

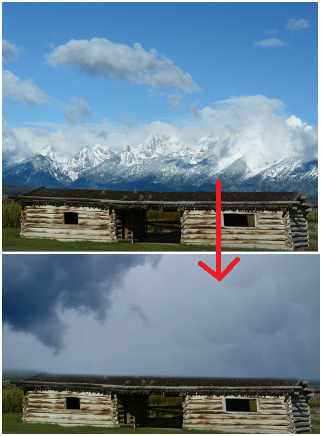
Step-3
Import the wooden house and mask the sky in the image.
Step-4
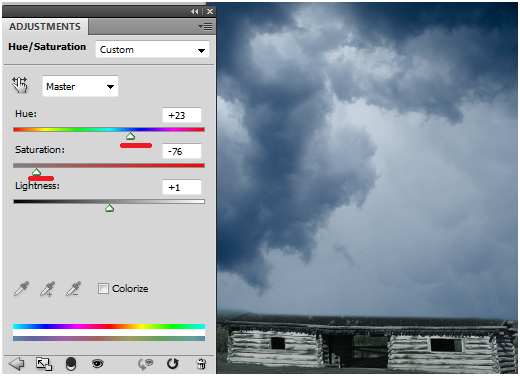
Decrease the “Saturation” of the wooden house using adjustment layer.
Creating Tornado:
Step-5
Create a new Folder in the layers.
We are going to place all the layers related to tornado into this folder.
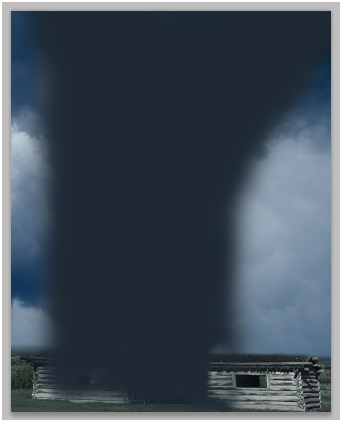
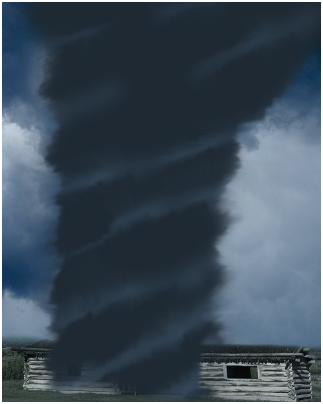
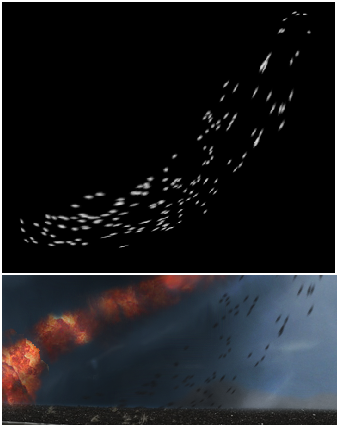
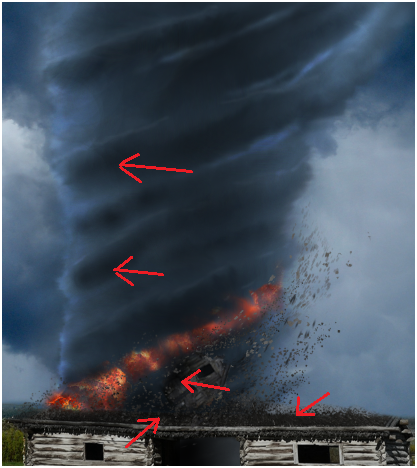
In a new layer, using soft brush draw shape of the tornado with dark blue color(#1e2933).
Step-6
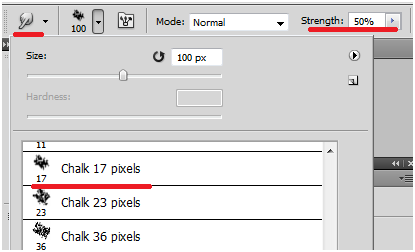
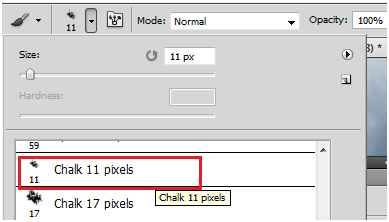
Select “Smudge Tool“ with strength 50%.
“Chalk” Brush style.
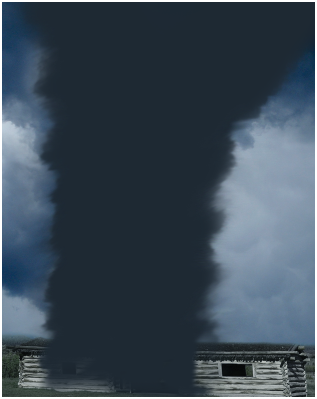
Smudge the edges of the tornado shape to get result like this..
Step-7
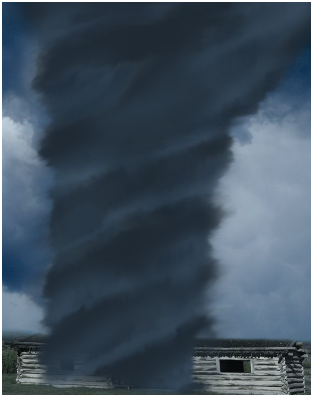
In a new layer, using soft brush with light blue color(#3d5367), draw lines on the tornado shape like this…

Step-8
Using “Smudge Tool” with same properties which we used in the step-6, smudge the edges of the lines like this…
Step-9
Repeat the steps 7 and 8 multiple times in multiple new layers to get result like this…
Step-10
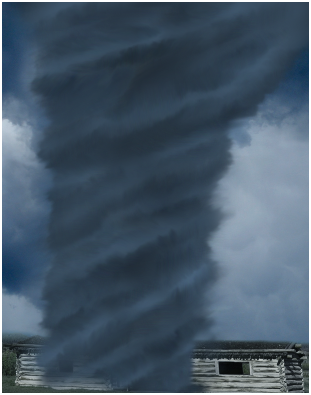
Lets add some highlights to the tornado:
Press Ctrl+Shift+N to create a new layer with following settings.
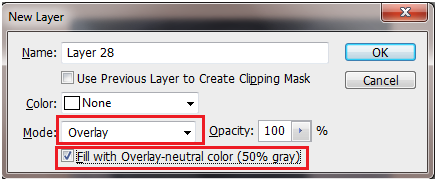
Select “Dodge Tool” with soft brush, set Range to “Highlights” and Exposure to 10%.
Highlight the following areas.
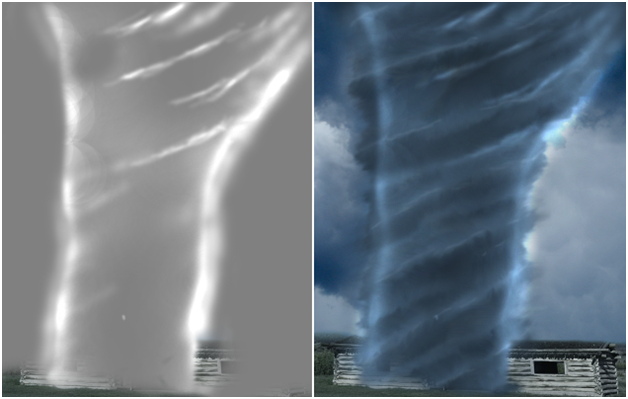
Step-11
Using “Smudge tool” with same properties as mentioned above, smudge the edge of the highlights of “overlay” layer.

Step-12
Create a new layer just like we created in the step-10
Lets add some darkness to the middle part of the tornado:
Select “Burn Tool” with soft brush, set Range to “Shadows” and Exposure to 15%.
Brush the following area.
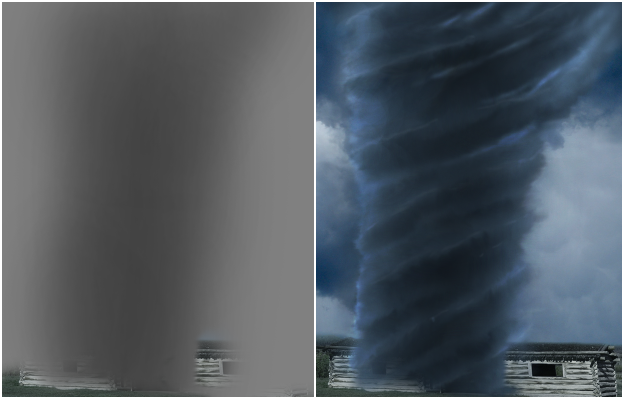
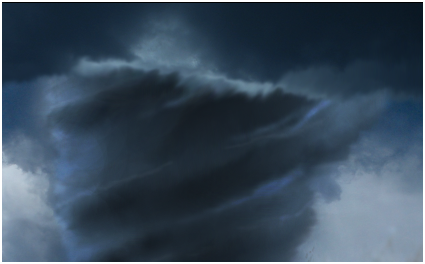
Mask the top part of the tornado, to make it blend into the background sky image.
Adding fire to the storm:
Step-13
Close the tornado folder and create a new folder for adding fire to the storm.
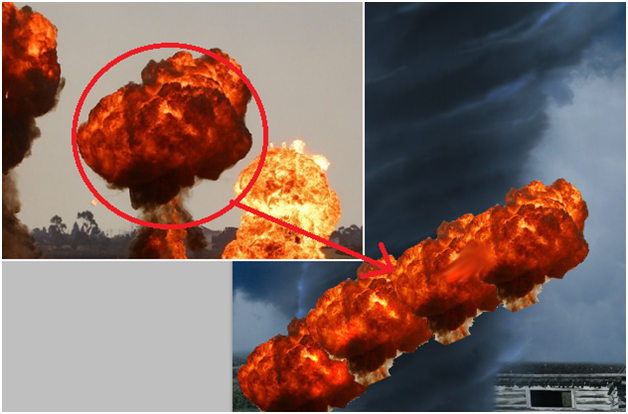
Import the explosion image into the scene.

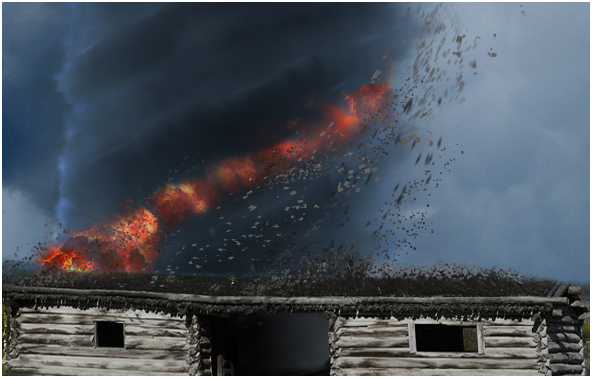
Step-14
Copy the following part of the explosion multiple times and merger them like this..
Step-15
At the bottom of the layer palette, click on the third button from the left to add layer mask.
Using soft brush, mask the edges of the explosion to merge the fire into the storm.
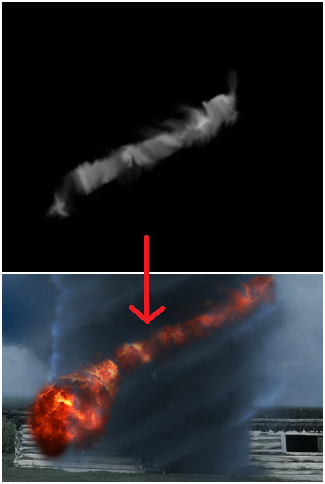
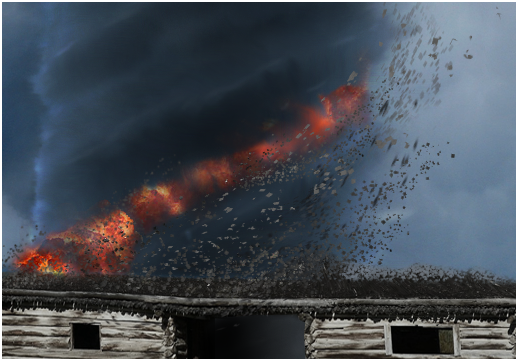
Step-16
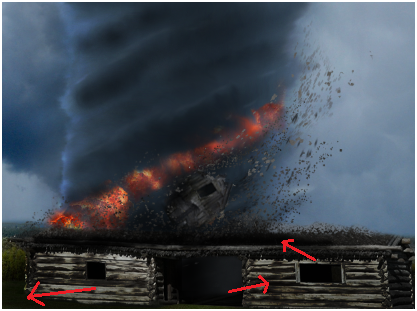
Mask the tornado and fire to get them behind the wooden house.
Creating Dust:
Step-17
Import the road image.

Decrease its brightness using curves(Ctrl+M) and distort the image using free transform tool (Ctrl + T)

Step-18
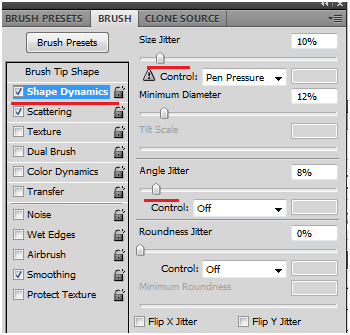
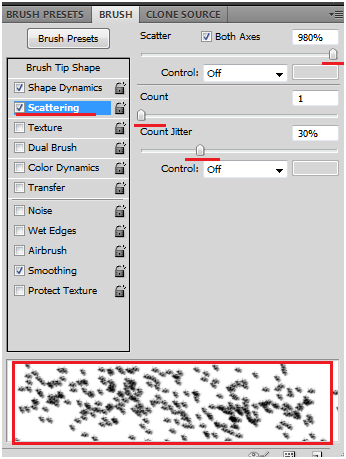
Set the brush with following properties.
Step-19
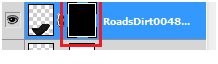
Apply layer mask to the road image.
Fill the layer mask the black color.
Set the brush color to white and brush on the layer mask.
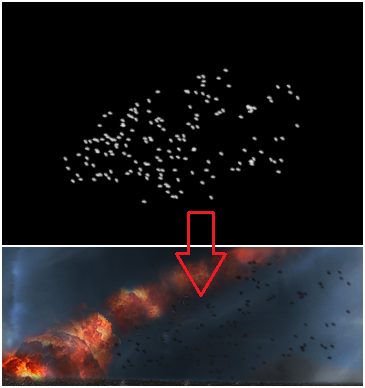
Distort the layer mask using liquefy option to get motion blur effect to the dust.
Step-20
To get massive dust effect, repeat the above process (step-17,18,19)

Step-21
Similarly, add remnants of wooden house floating around the tornado.
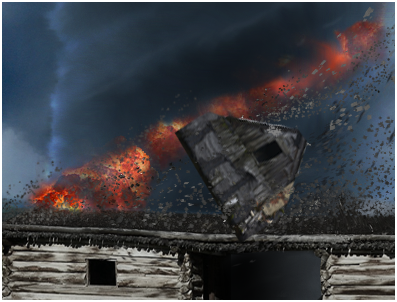
Mask the parts of the house to blend it into the tornado.
Step-22
In a new layer, using soft brush with black color and opacity 40% , draw shadows like this..
Adding Trees:
Step-23
Import the tree image into the scene.

Duplicate the tree layer, desaturate(Shift+Ctrl+U) it and apply “levels” with following properties.
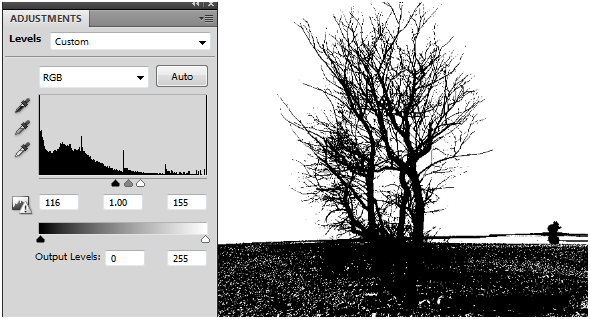
Make selection of the tree using “Color Range” option. (Go to Select>>Color Range)

Using this selection, copy the original tree image.
Apply little Gaussian blur to the copied image.
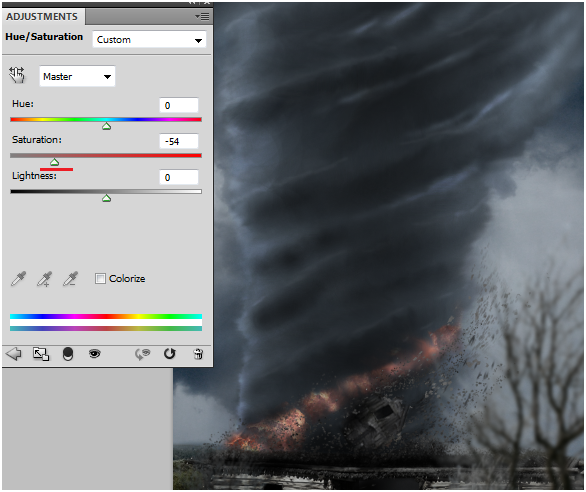
Step-24
Finally, decrease the saturation using “Hue/Saturation”
That’s it , this is the final result.
Final Result:
I hope you find this tutorial helpful.