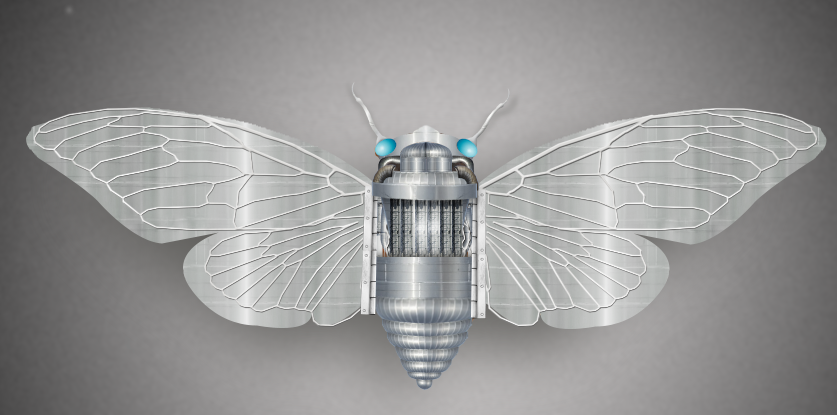
In this tutorial, you will learn to create robotic butterfly using multiple images. In this process, we simply copy multiple parts of nuts, bolt, pipes, wires etc., and position them in a particular way and using curves increase or decrease the brightness as per requirement to achieve the desired result.
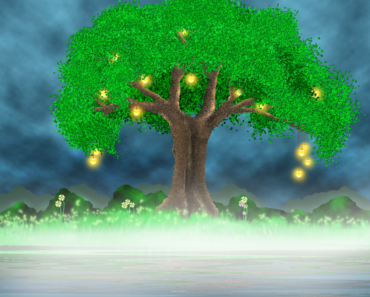
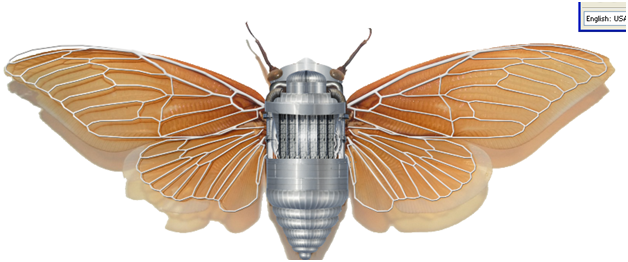
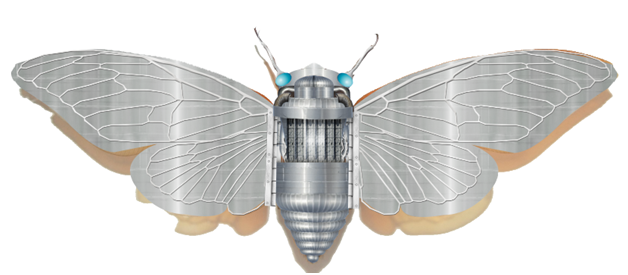
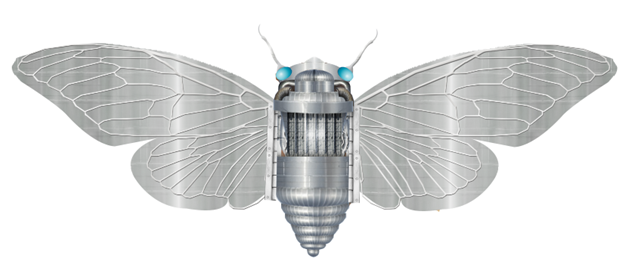
Final Image:
Resources:
Step-1
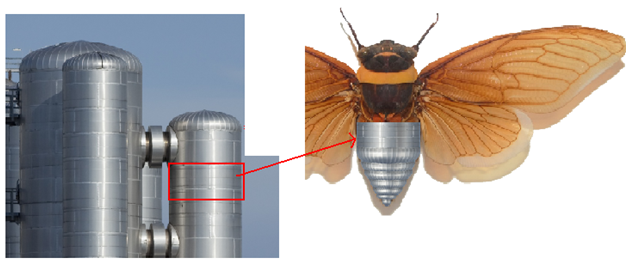
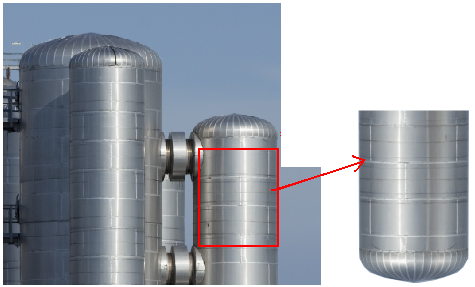
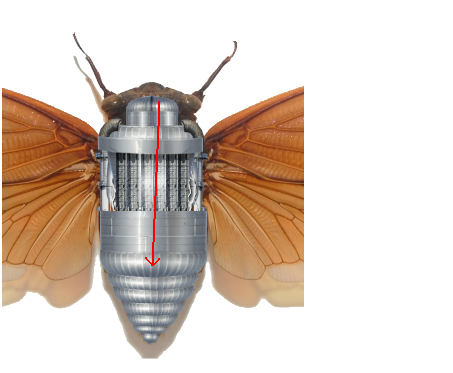
To create robotic butterfly, we use the following image as reference.
Keep this image layer at the bottom and lock it.

Step-2
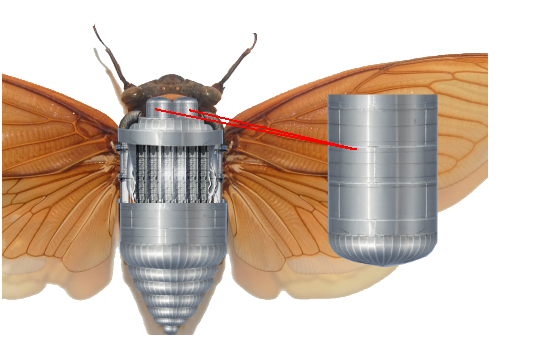
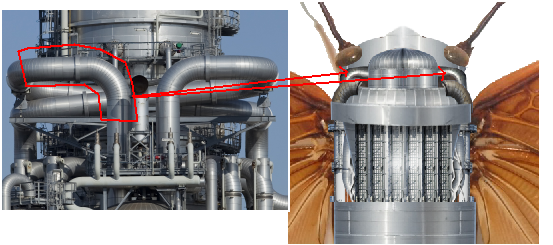
Copy the selected area of the image to create the back of the fly.

Step-3
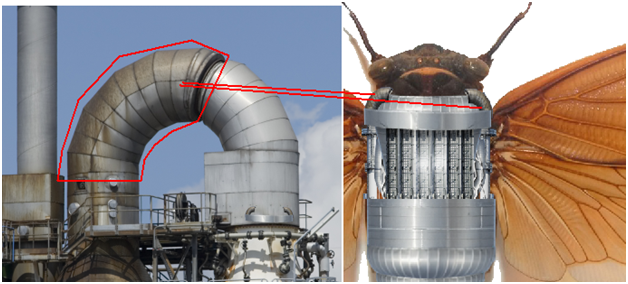
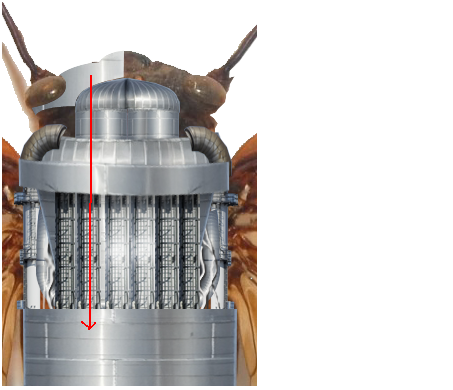
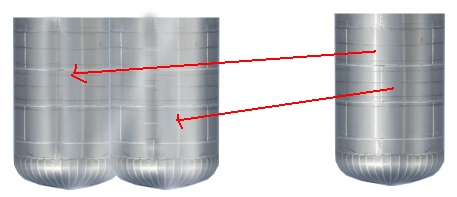
Using lasso polygonal tool (L), copy the following area of the image into new layer.
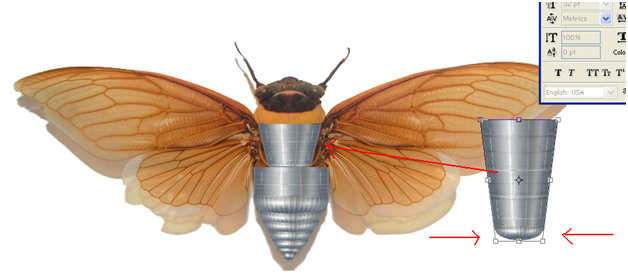
Step-4
Now select free transform (ctrl + T), right click to select “perspective ” to reshape the bottom.
Position it in the following way.
Step-5

Step-6

Step-7
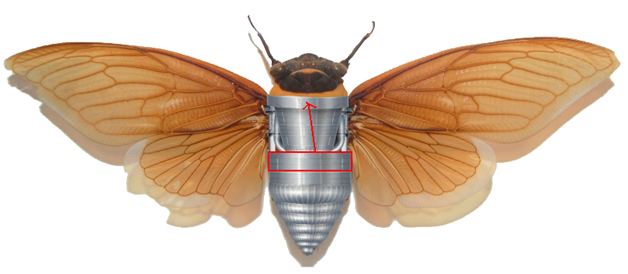
Step-8

Step-9
Step-10
Step-11
Step-12
Step-13
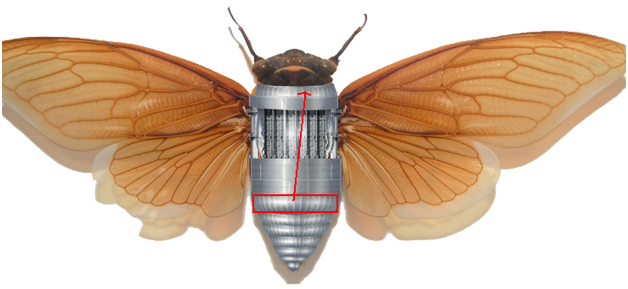
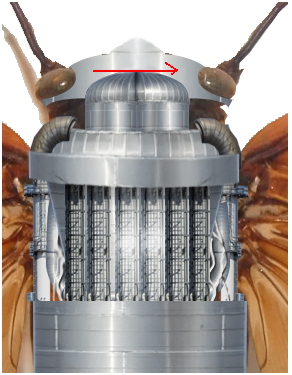
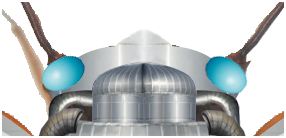
Make selection of the head using pen tool.

Step-14
Using the above selection copy the following metal.
Duplicate the above selection and flip it.
Step-15
Using curves (Ctrl + M), decreased its brightness a little bit.
Working with wings:
Step-16
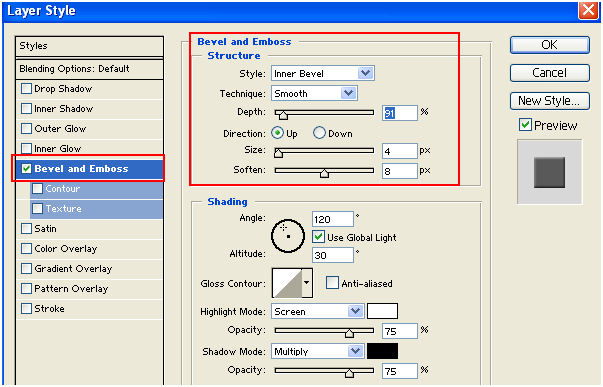
Select new layer and set the following blending options(double click the layer).

Step-17
Using brush tool (B), draw lines with gray color (#E3E2E1)
Step-18
Duplicate the above lines to other side.
Step-19
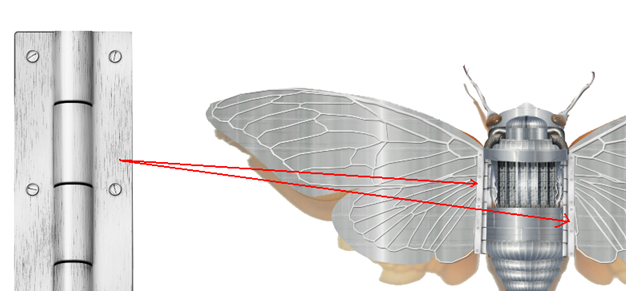
Duplicate the following image to merge together.
Step-20
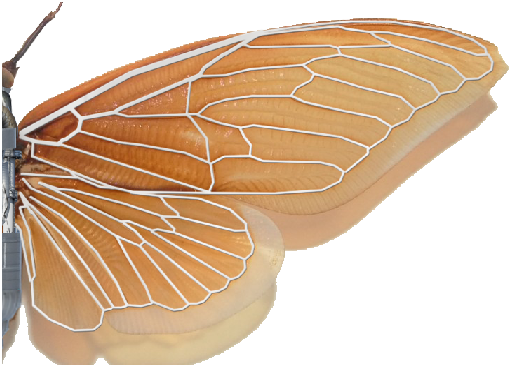
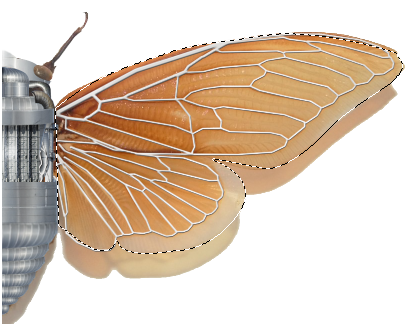
Make wing selection using pen tool(P).
Step-21
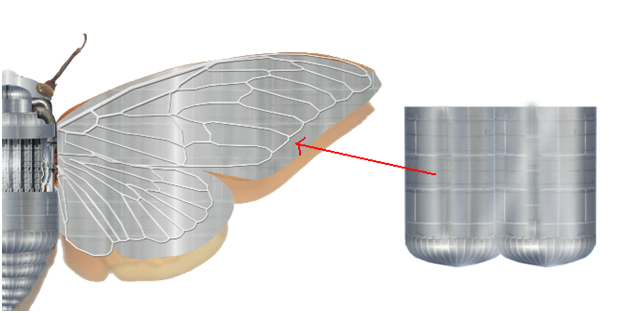
Using above selection, copy the metal which we just created.
Step-22
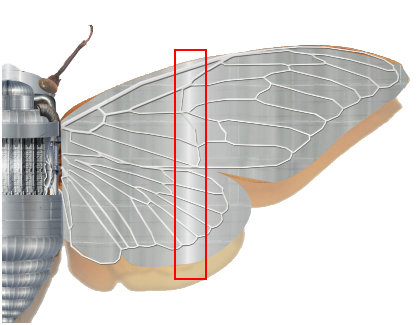
Using dodge tool, highlight the following area.
Step-23
Duplicate the above wing and flip it to the other side.

Step-24
Step-25
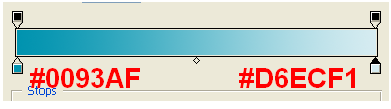
Using elleptical marquee tool (M) draw oval selection in new layer and fill it with radial gradient with following color.
Step-26
Select antennas using pen tool (P) , fill it with gray color and setthe following blending options.
Step-27
Mask visible parts of the butterfly .
Step-28
Make outline selection of the butterfly using pen tool(P).
In new layer, fill the selection with black color and blur it (filter>>blur>>gaussian blur) to create drop shadow.
Step-29
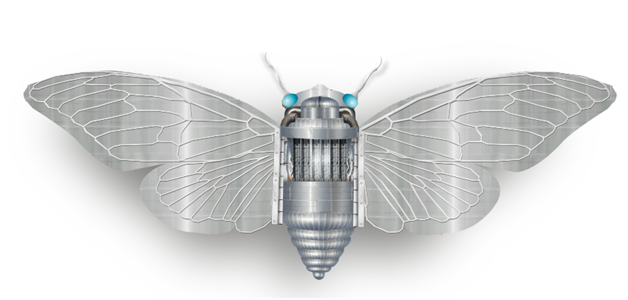
At last add radial brackground to get final result like this….
I hope you find this tutorial useful.
Enjoy!!