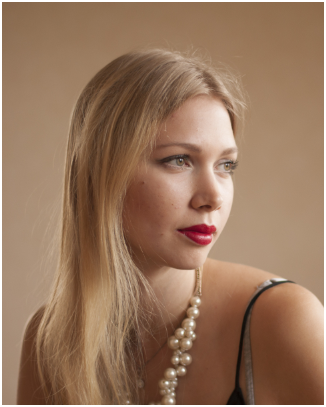
Final Image:
Resources:
Frequency separation is a process of separating high frequency information in an image( like acne, hair, fine lines, wrinkles, scars, skin texture, etc., ) from the low frequency information (like tone and color of the image). In other words, it is simply a process of separating texture(image fine details) of an image from its tone and color into separate layers so that we can edit tone & color of the skin and texture separately.
Now, lets go through step by step process of frequency separation technique
Step 1
Open the image you want to apply frequency separation technique in photoshop or you can download the image that I’m using, please check the link for the image at the top.
Step 2
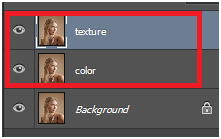
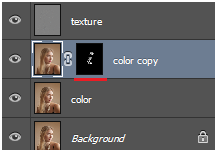
Duplicate the image twice. (select the image layer >> press ‘Ctrl + J’ twice)
Name the top layer as “texture” and bottom layer as “color” like this….
Step 3
Now, hide the “texture” layer and select “color” layer.
Go to Filter>>Blur>>Gaussian blur
In the Gaussian blur palette, increase the blur until the fine details disappear from the image.
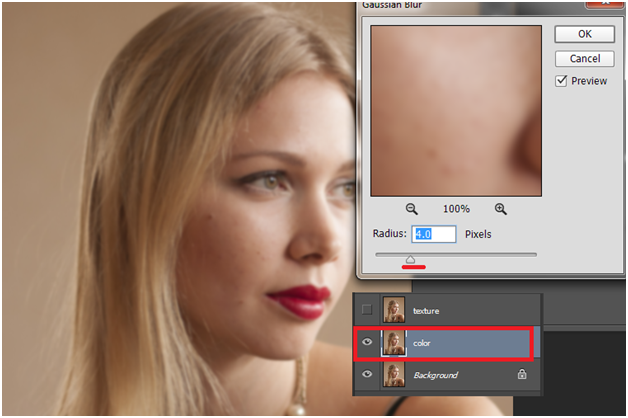
Once you get the result you want, hit “ok”.
We just removed(blurred out) high frequency information from the image to retain only tone and color, in other words low frequency information of the image. This “color” layer represents the low frequencies of the image.
Now, let’s separate the high frequencies from the image.
Step 4
Unhide the “texture” layer then go to the “image” menu and select “Apply Image” which will open up a palette. Here you can blend layers in various ways. We are going to be subtracting low frequencies (“color” layer) from the current layer.
Set the following properties in the palette and click “Ok”.
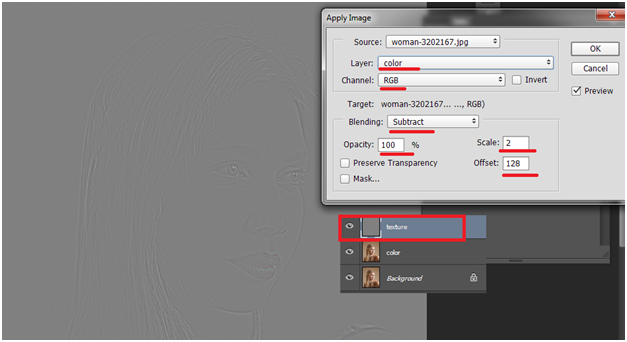
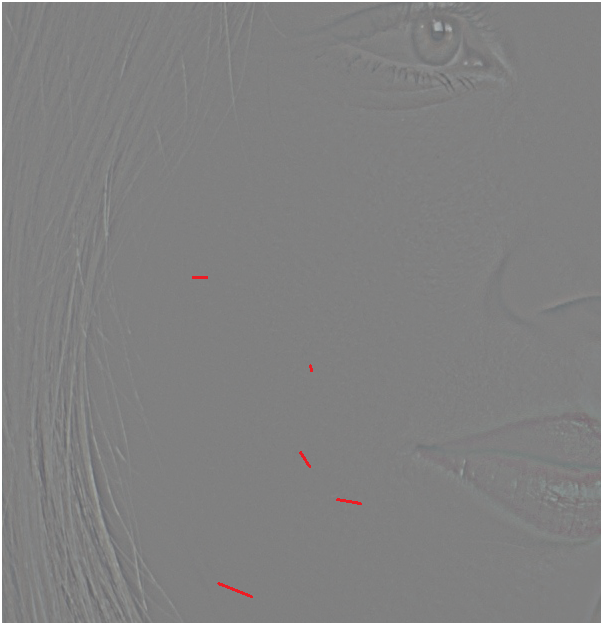
The result will be a gray looking image which represents high frequency or texture(finer details) of the image.
To complete the frequency separation successfully, set the blending mode of the “texture” layer to “linear light”. The result looks the same as original but we have the texture and color information of the image in separate layers.

Now, we will see how to use this frequency separation technique to retouch the image.
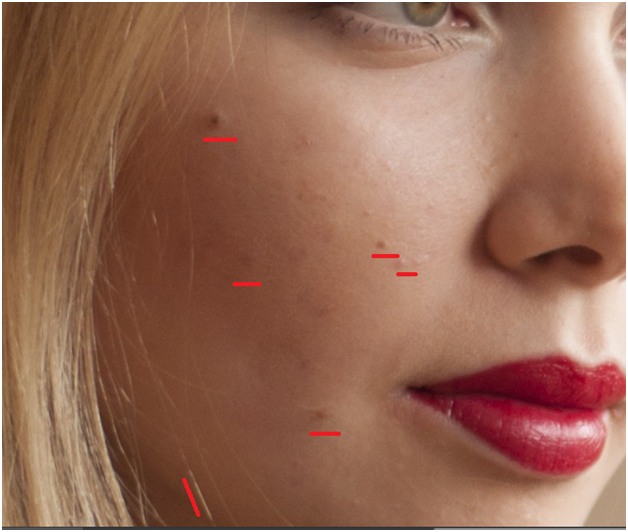
Step 5
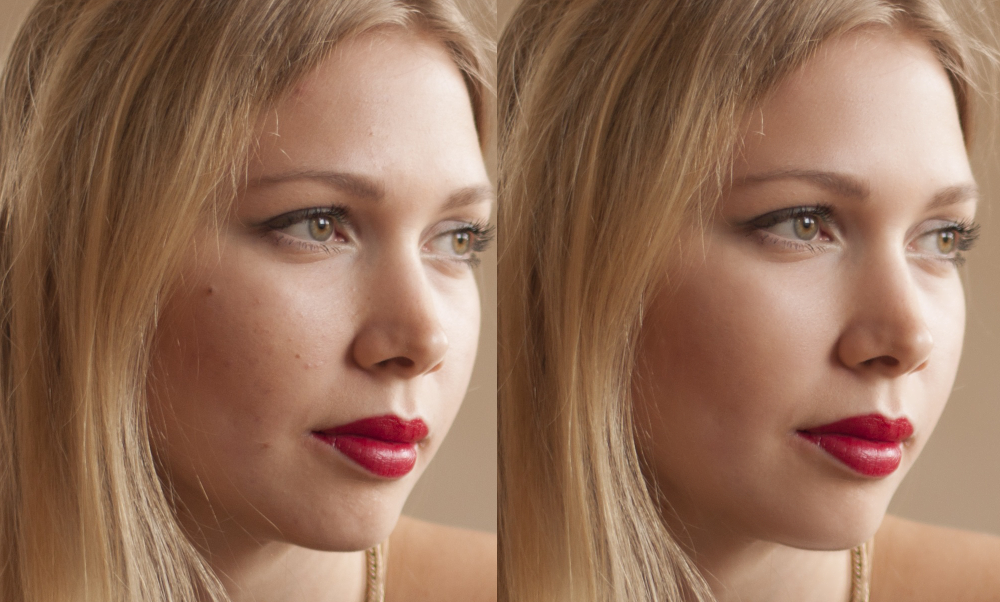
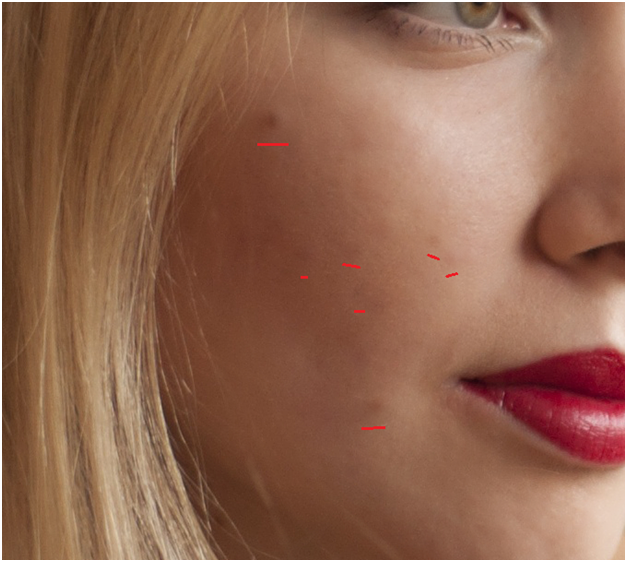
To see the amazing power of this technique, lets remove small dark marks on her face.
Select the “texture” layer then select “clone stamp tool (S) “ and set sample to “current layer” then remove the marks from her face.

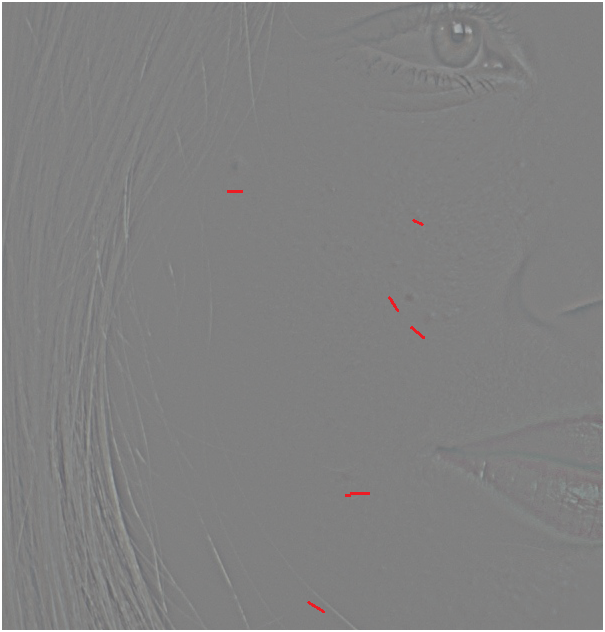
After using “clone stamp”…
You see, we have successfully removed finer details of the marks from the texture. Now , we have to remove the dark color spots. For this…
Step 6
There are many ways to accomplish this step, but we stick to the following one:
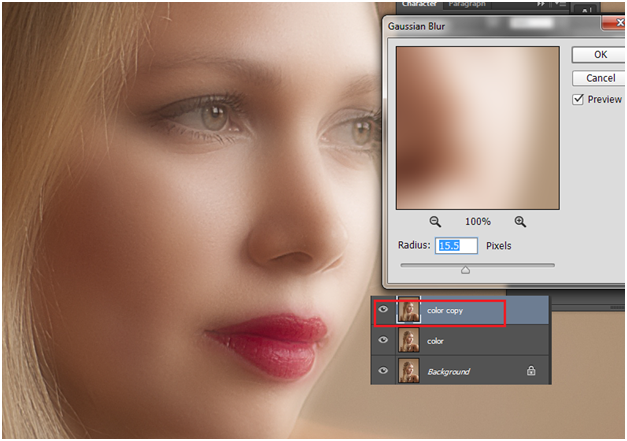
Duplicate the “color” layer and apply Gaussian blur to smooth out all the colors in the image like this…
Step 7
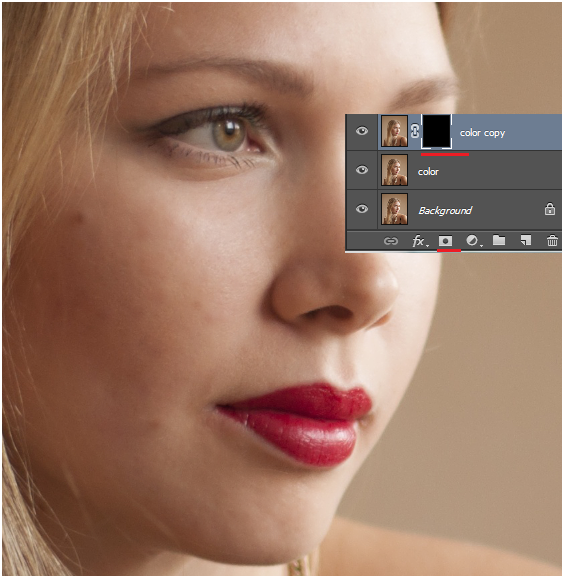
Apply “vector mask” to the layer (duplicated color layer) and fill the layer mask with black color to hide the image.
Step 8
Finally, select the mask, using soft white brush, paint over the dark marks on the face to reveal the blurred image. This will remove the marks and give a perfect color blend in effect.
I hope that you find this tutorial useful