In this tutorial you are going to learn how to create sunrise scene with gradients and dual brush. Beginners : Don’t worry about your drawing skills, it is going to be simple and effective.
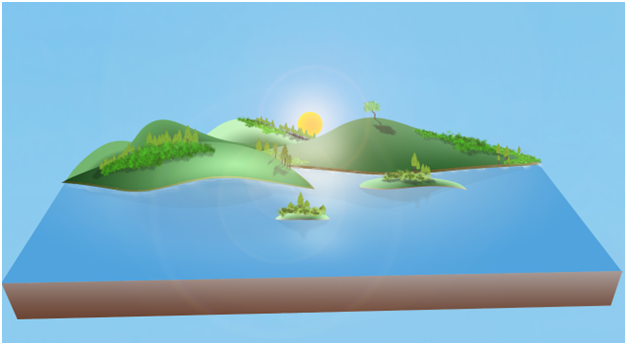
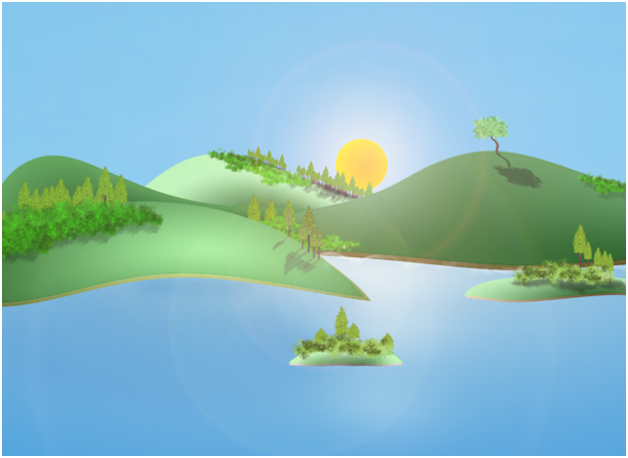
Final Image:
Creating Mountains:
Step-1
Take a new file with 3000×2000 file size. (We take this large only to play more comfortably and we crop it off later.)
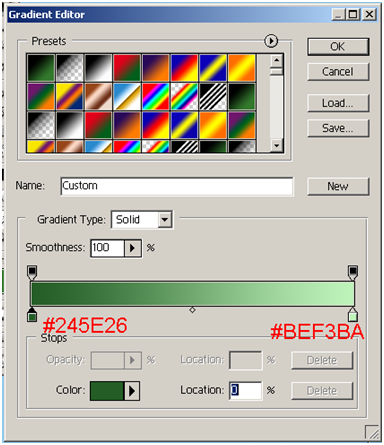
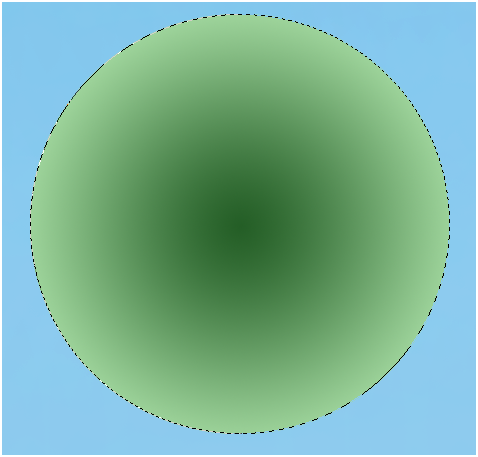
Now, Draw a circle selection and fill it with following radial gradient.
Step-2
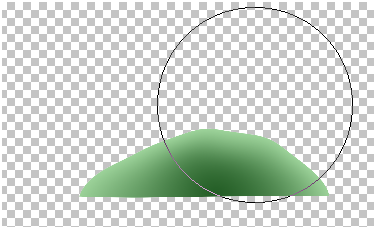
Slice it half

Step-3
Go to Filter>>Liquify
Select “Wrap Tool” with brush pressure 50% and shape the semi circle like this.
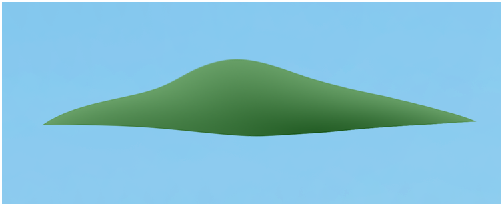
Step-4
Try to get result like this….
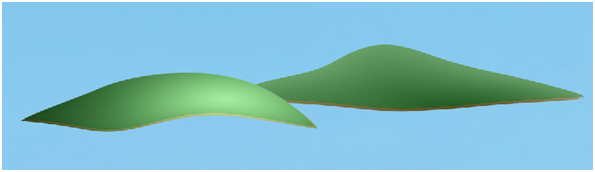
Step-5
Duplicate the mountain and change the color of it using hue and saturation.

Place it below the green mountain to get edge of the mountain effect like this….

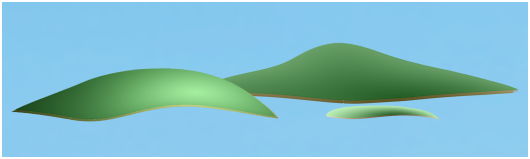
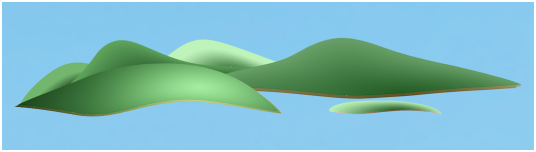
Step-6
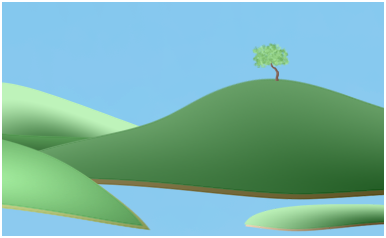
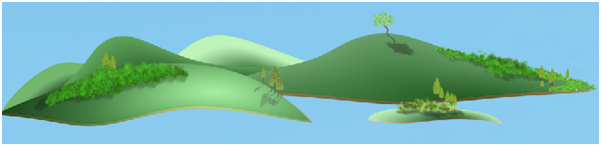
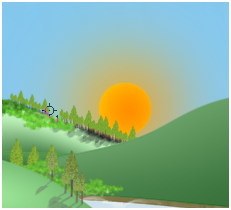
Similarly create multiple mountains and position them like this….
Creating Trees:
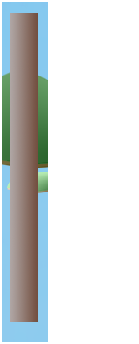
Step-7
Create a gradient trunk.

Step-8
Go to Filter>>Liquify
Use Wrap Tool with 50% brush pressure to get result like this….

Step-9
Select brush with following brush style and properties.


Step-10
Draw foliage.
Resize it.
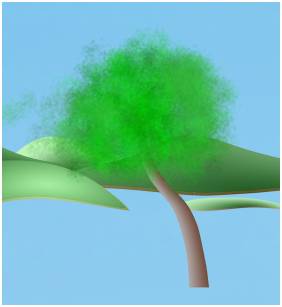
Step-11
Duplicate the tree turn into black(decrease brightness using curves (Ctrl+M)) and use as shadow like this…..
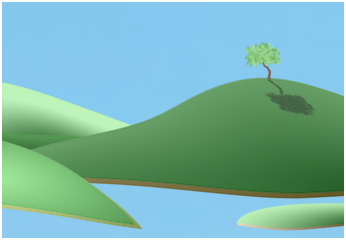
The angle of the shadow is with respect to the sun which we are going to add later.
Step-12
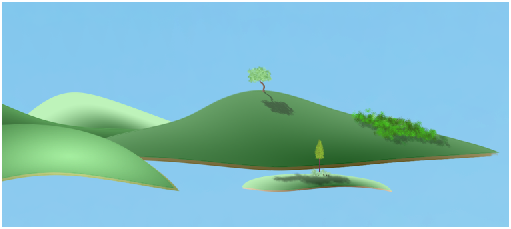
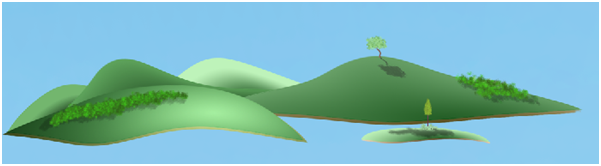
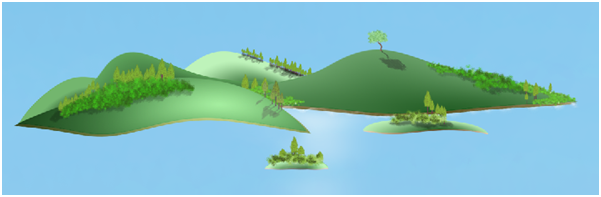
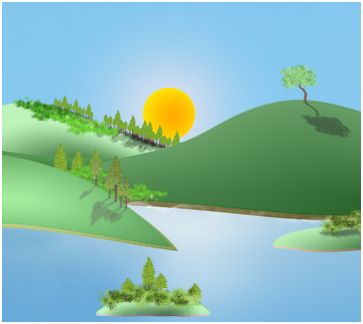
Similarly draw trees, foliage and shadows and place them like this……
Creating Water:
Step-13
For this we are simply using blue radial gradient.
In the above image, I applied radial gradient to a rectangular selection and using transform option(Ctrl+T) added little perspective.
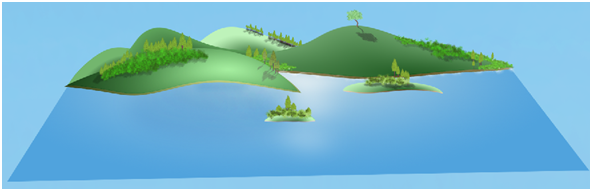
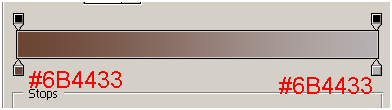
Step-14
Similarly add linear gradient bar with following color.

Creating Sun:
Step-15
Select following radial gradient and draw circle.


Step-16
Duplicate the sun and go to Filter >> Blur >> Gaussian Blur
Set the blending mode to “Screen” to get result like this….
Adding Lens flare:
Step-17
Create top most layer, fill it with black color.
Go to Filter>>Render>>Lens flare

Set blending mode to “Screen” and opacity to 45%
Step-18
Finally add shadows to the mountains to get the final image.

I hope you find this tutorial useful.