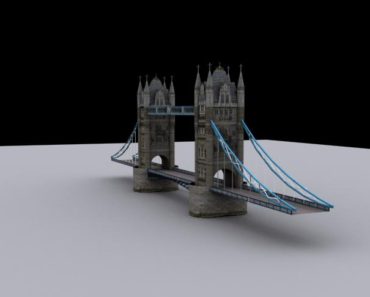
Sometimes with simple images and simple techniques we can create an effective output. In this tutorial you will learn to create a cinematic scene with three simple images in 3ds max.
Final Result:
Resources:
Step-1
Let’s create 3 images for the scene in photoshop.
And then we work with these images in 3dsmax.
Step-2
These are the images we are going to use for the tutorial.
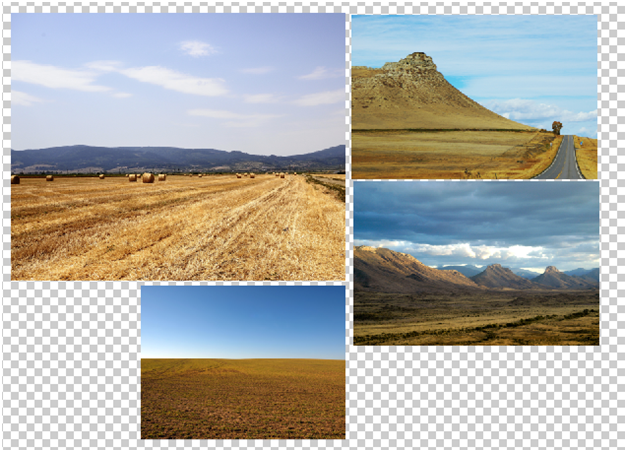
Step-3
Stitching images together.

Step-4
Step-5
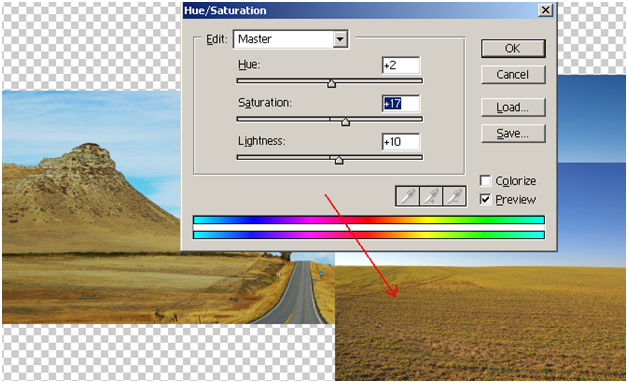
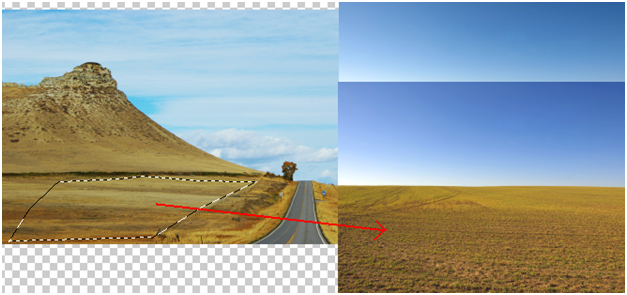
Merge these two images and copy the following part and paste it on right side to give same ground type look
Step-6

Step-7
Extend the road
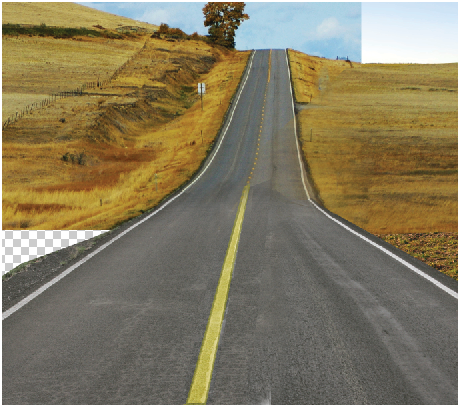
Extend land on left side as well and merge road and land layers together.

Step-8
Now, using “Polygonal Lasso Tool” lets removes the sky.
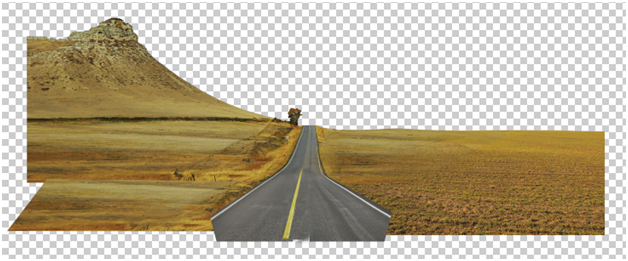
Step-9
We create black and white image for masking in 3dsmax.

Step-10
Similarly, lets create another mountain scene.
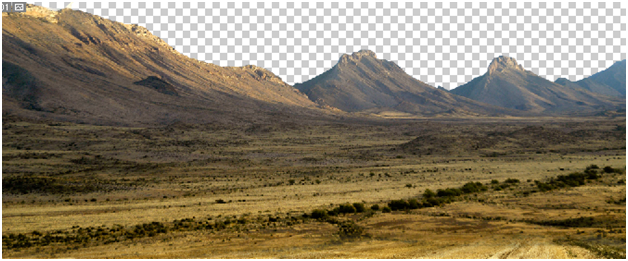

Black and white image of the above scene.

Step-11
Creating Clouds.


Combining above two images to get result like this…

Step-12
Let’s get to 3dsmax. Take simple plane in top view with 50×50 segments.

Step-13
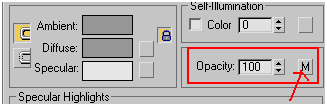
Select “Material Editor(M)”, in opacity select black and white mask image.
In Diffuse select respective original image.
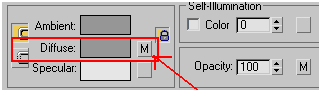
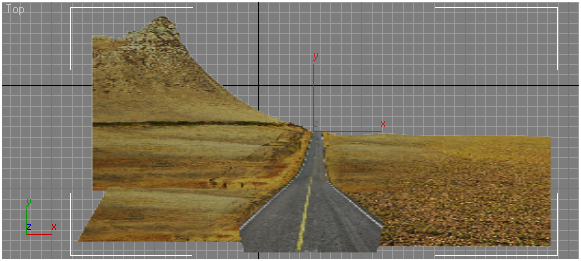
And apply the material to the plane to get result like this.
Step-14
Apply edit mesh to the plane.
Select “vertex “ from edit mesh.
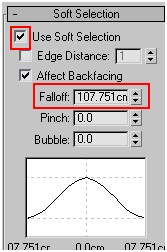
Select part of the mountain.
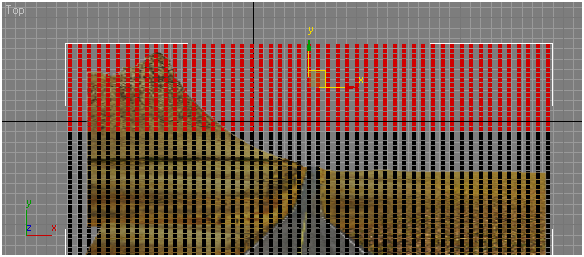
Select soft selection and set the falloff to 107
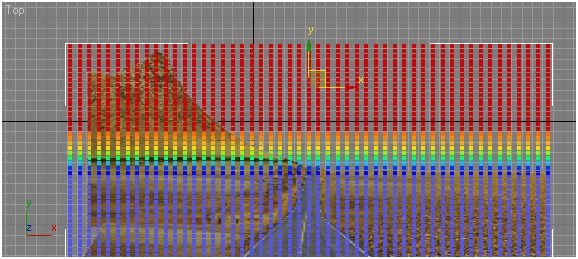
Bend it using “select and rotate” tool to get result like this…..

Step-15
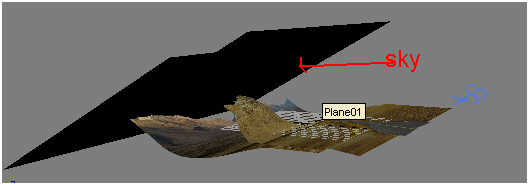
Similarly create rest of images using planes and position them in the following way.
Step-16
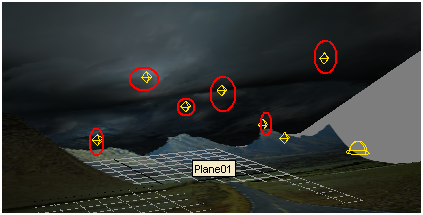
Lets create thunder effect
We place few omni lights near the sky randomly.
Step-17
From each omni light we exclude all the planes except sky plane.


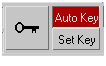
Step-18
Now, select any omni, set animation mode “auto key” on.
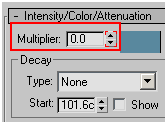
Step-19
Now, set omni’s “multiplier” on and off with following parameters.
![]()
At each key point change “multiplier” value from 0 to 2, 2 to 0, 0 to 1.5, 1.5 to 0………so on.
Step-20
Similarly, set lighting effect to rest of the omni lights randomly.
Set “sky light” with 0.1 multiplier intensity for complete scene.
Now, this is how it supposed to look like.
Step-21
Finally add camera to get final result like this.
I hope you find this tutorial useful.
Next time we will discuss cinematic effect using camera projection in detail.