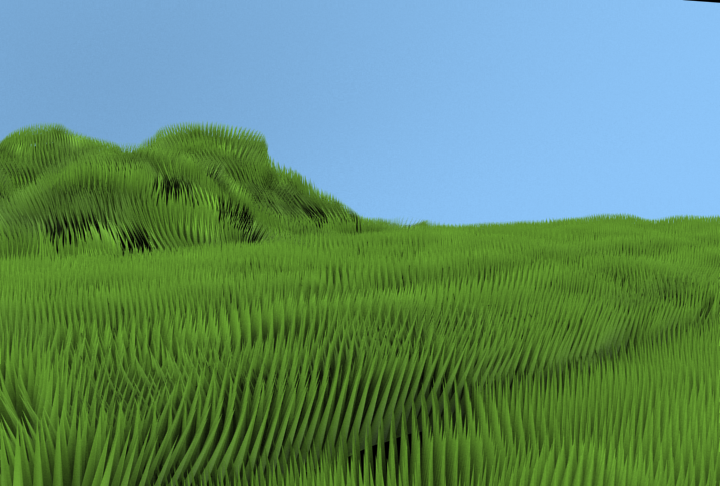
Final Image:

Step-1
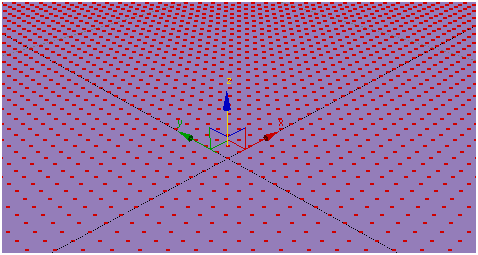
Create a plane with 100×100 (I used centimeters) width x height and 100×100 segments.

Step-2
Convert the plane to “Edit Poly” and select all vertices(Ctrl + A)

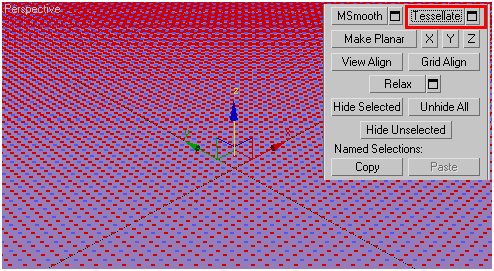
Closer look at the selection.
Click on “Tessellate” to get new vertices next to every selected vertices.
Step-3
Keep the selection of vertices as it is from the above image and pull them down the z-axis.

It supposed to look like this….
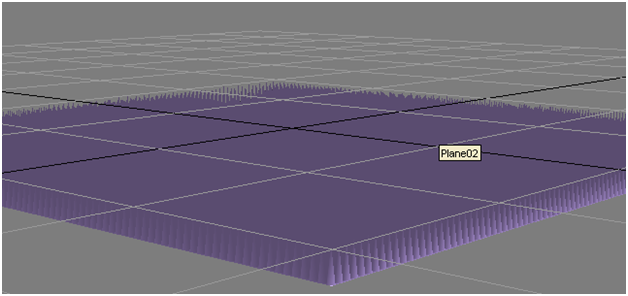
Step-4
The grass from the above scene looks uniform and unrealistic.
So to make it natural, let’s select vertices with soft selection(one vertices at a time)
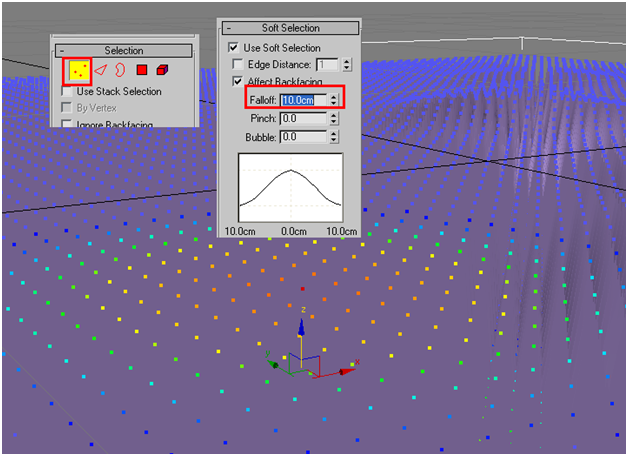
Pull that vertices up.

Similarly select vertices randomly and pull them up to make the grass level uneven.
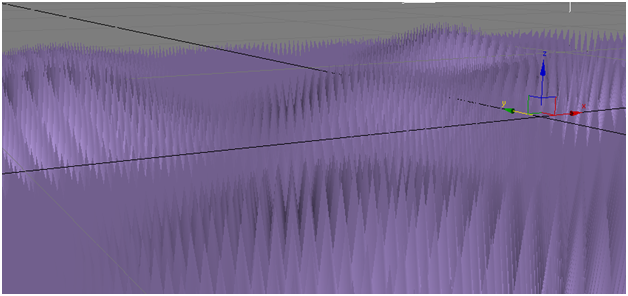
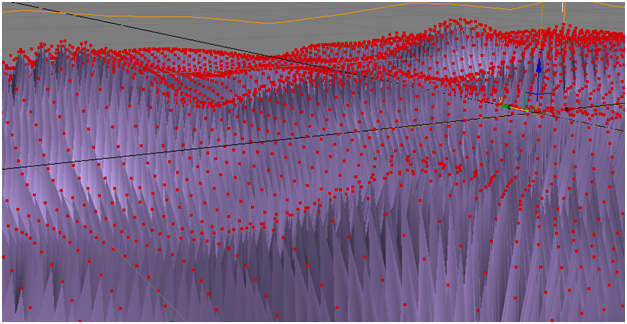
Step-5
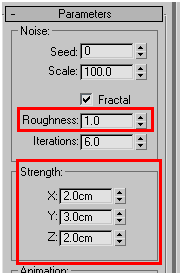
Now, select all vertices and apply noise modifier with following parameters to the result like this….
Step-6
Finally, add the following material.

Final result.(Note: To get the following result, used blue colored plane as sky and sky light with cast shadows for lighting.)
I hope you find this tutorial useful.
Enjoy!!