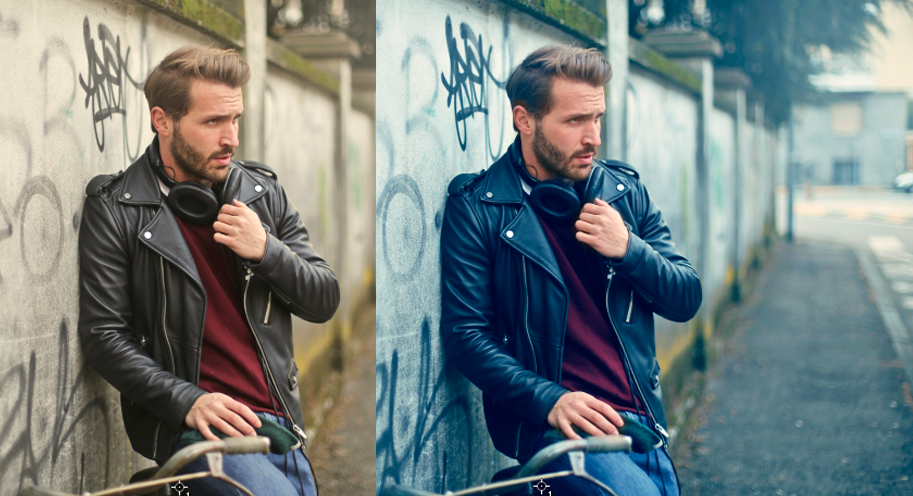
Color grading is a creative art of color correction, which is a way of telling a story through color theme. It is mainly used in movies. There are no rules as to what colors to be used or how they should be used. Basically, opposite colors are used as a color theme which create a strong contrast and pop up the details. For this tutorial, we create cinematic effect by using blues and teals in the dark and oranges in the highlights or skin tones.
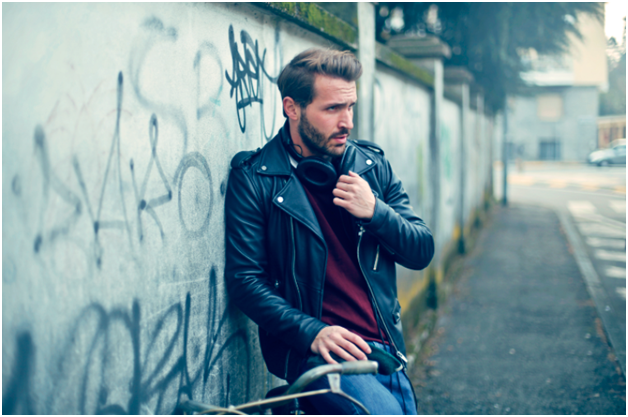
Final Result:
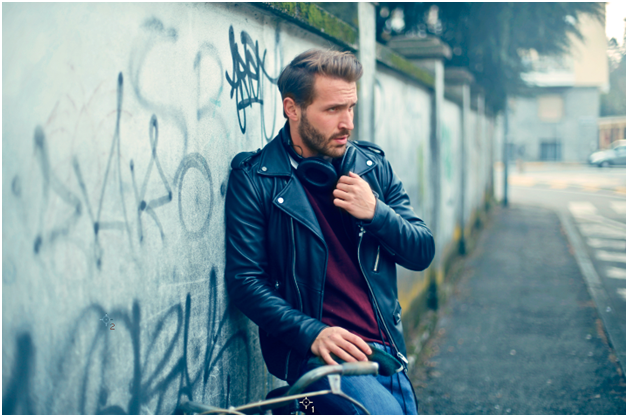
Resources:
Step 1
Open up the image in the photoshop.
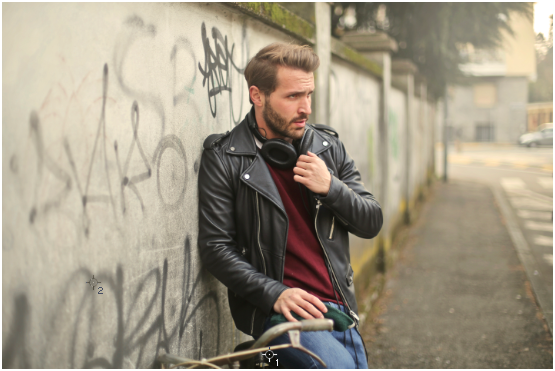
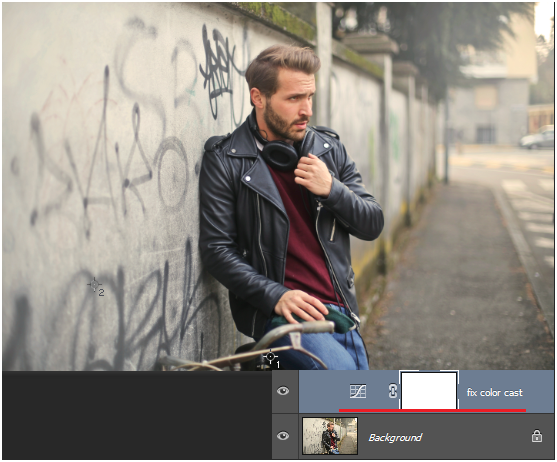
Before we start off, make sure to remove color cast in the image (if any). I’m not going to explain how to fix the color balance, we already have a tutorial on this, you can learn it from here.
Step 2
“Selective color” adjustment layer is the one which we are going to use to achieve the cinematic color grading effect. At the bottom of layer panel, you find adjustment layer button, click on the button to select “Selective Color” option from the list.

In the ‘Selective Color’ palette , there are list of colors channels. We are going to work mainly on whites, Neutrals and Blacks.
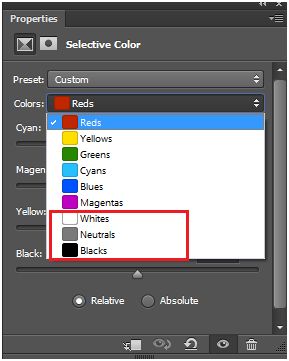
Before we start off with the panel, you need to understand how the selective color adjustment layer works. This is the most powerful tool for photographers, it allows you to add any color in specific areas like shadows, midtones and highlights and process your images properly . There is a list of color channels(9) in the color preset, where you can choose any color in an image to make adjustment to it. There are four sliders in the palette(this is where you make all the adjustments) – Cyan, Magenta, Yellow and Black. Opposite of these colors are Red, Green, Blue and White respectively.
For example, by choosing any particular color channel in the color preset, if you move Cyan slider to the right ( +ve value) it adds more Cyan to the image in that particular color channel. If you move the slider to the left (-ve value) it adds red to the image. Whatever the color channel you choose in the color preset, that particular color is affected by the sliders. I hope that you find this info helpful.

To the get the effect, we need to add blues and teals in shadows (i.e, Blacks) and oranges in the highlights mainly in the skin tones. In the Selective Color panel, select Blacks. Set the following properties in the color sliders(Cyan, Magenta, Yellow and Black).
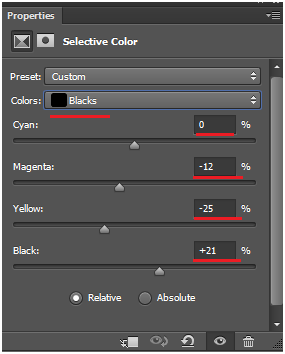
From the above settings, you can see I chose Blacks in the preset, which means whatever the changes I make using the sliders that will only affect the dark areas. I added more darkness to the image using Black slider. By moving the sliders to left in the Magenta and Yellow I added blue and green to the image respectively.
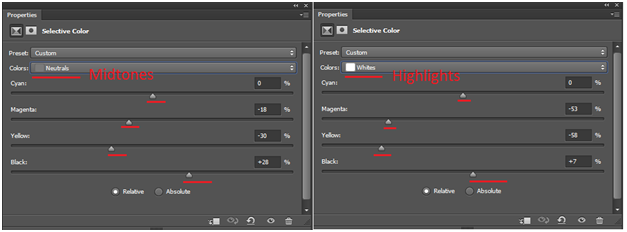
Similarly, add blue and green to the image in mid tones and highlights.
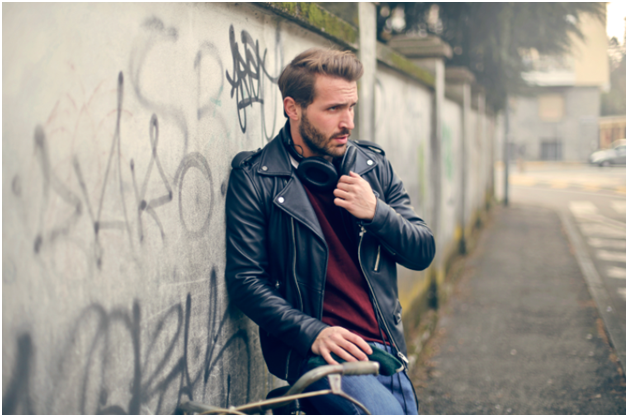
From the above image, you can see the adjustments are affecting the skin tone of the subject. To avoid this, select the mask thumbnail of the adjustment layer and paint over the face and hands with black color using soft brush.

I hope that you find this tutorial useful. Thank You!